The Farmhouse Kitchen Renovation: Before + After

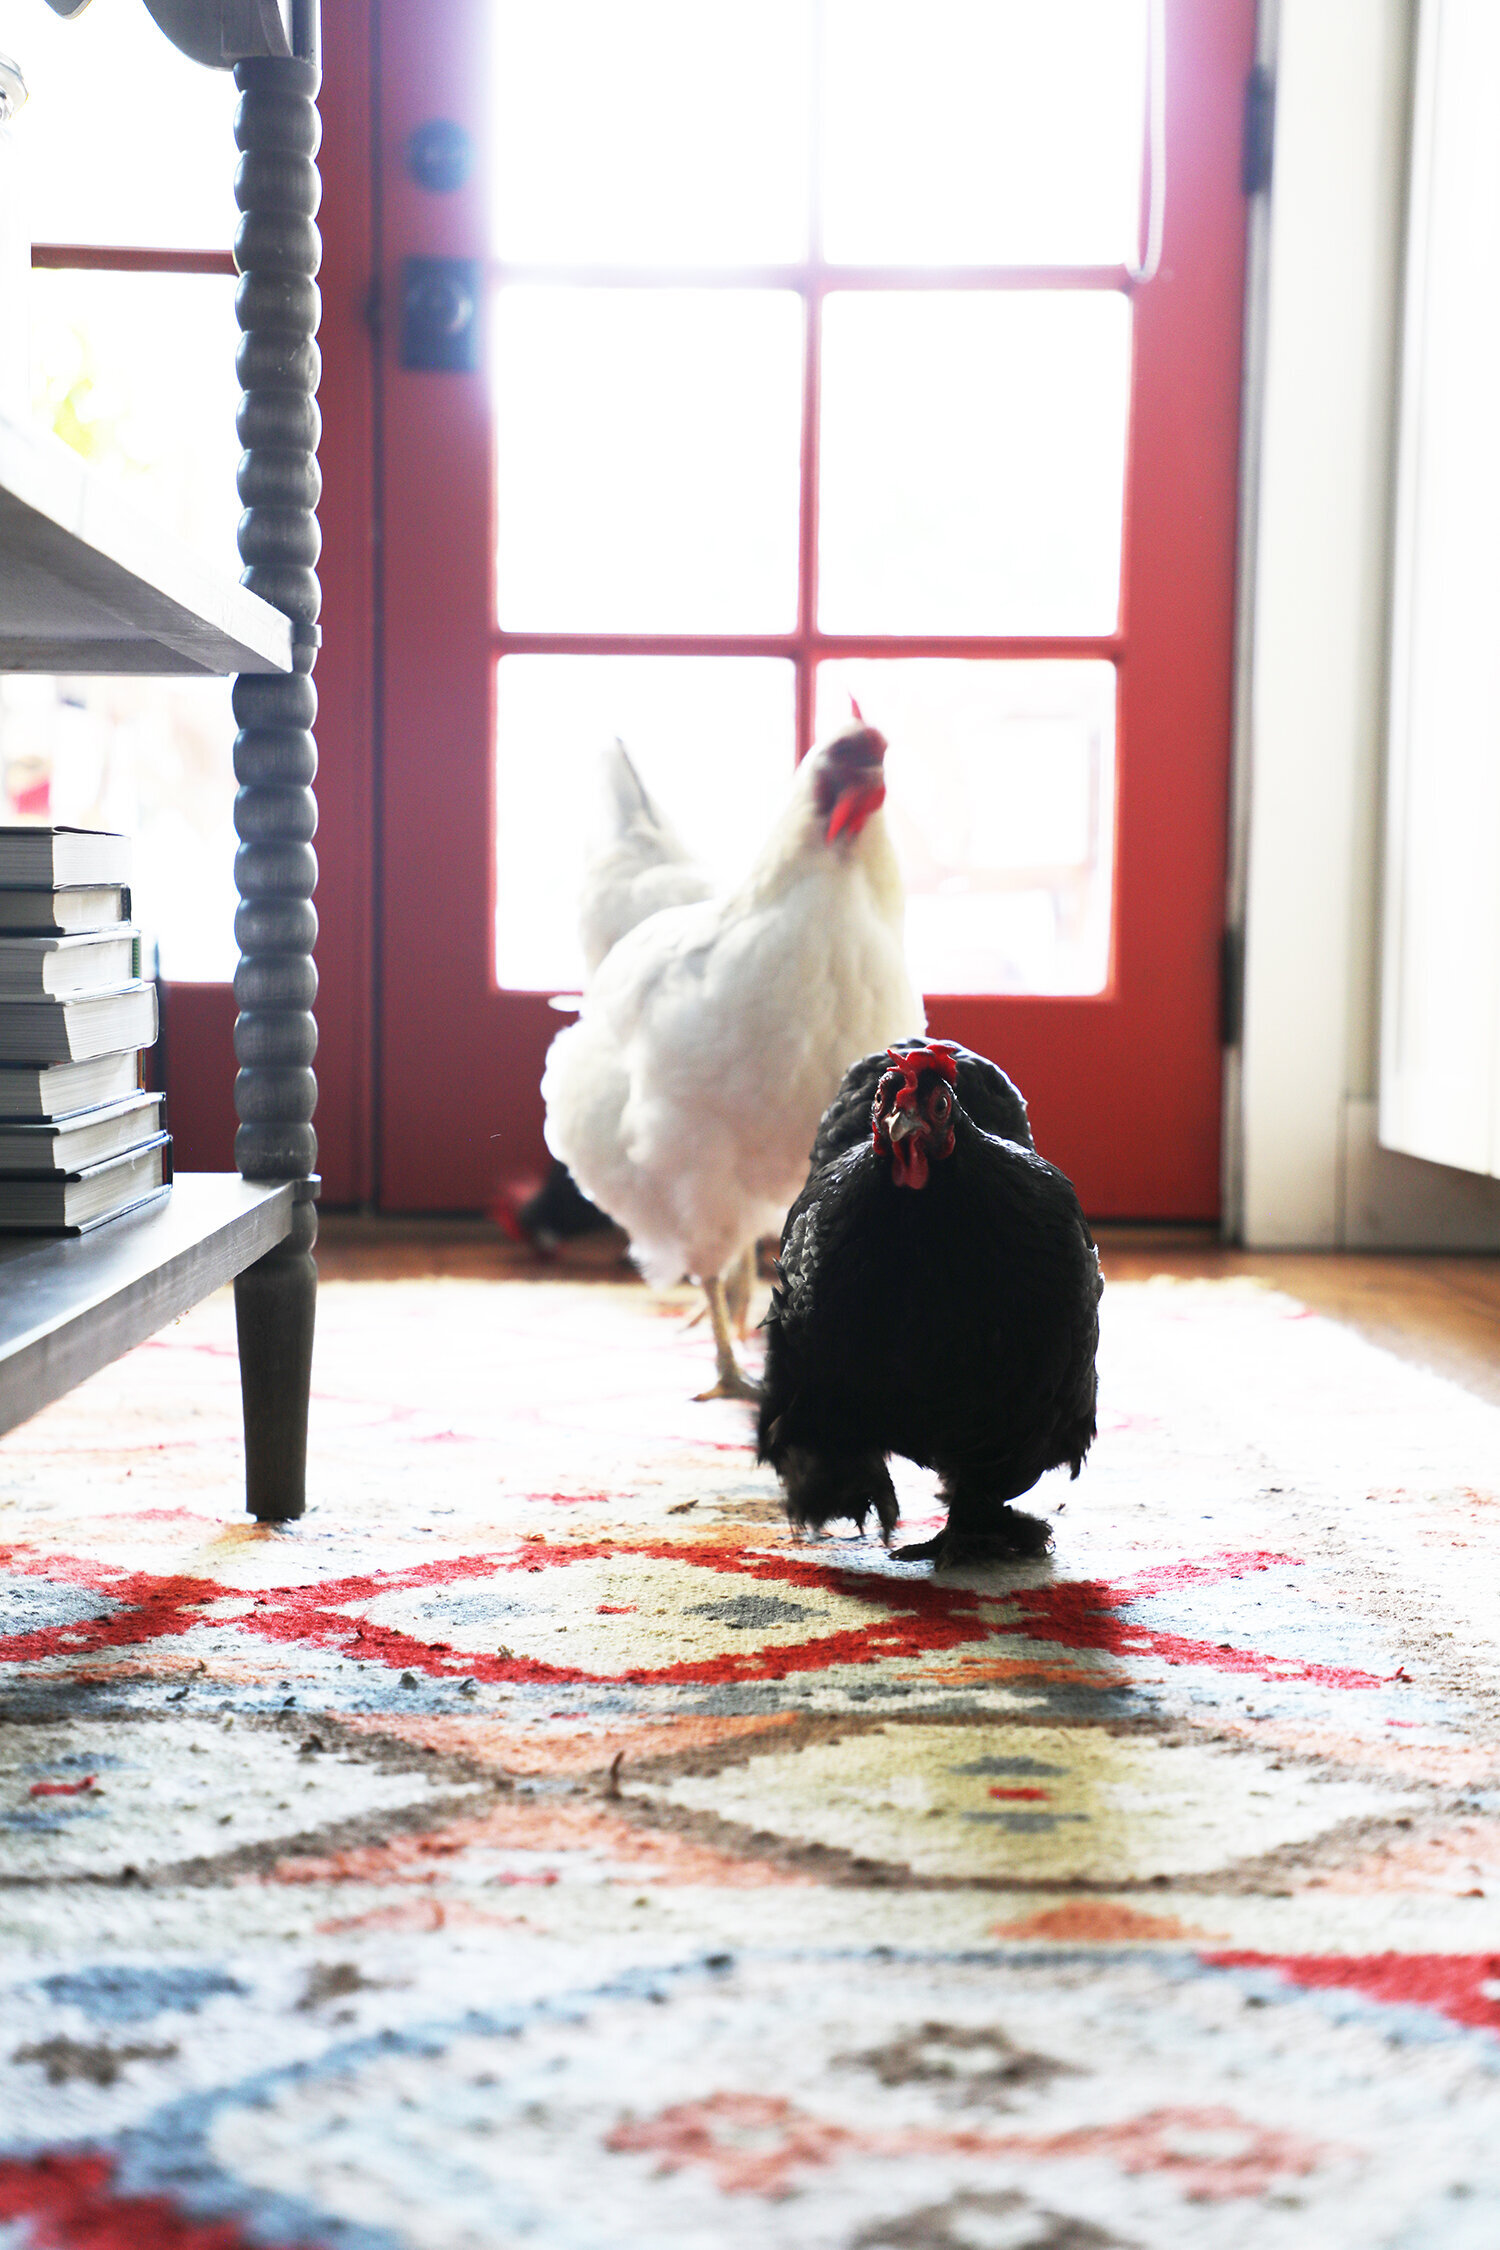
After.
Next stop on the tour: THE KITCHEN. Which really actually is part of the great room, but it felt like it needed it’s very own post. Before, the kitchen was really….somethin’. When I talk about the entire house being a confusing cluster of disjointed materials and eras, the kitchen really, really took home the cluster cake.
It’s going to be a bit tricky to show accurate before and afters here, not only because I had no idea what I was doing 13 years ago as I shot these “before” photos, but because the actual before was a weird series of small rooms—which we blew out to create one big space. But here goes nothing:
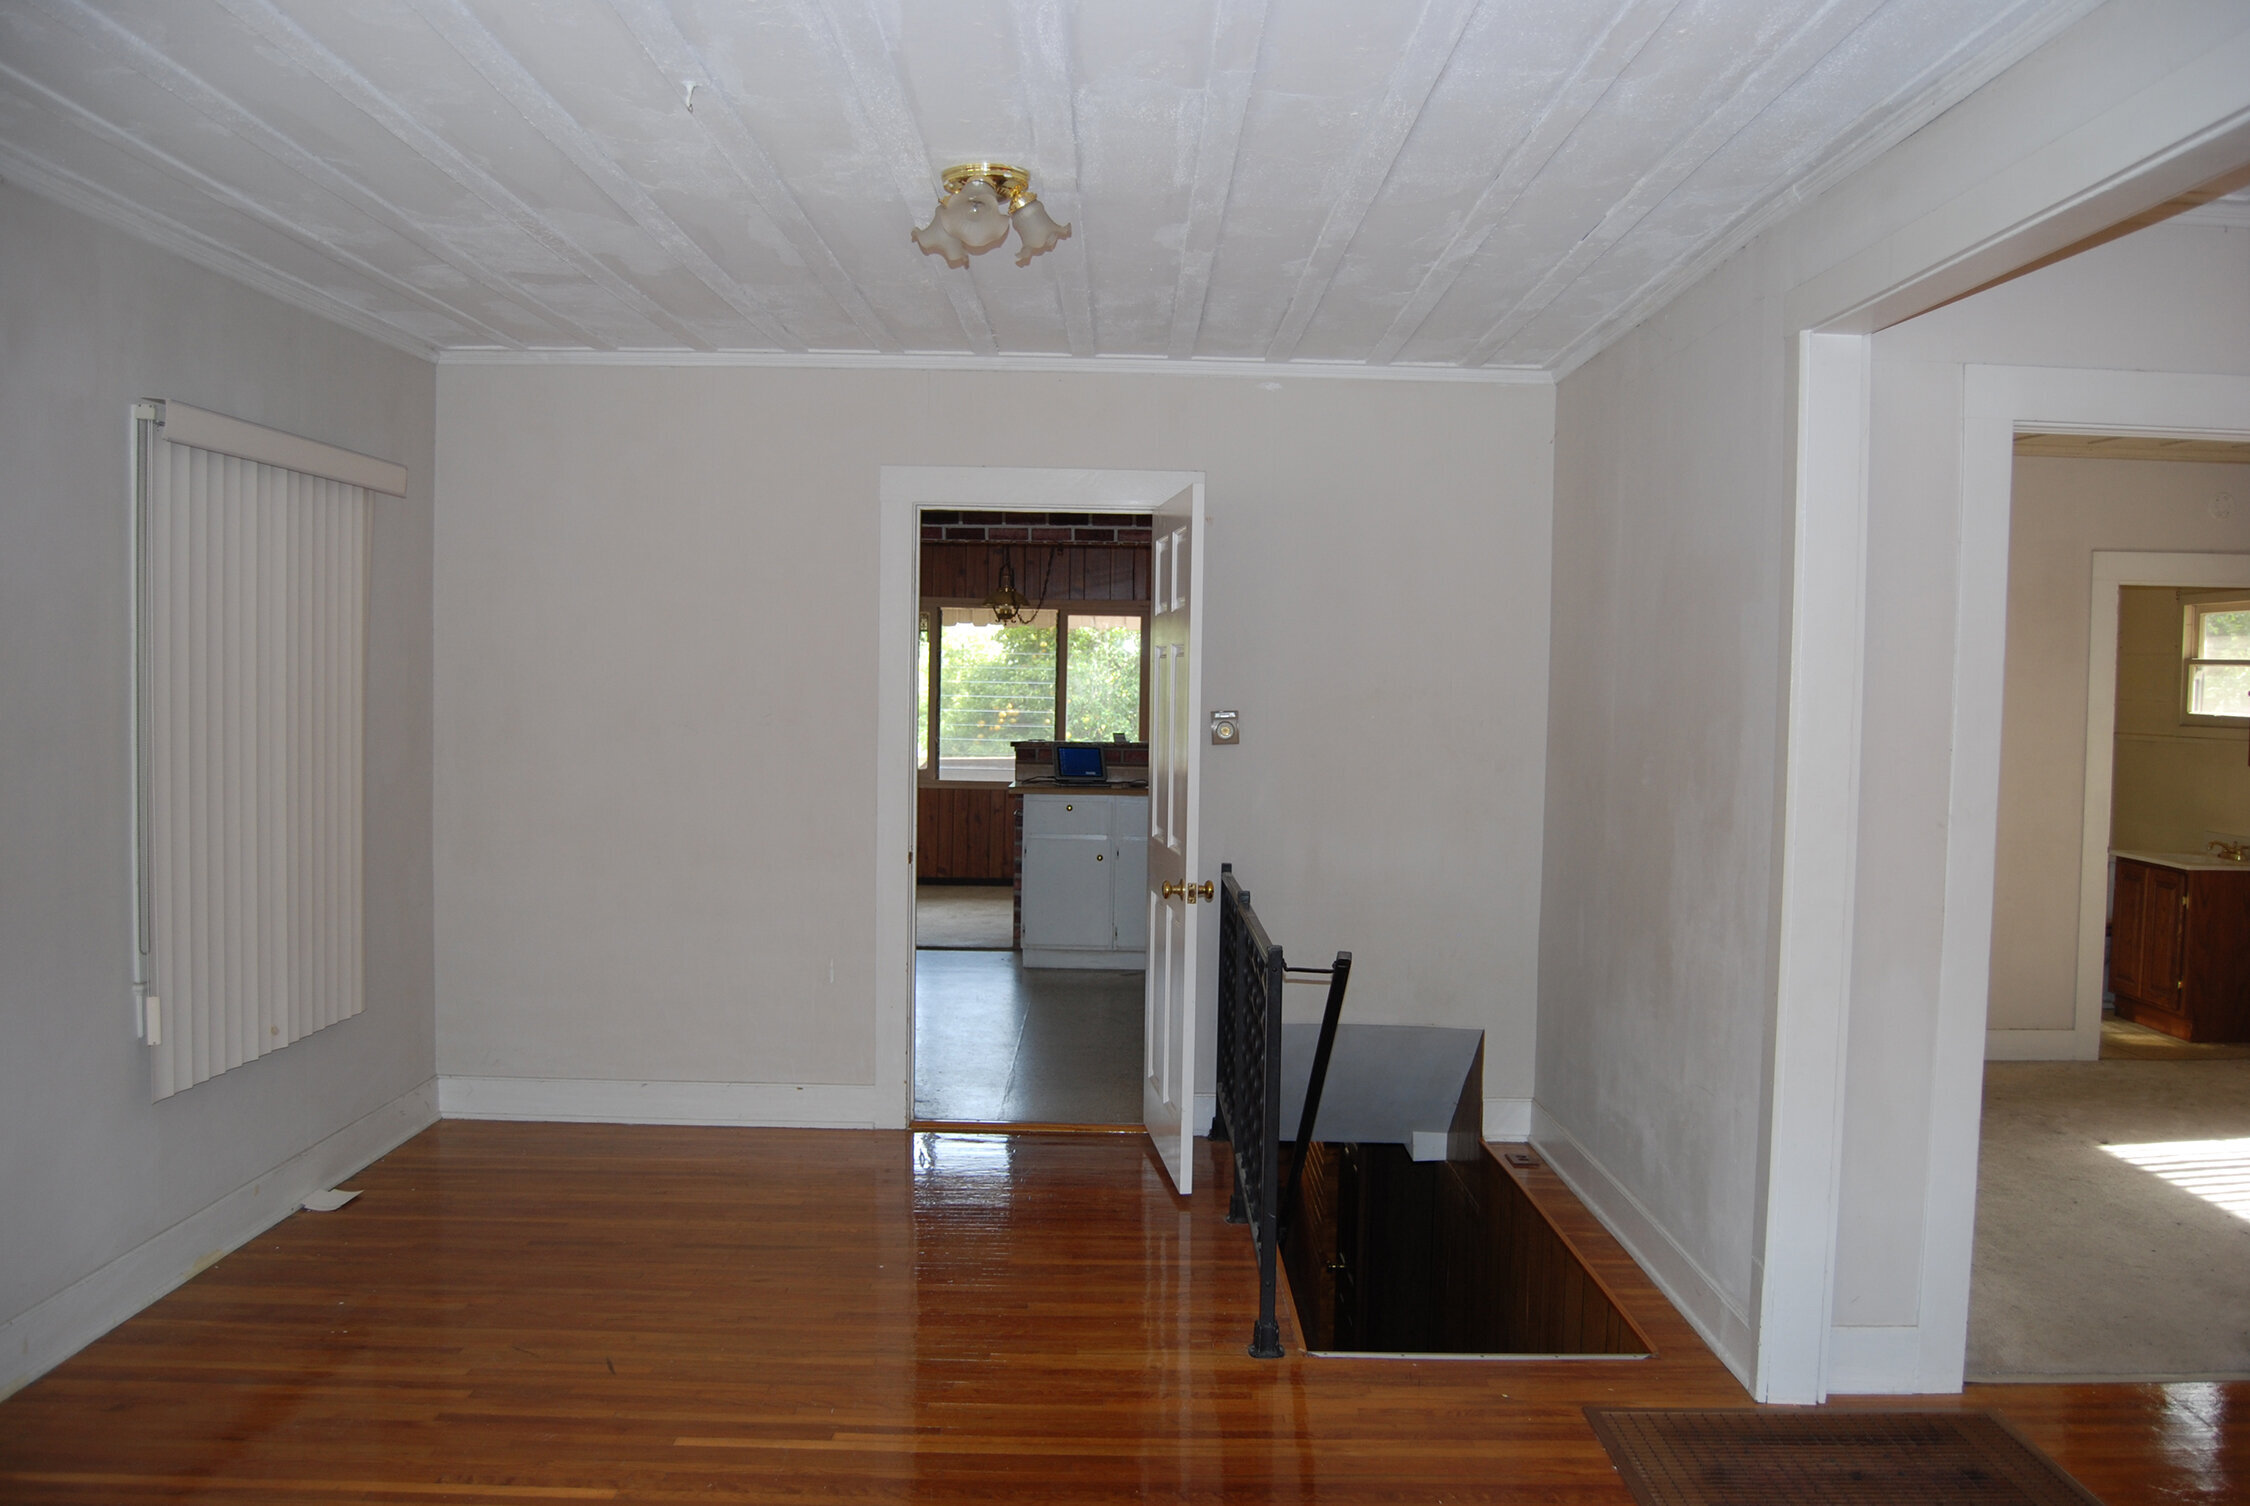
Before.
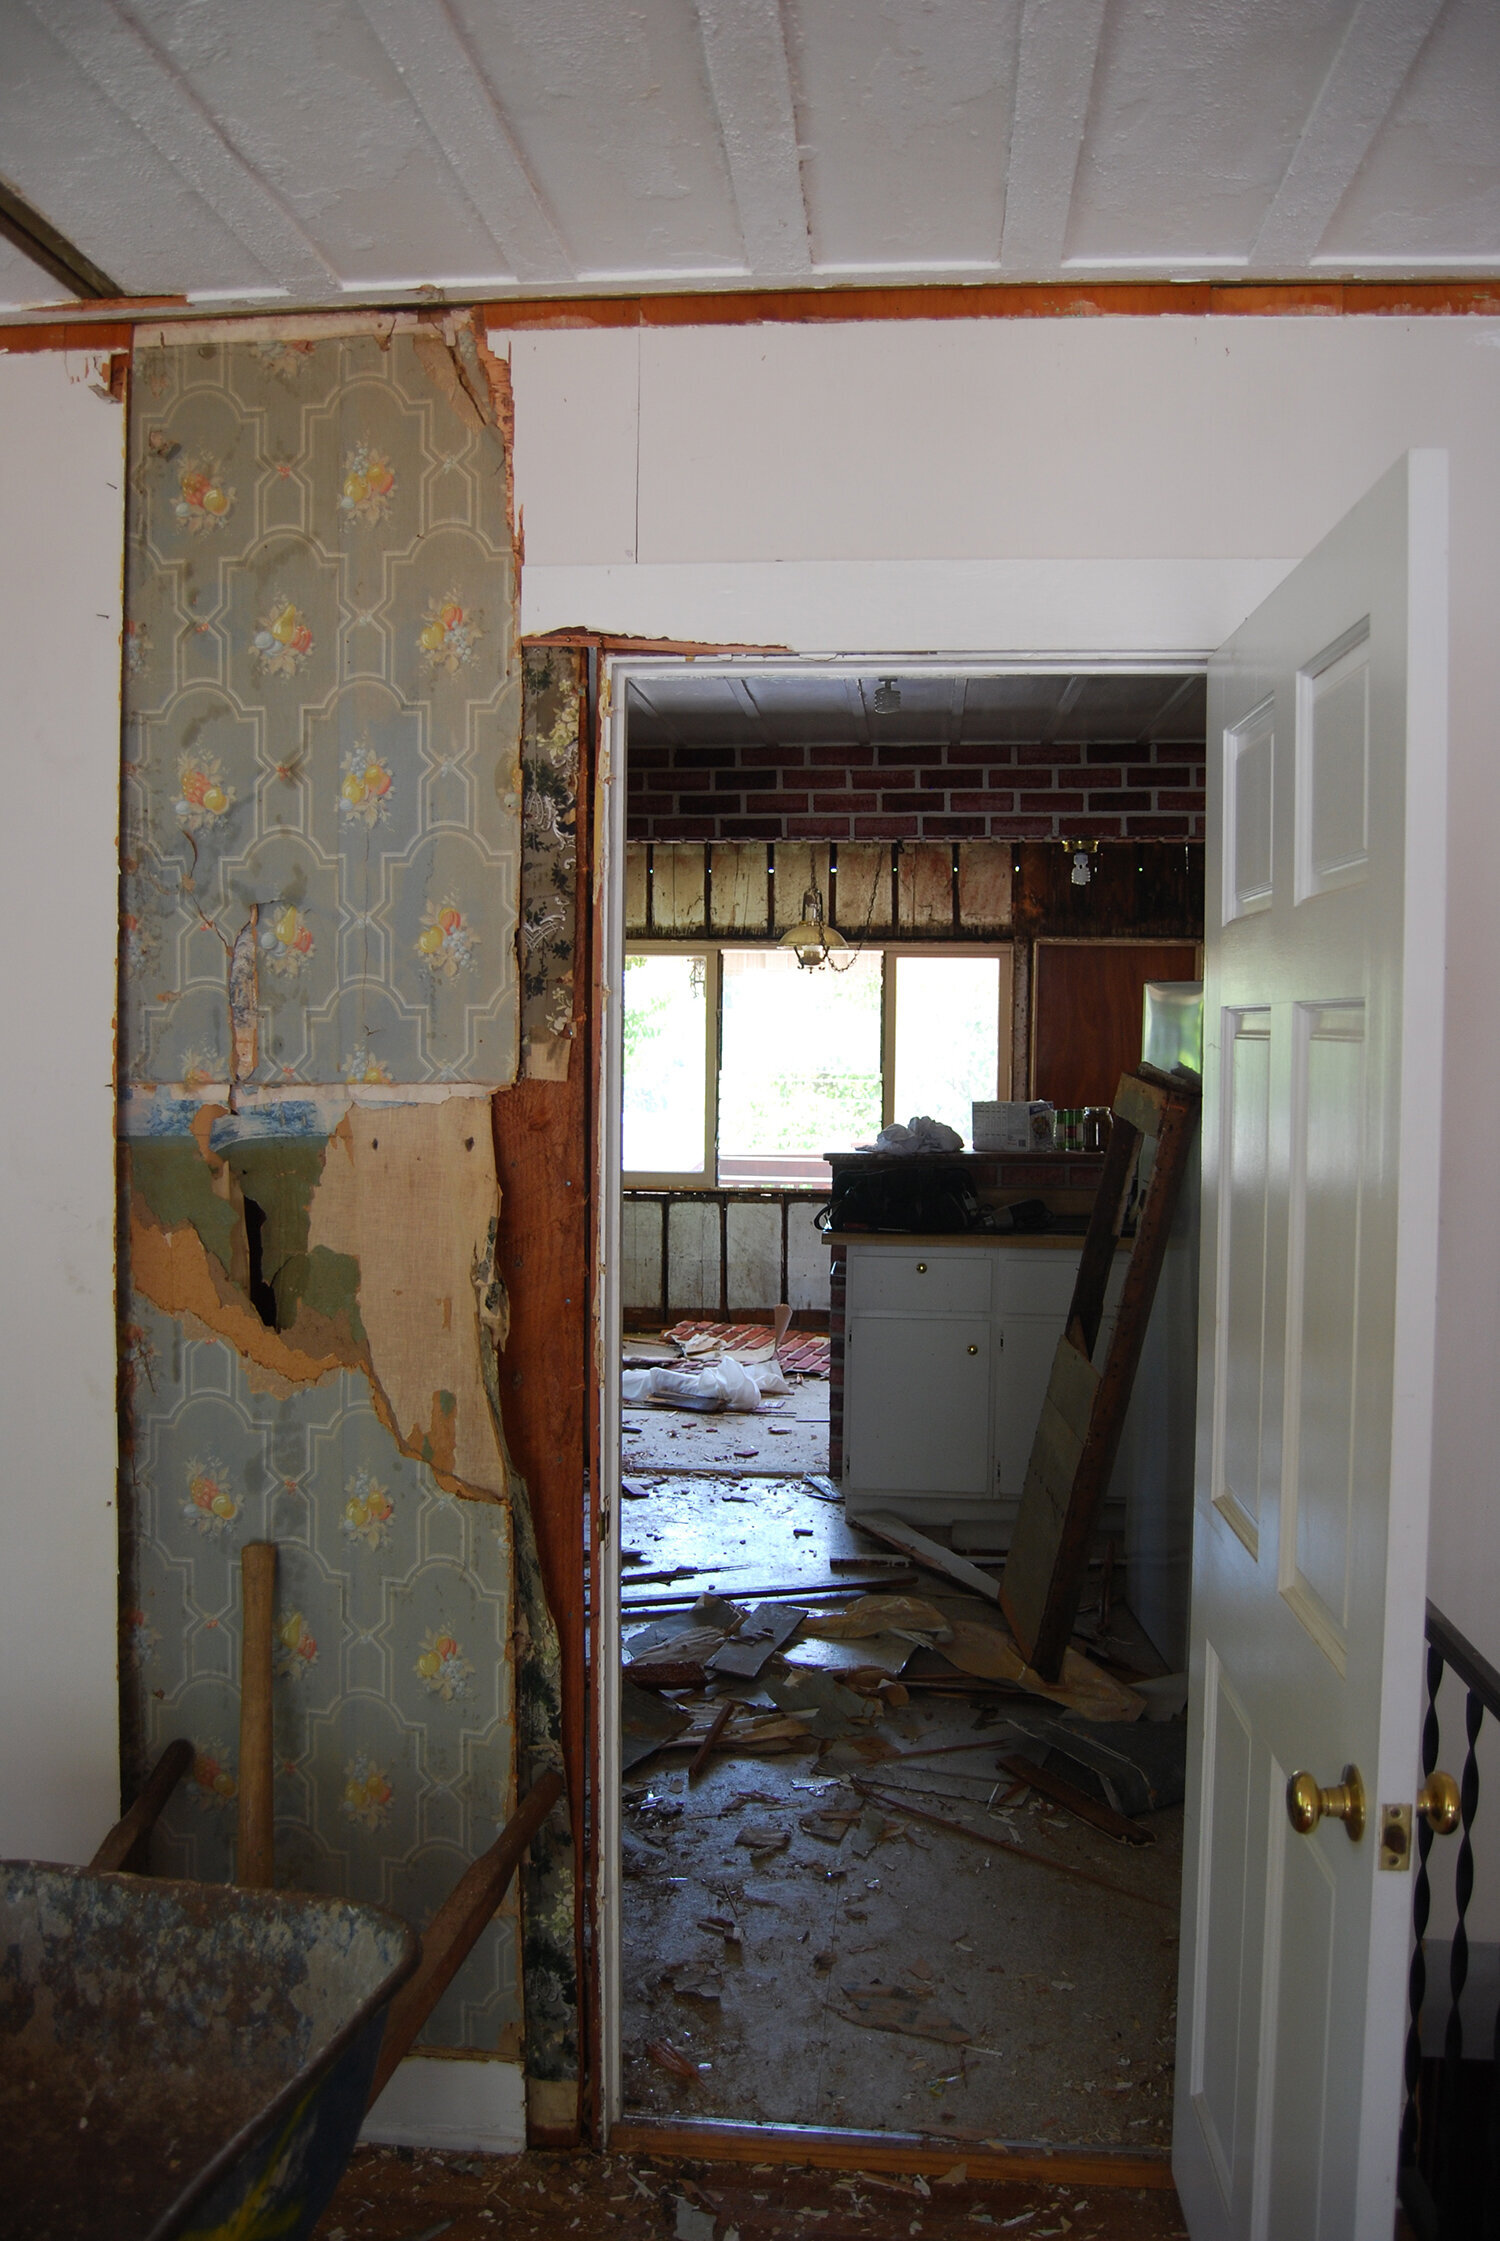
Here is ye olden wall that divided the kitchen from the living room. Because in 1908 it wasn’t proper to make eye contact with your kitchen from your living room. OH THE IMPROPRIETY!!! As it turns out, ye olde wall was not really a wall, but more like a sheet of plywood held up by paint and wallpaper (and as I mentioned in my previous post, the entire house was built from board and batten and didn’t have studded walls ANYWHERE.)

After. The staircase stayed in more or less the same spot, but was widened and straightened. It was very definitely neither wide nor straight, originally…but more on that later.
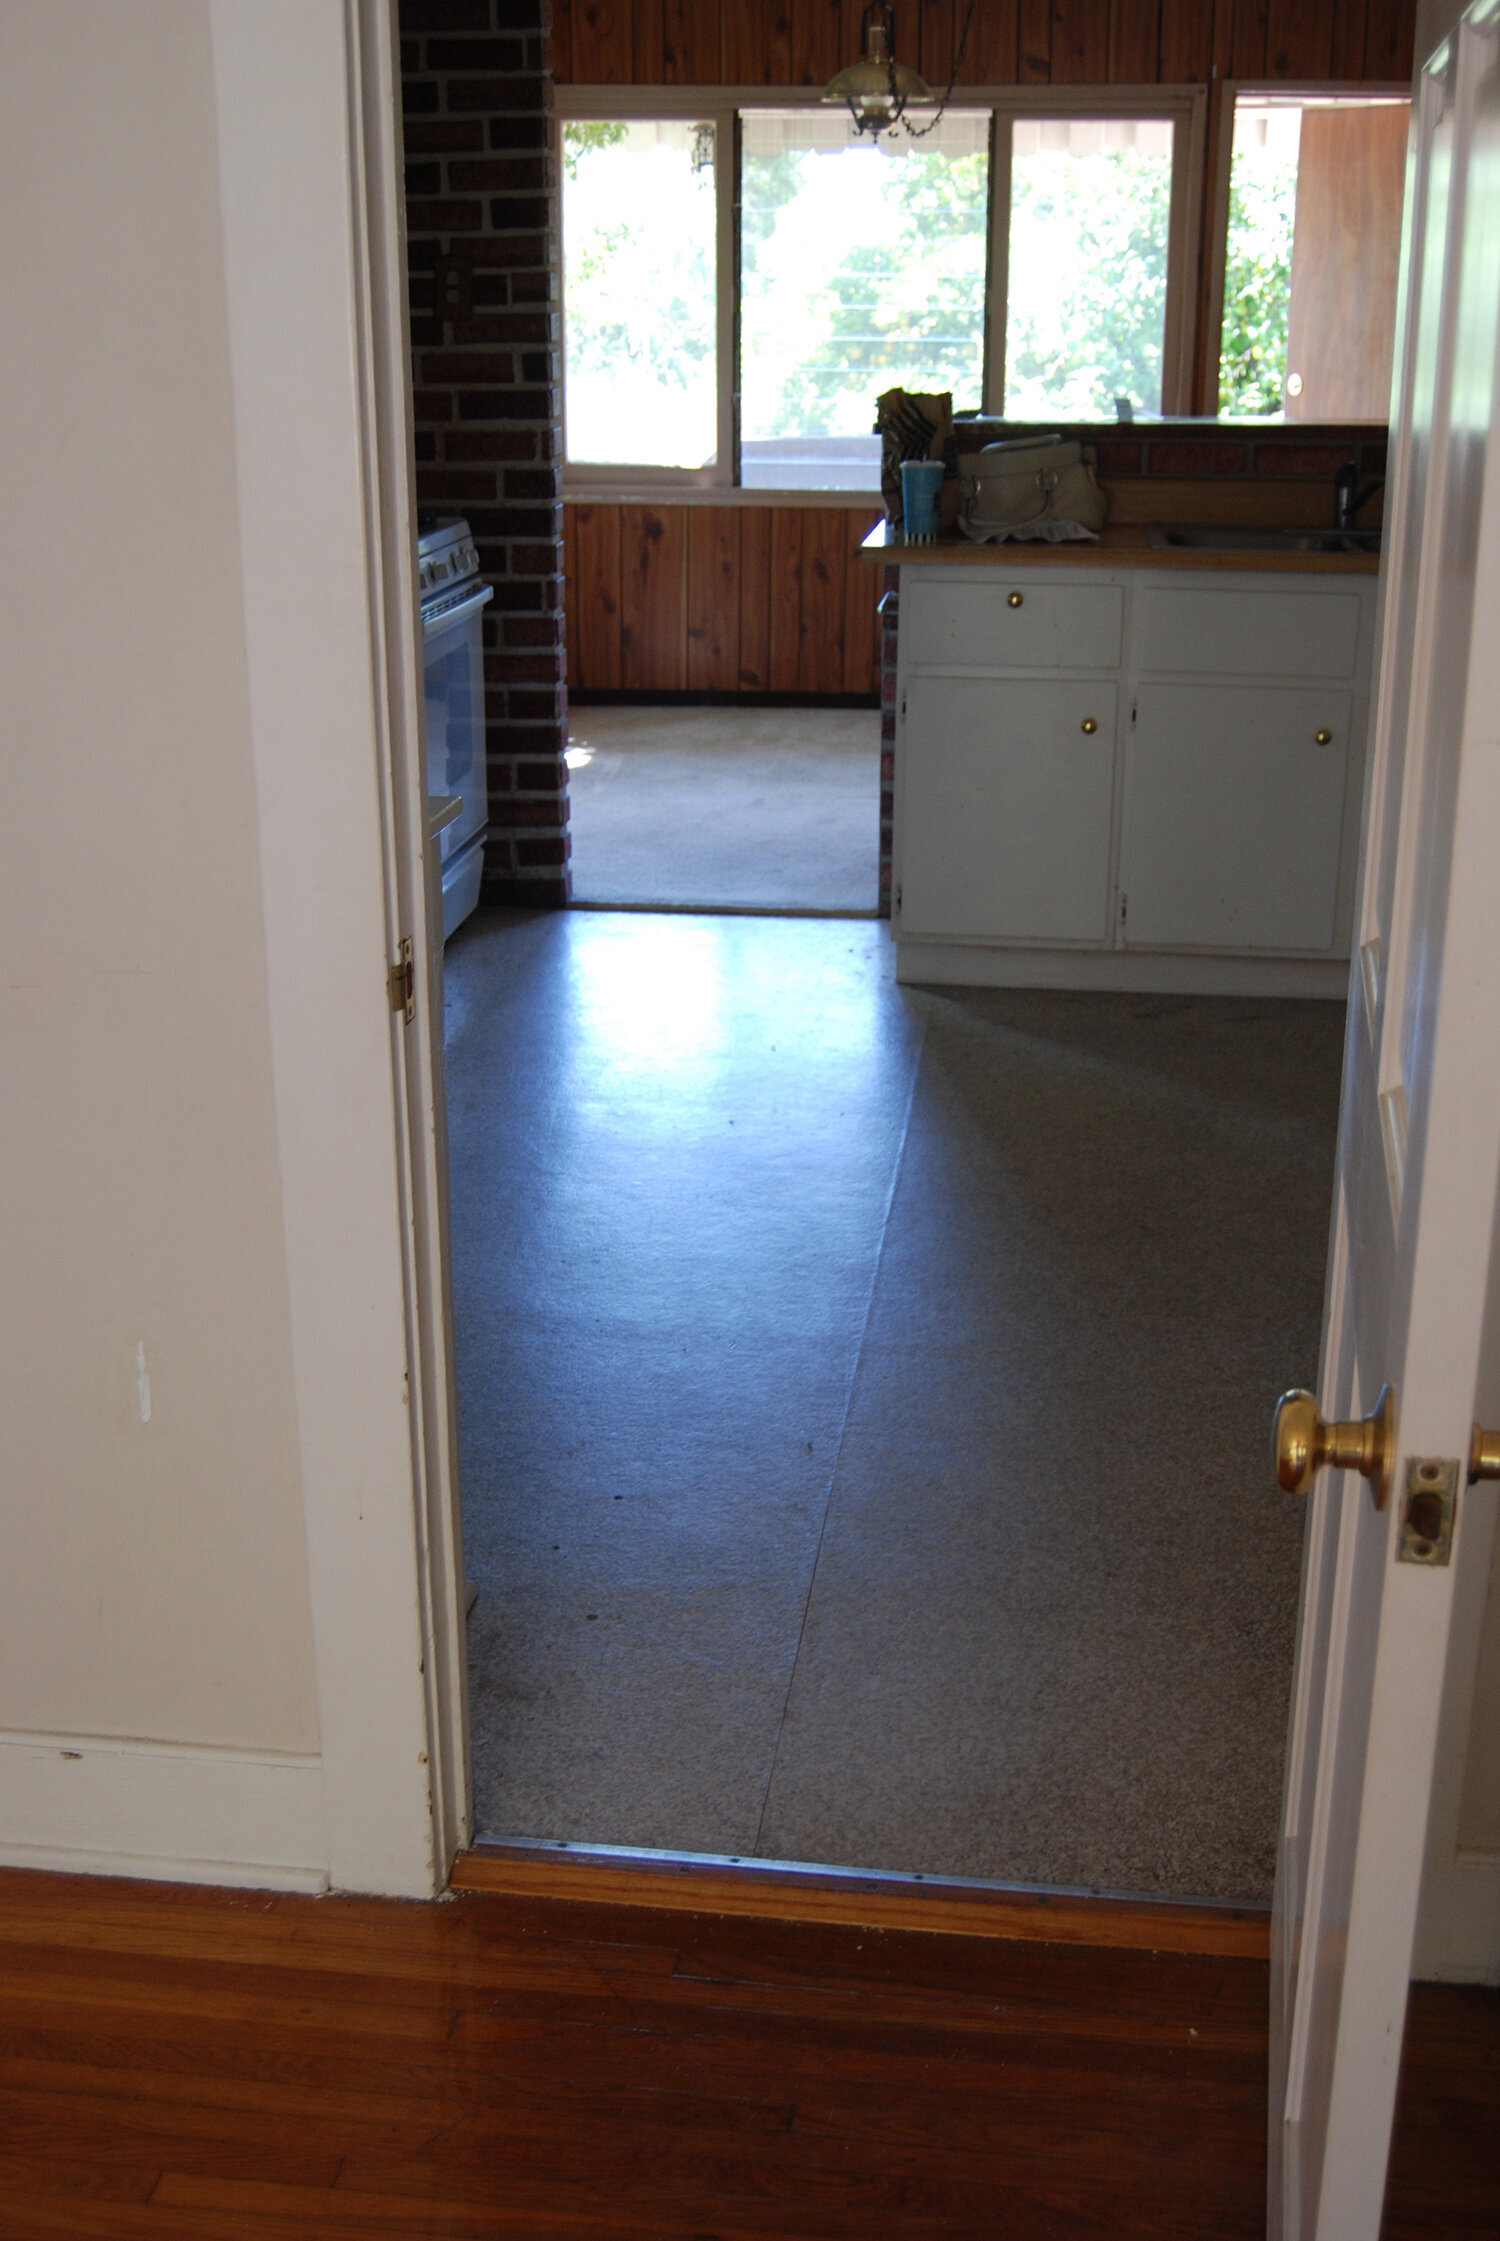
Before.
Once you passed through said plywood wall into the kitchen, your eyeballs were in for a real treat. A wonderland of outdated paneling in every shade of BLECH awaited! That faux brick, though…marvelous. MARVELOUS. Sometime in the 70s? Maybe 60s? Somebody tried to be clever and tack on a “family room” off the back of the kitchen, which basically just made it feel like there was carpet in part of the kitchen. Neat.
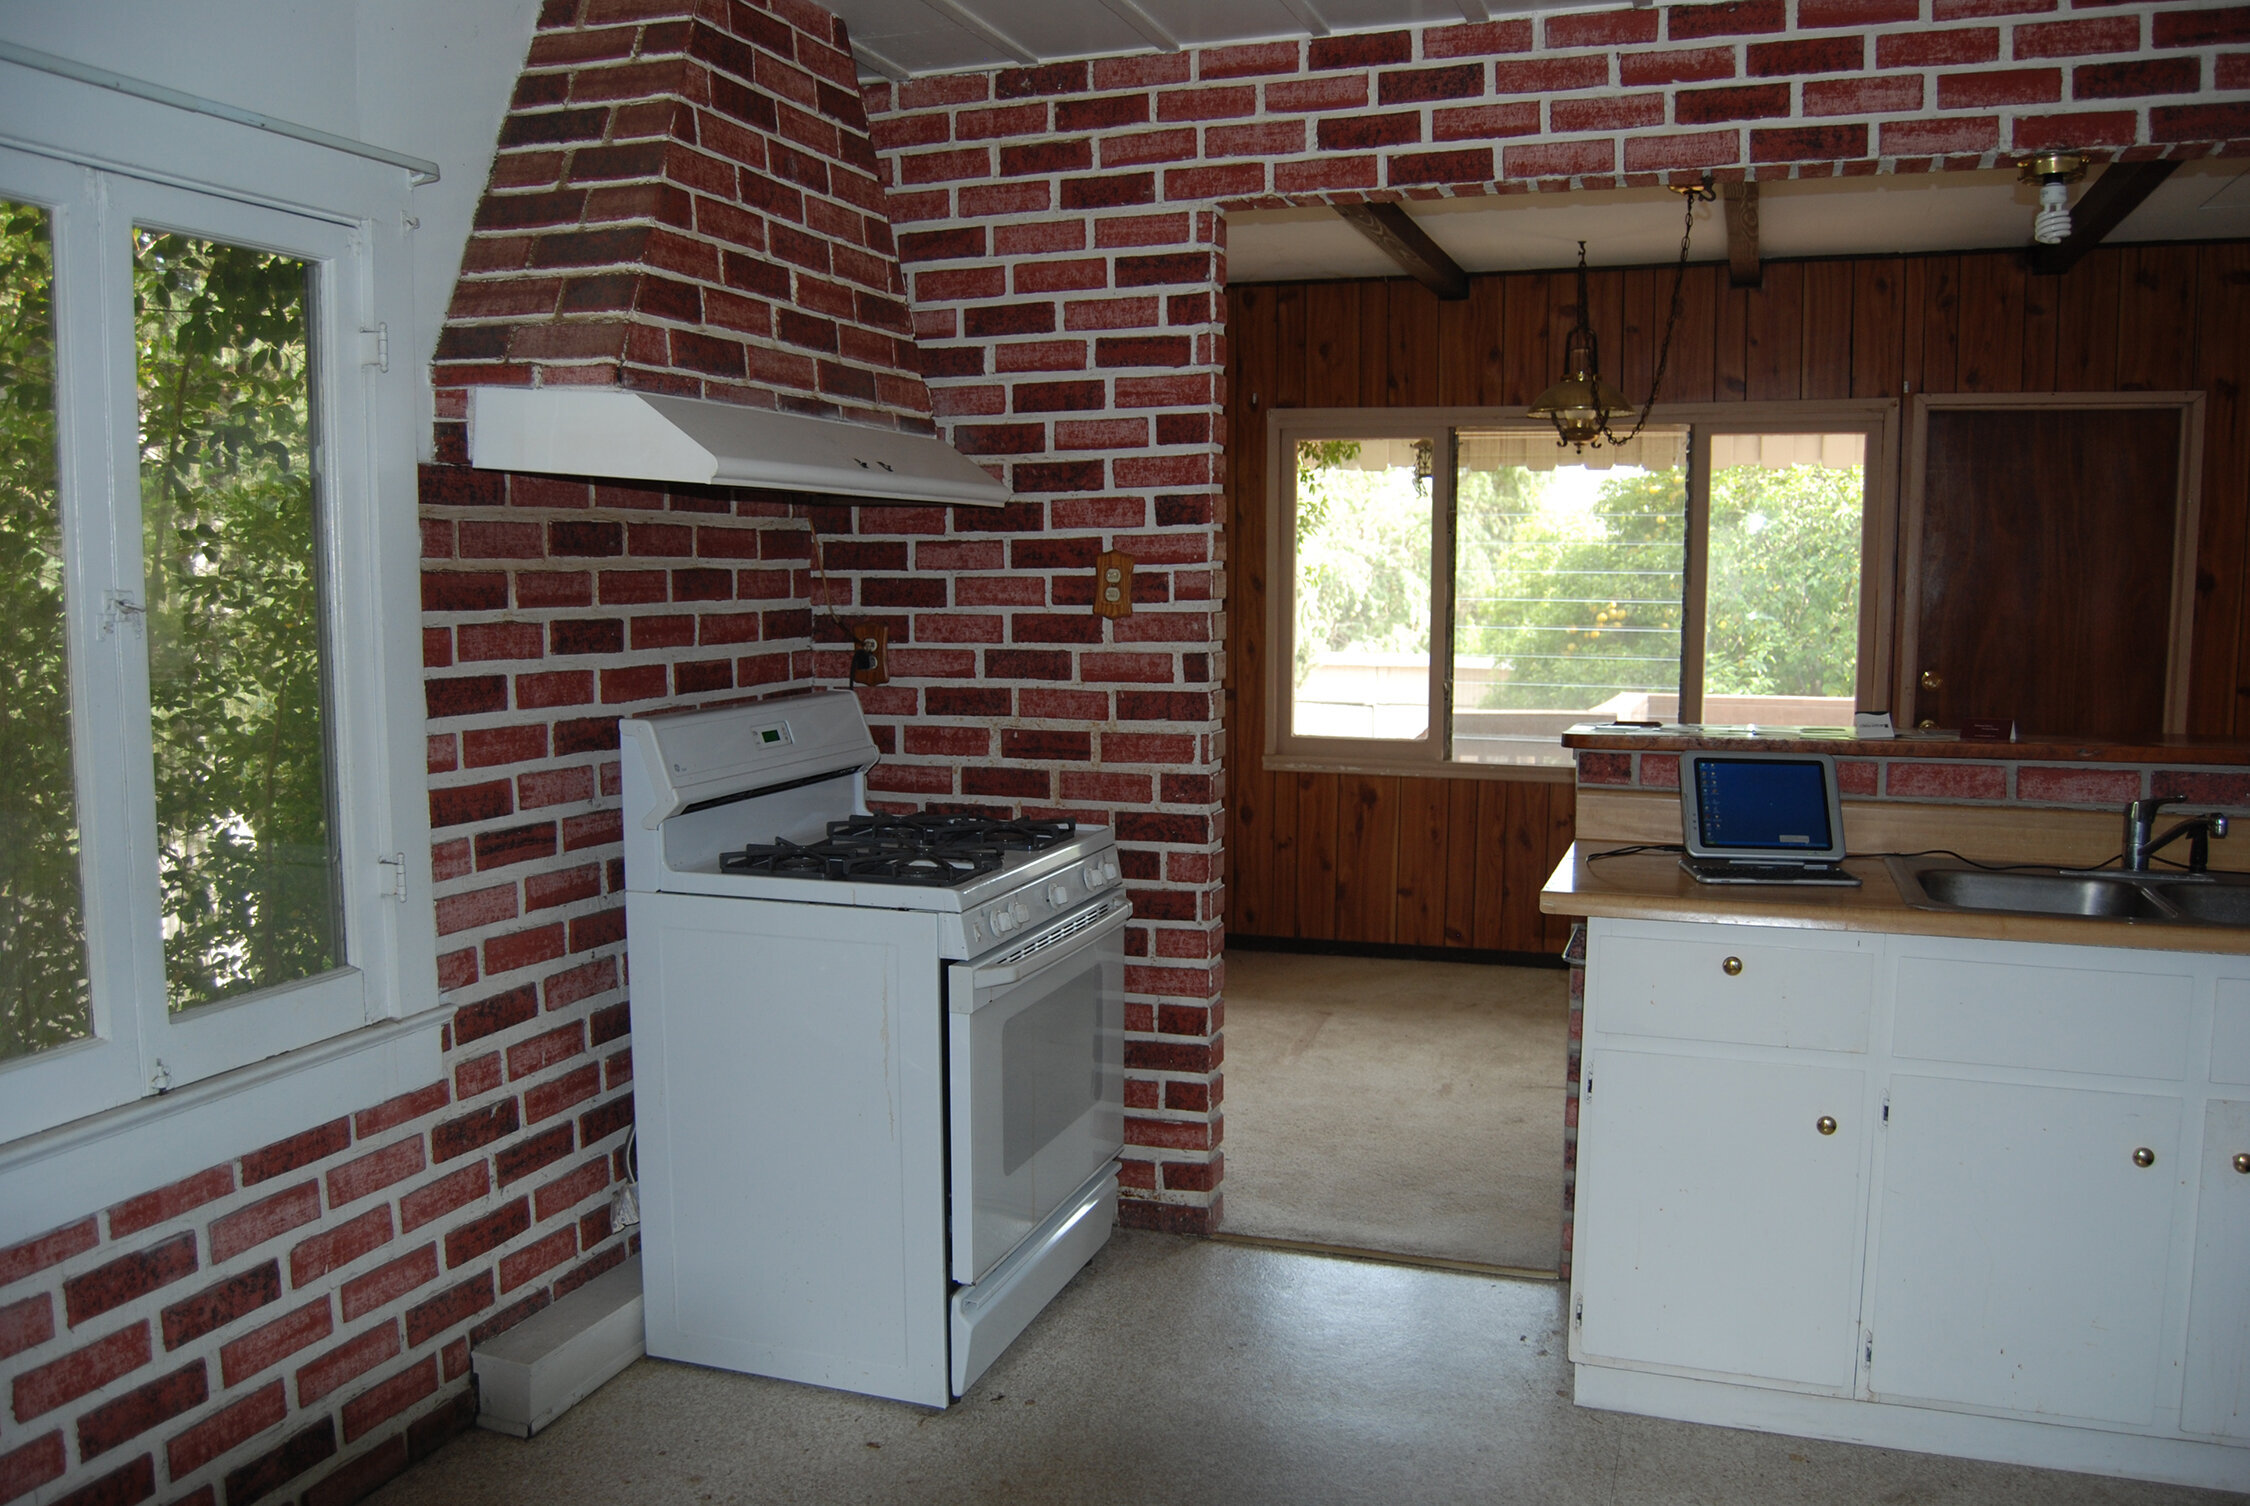
Before.
Before.
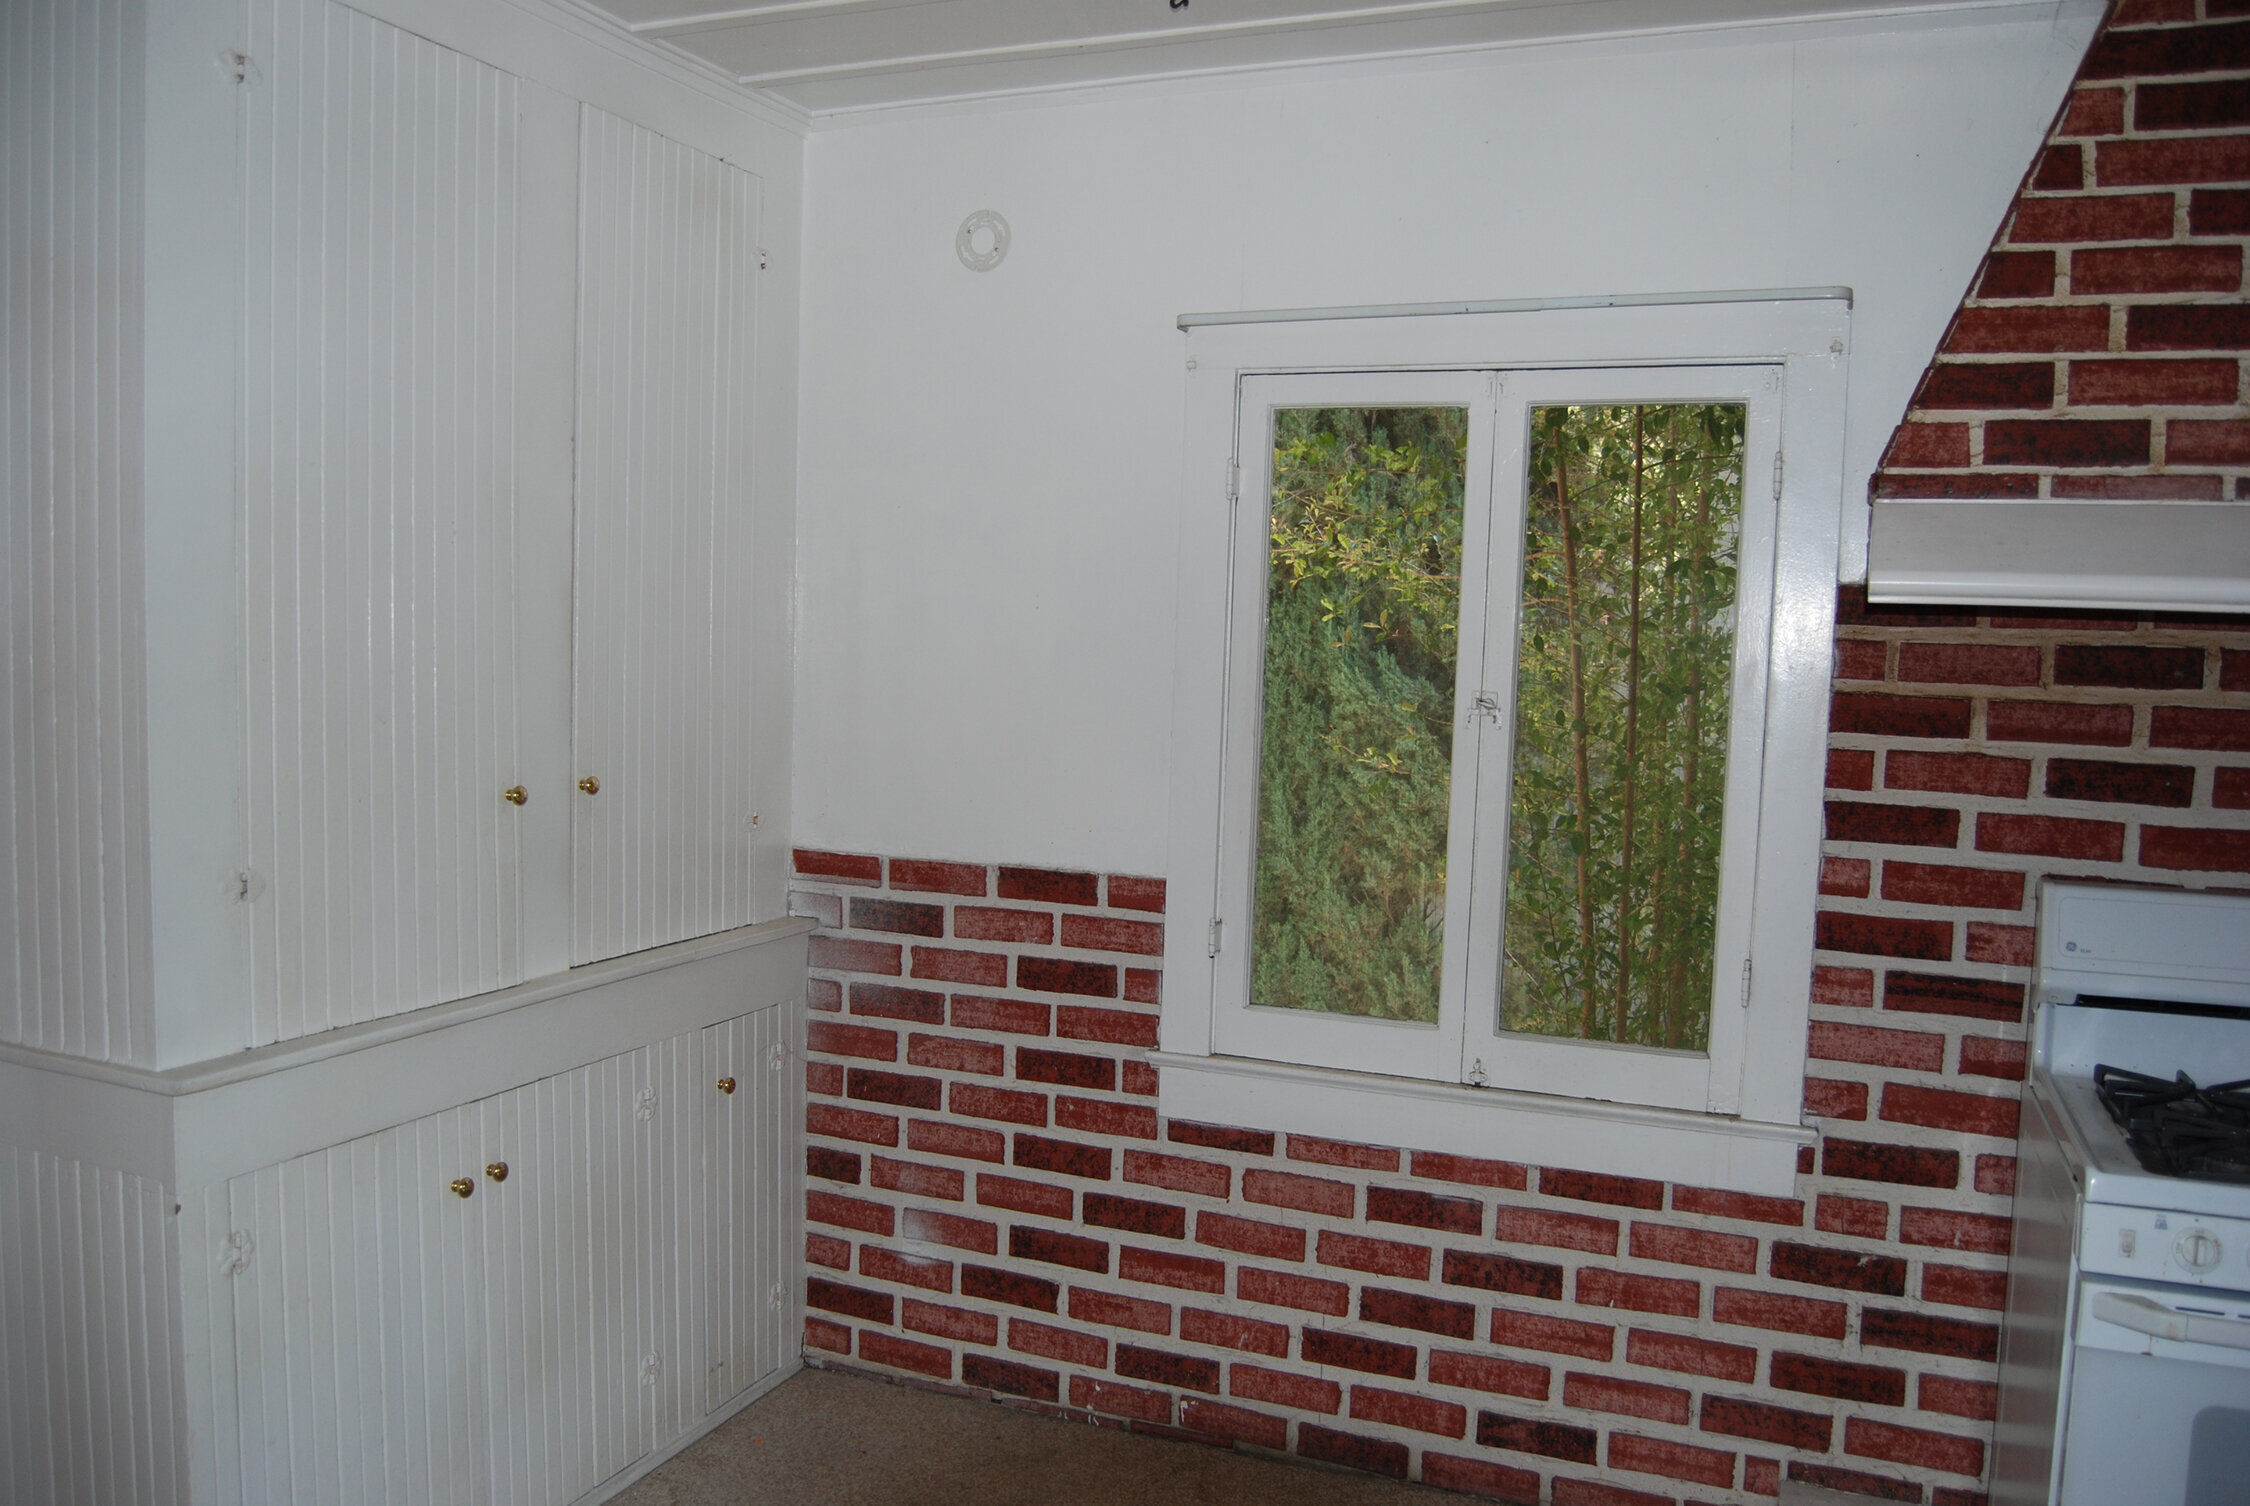
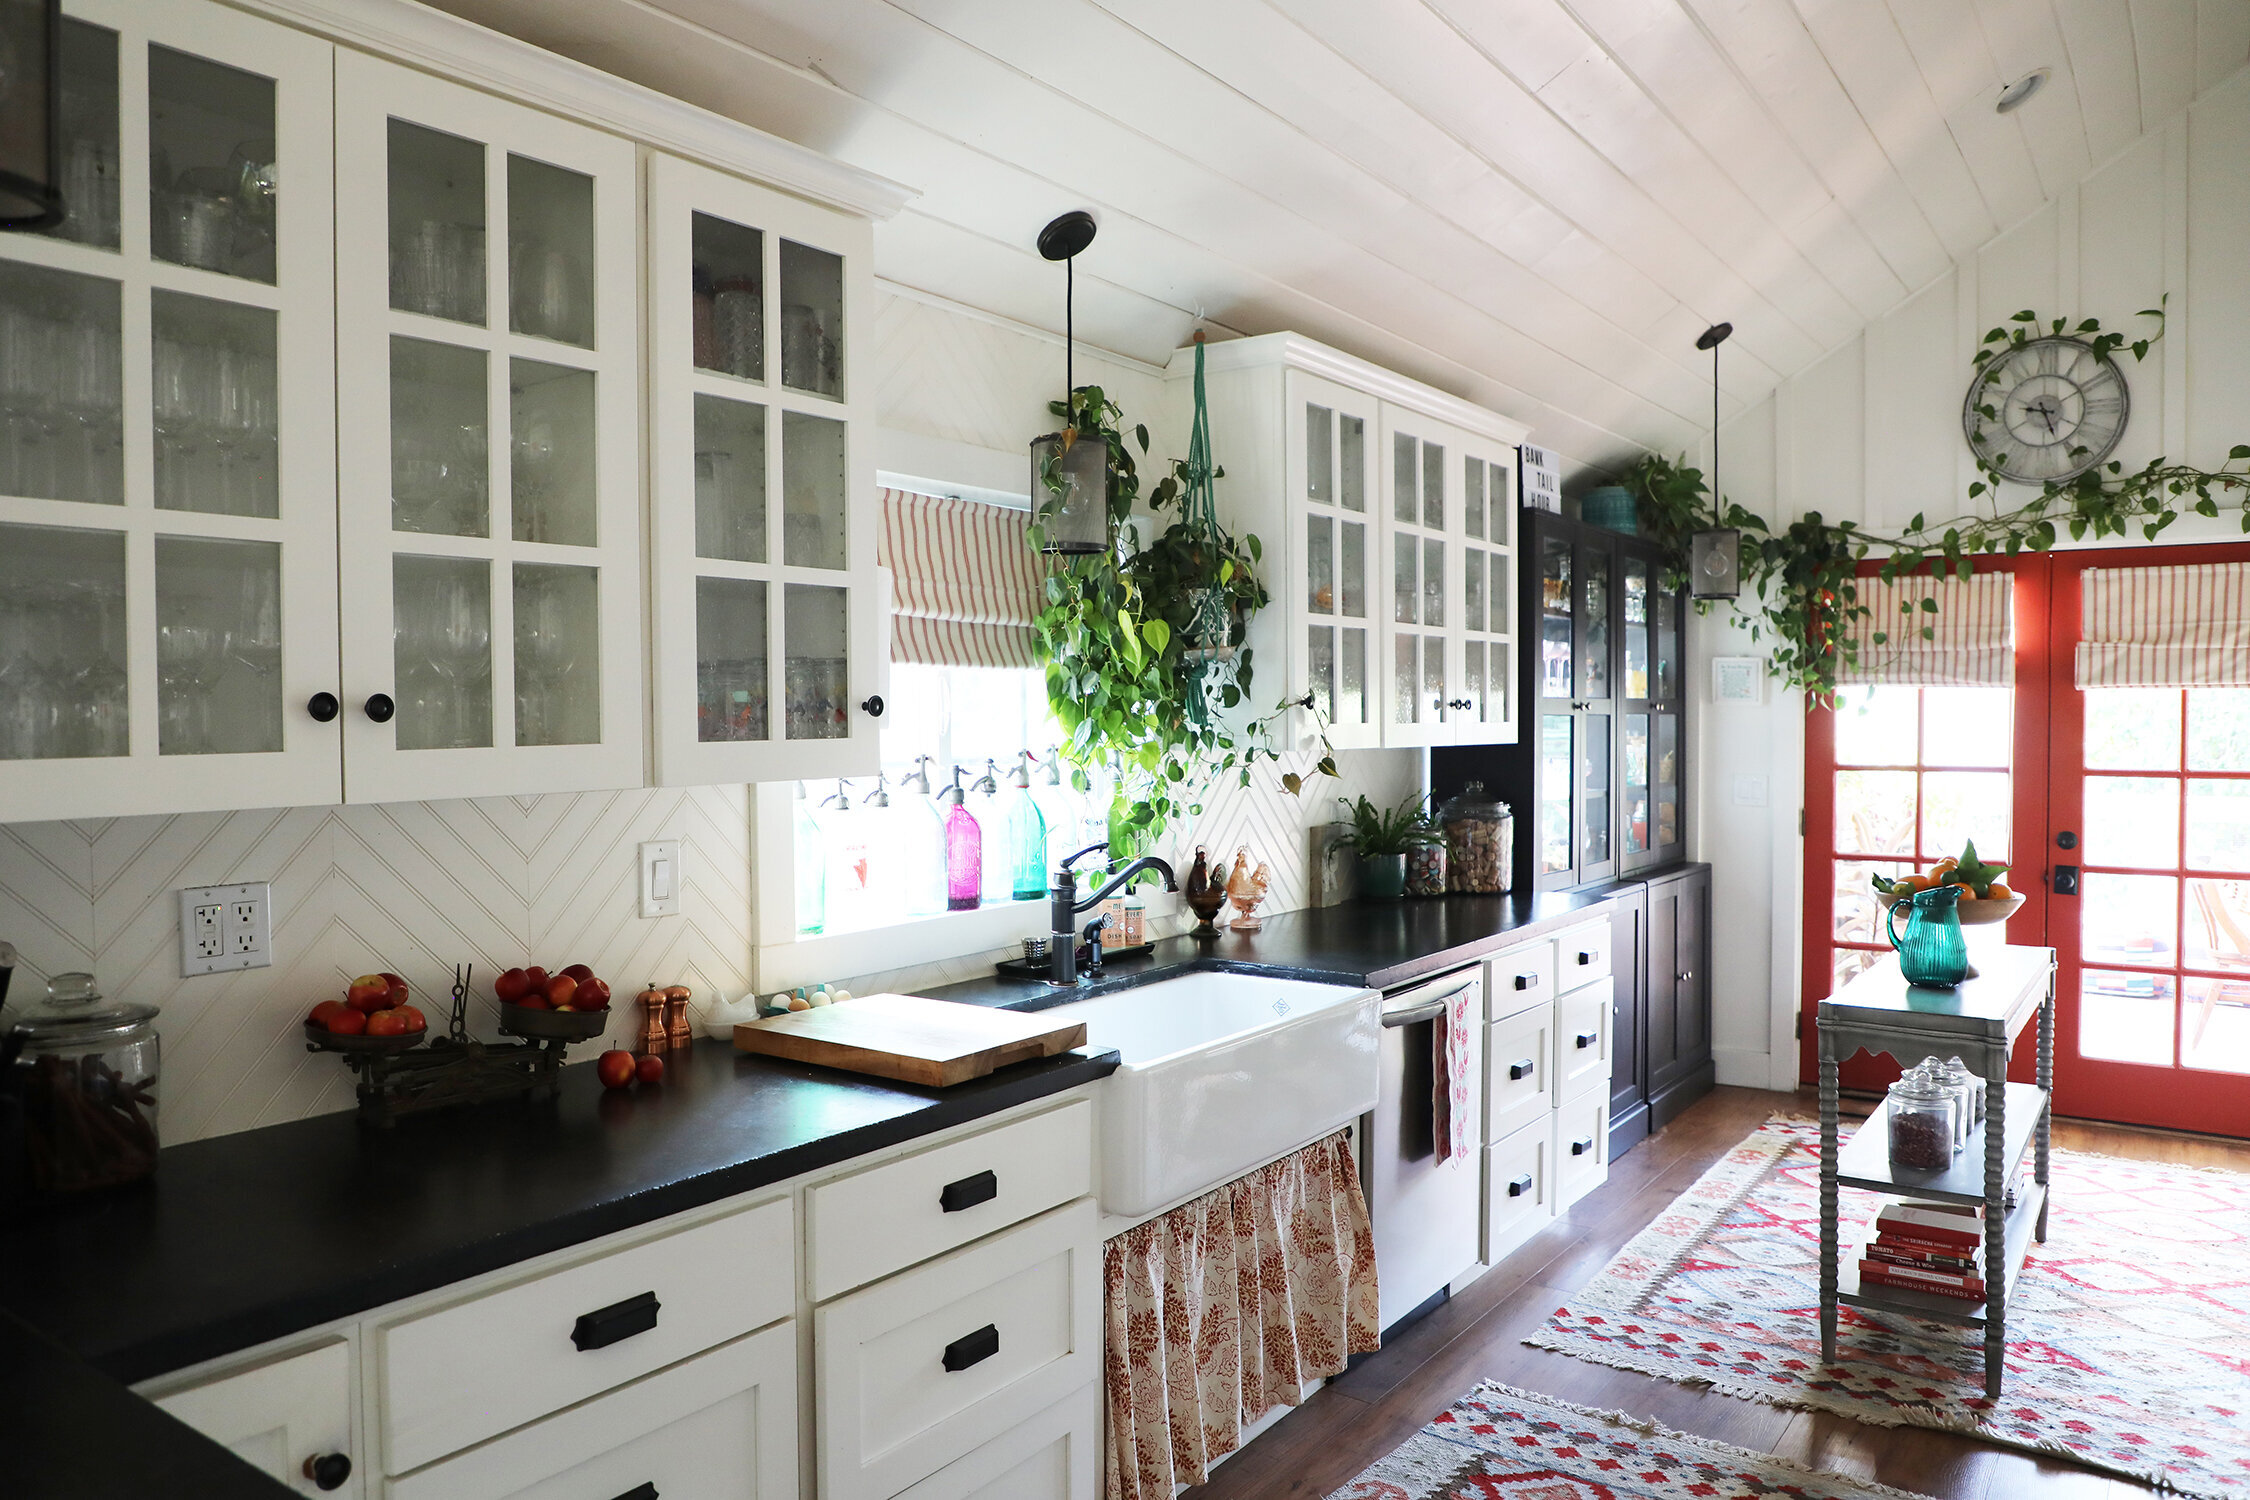
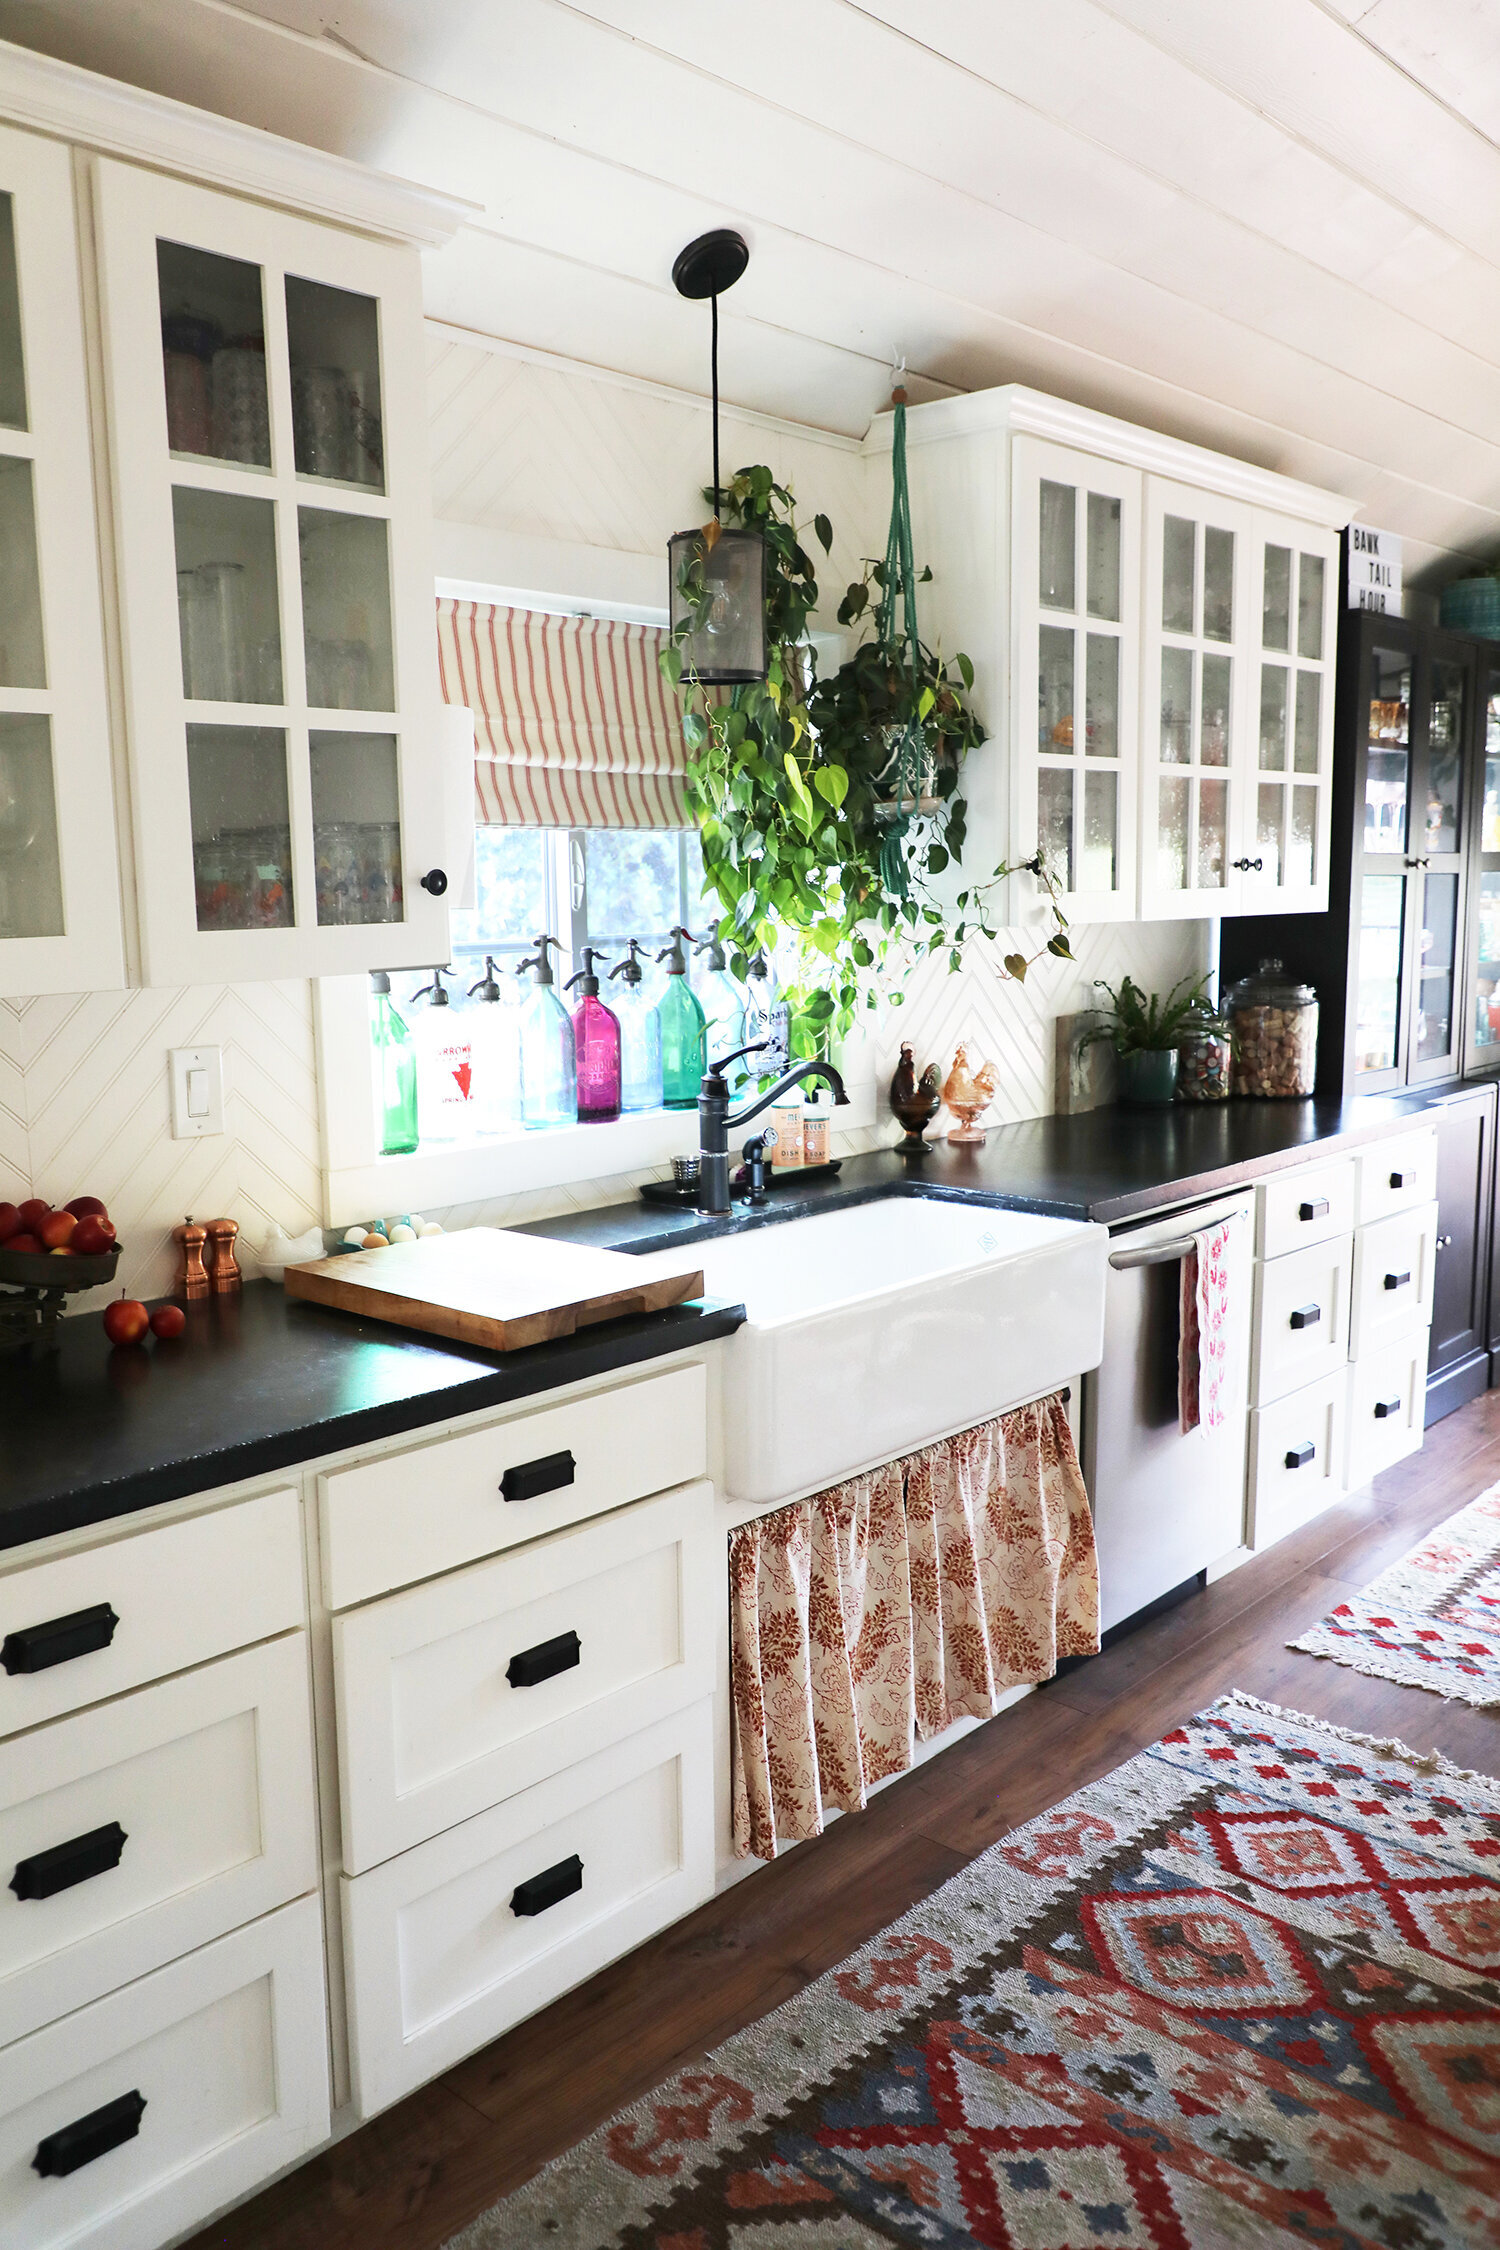
The single, solitary window that existed in the kitchen stayed in exactly the same spot, which will help you get your bearings in the next shot. We widened it and modernized it so that we could stick a farmhouse sink under it. And then of course, we put a few cabinets and countertops around it.
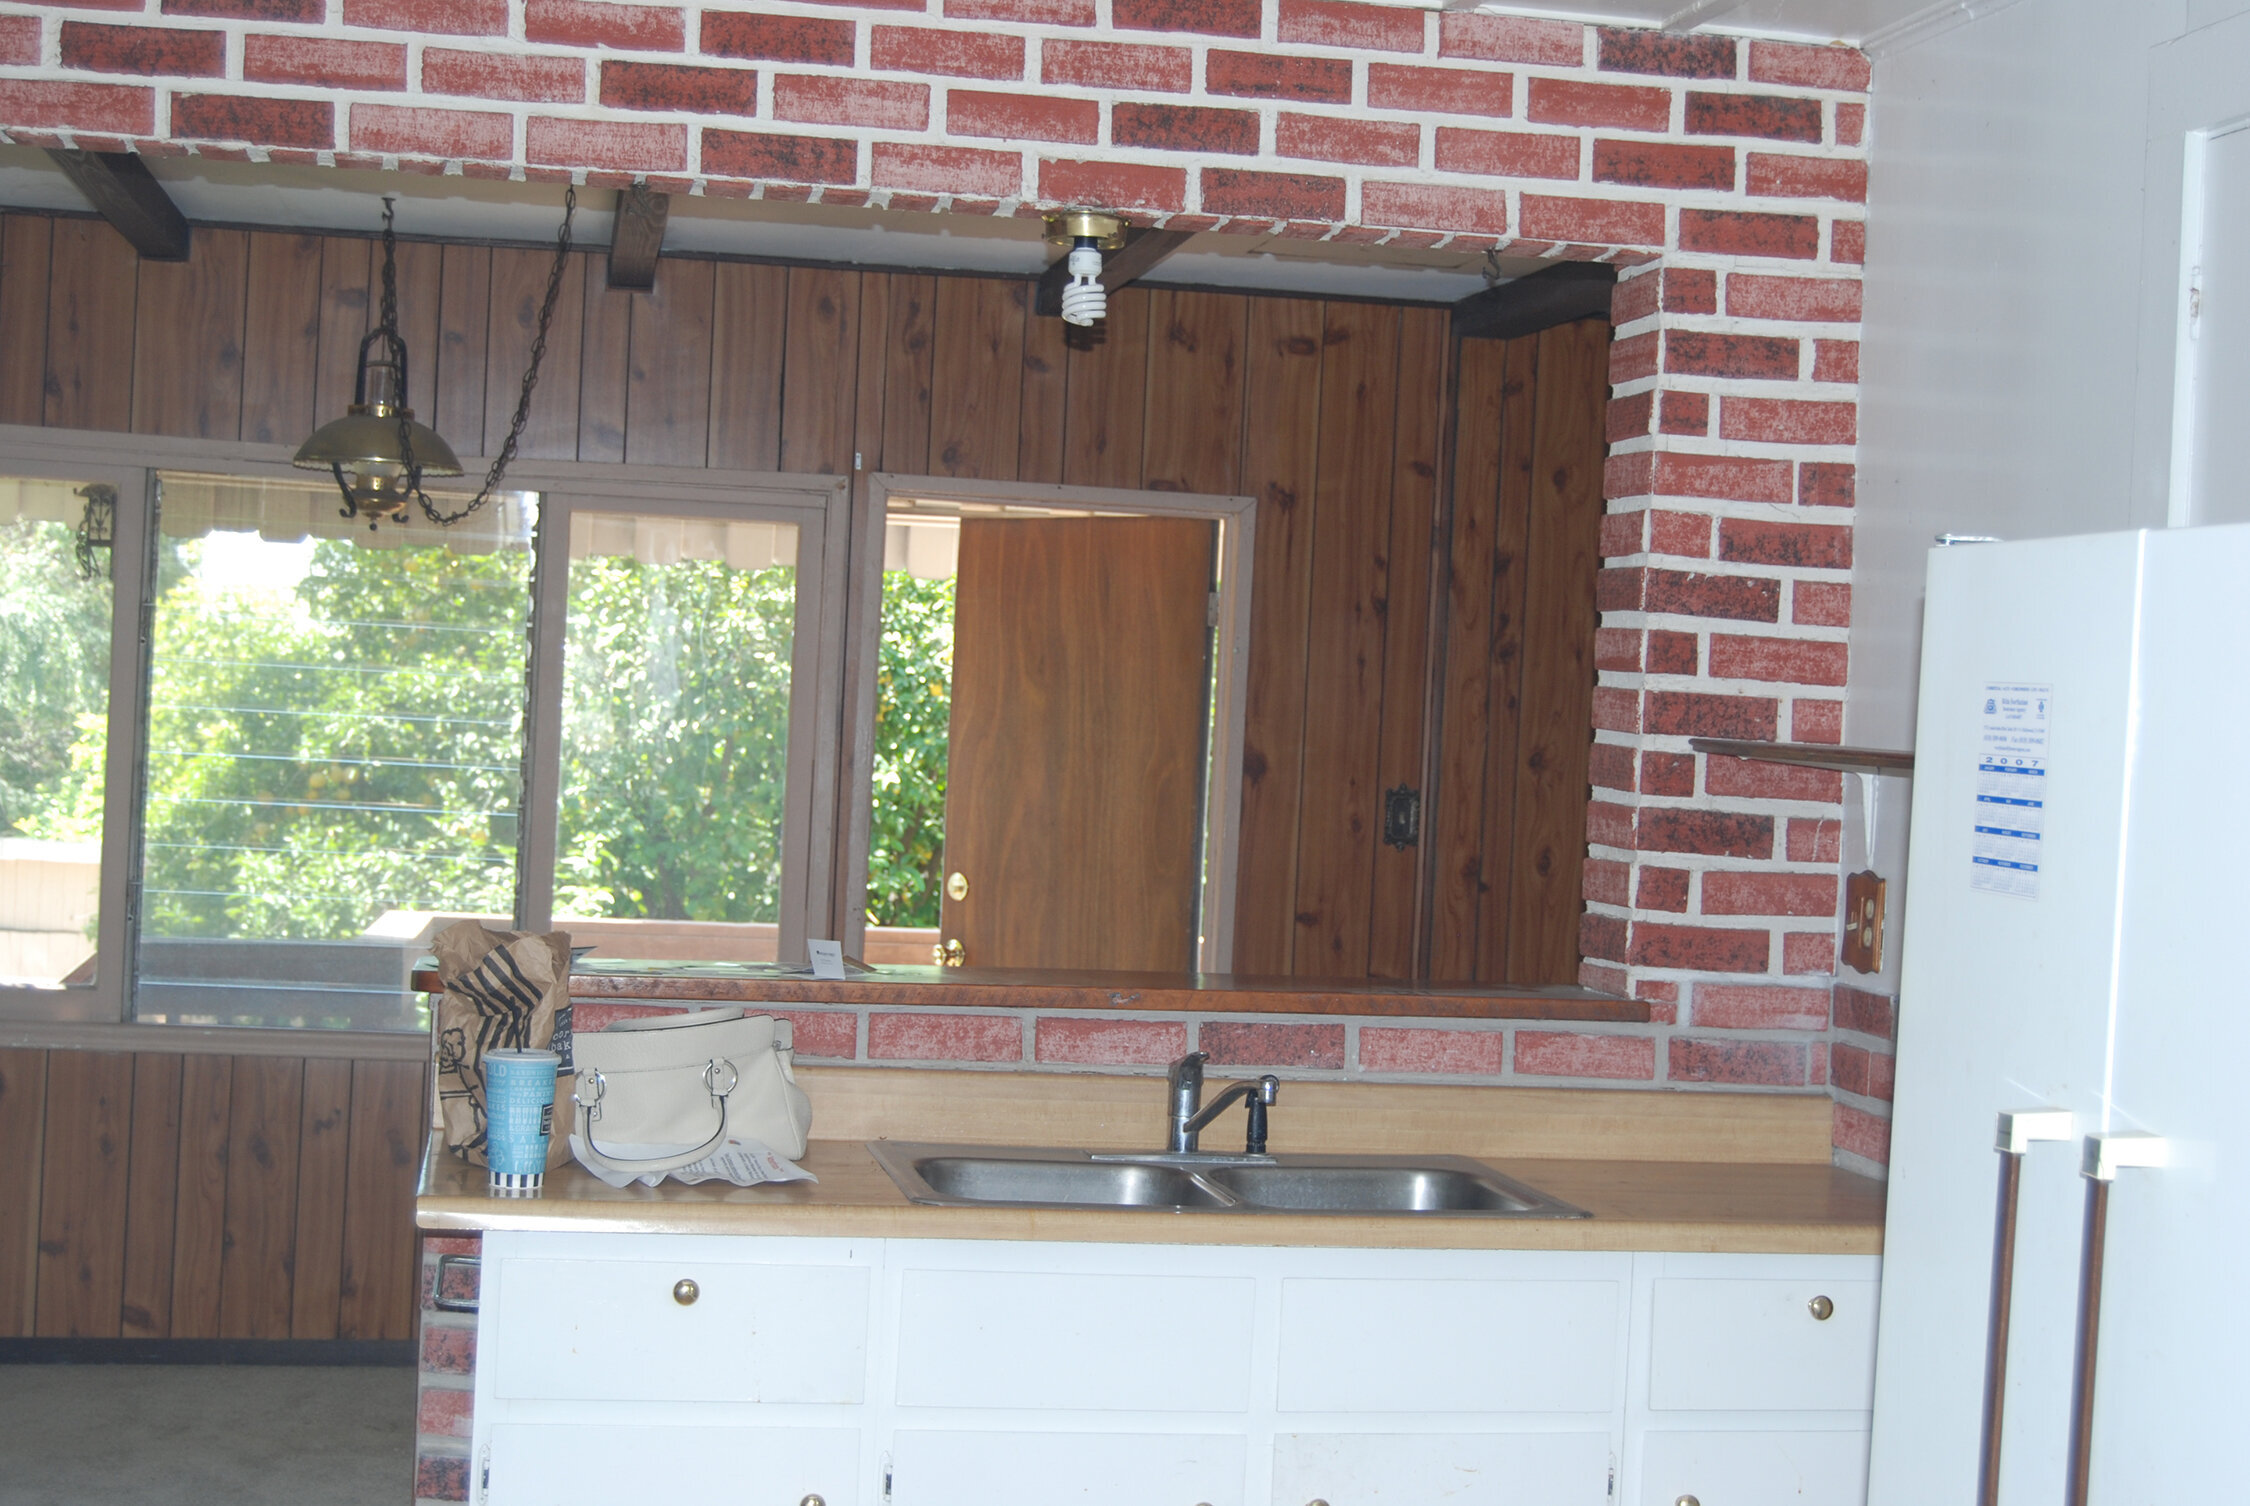
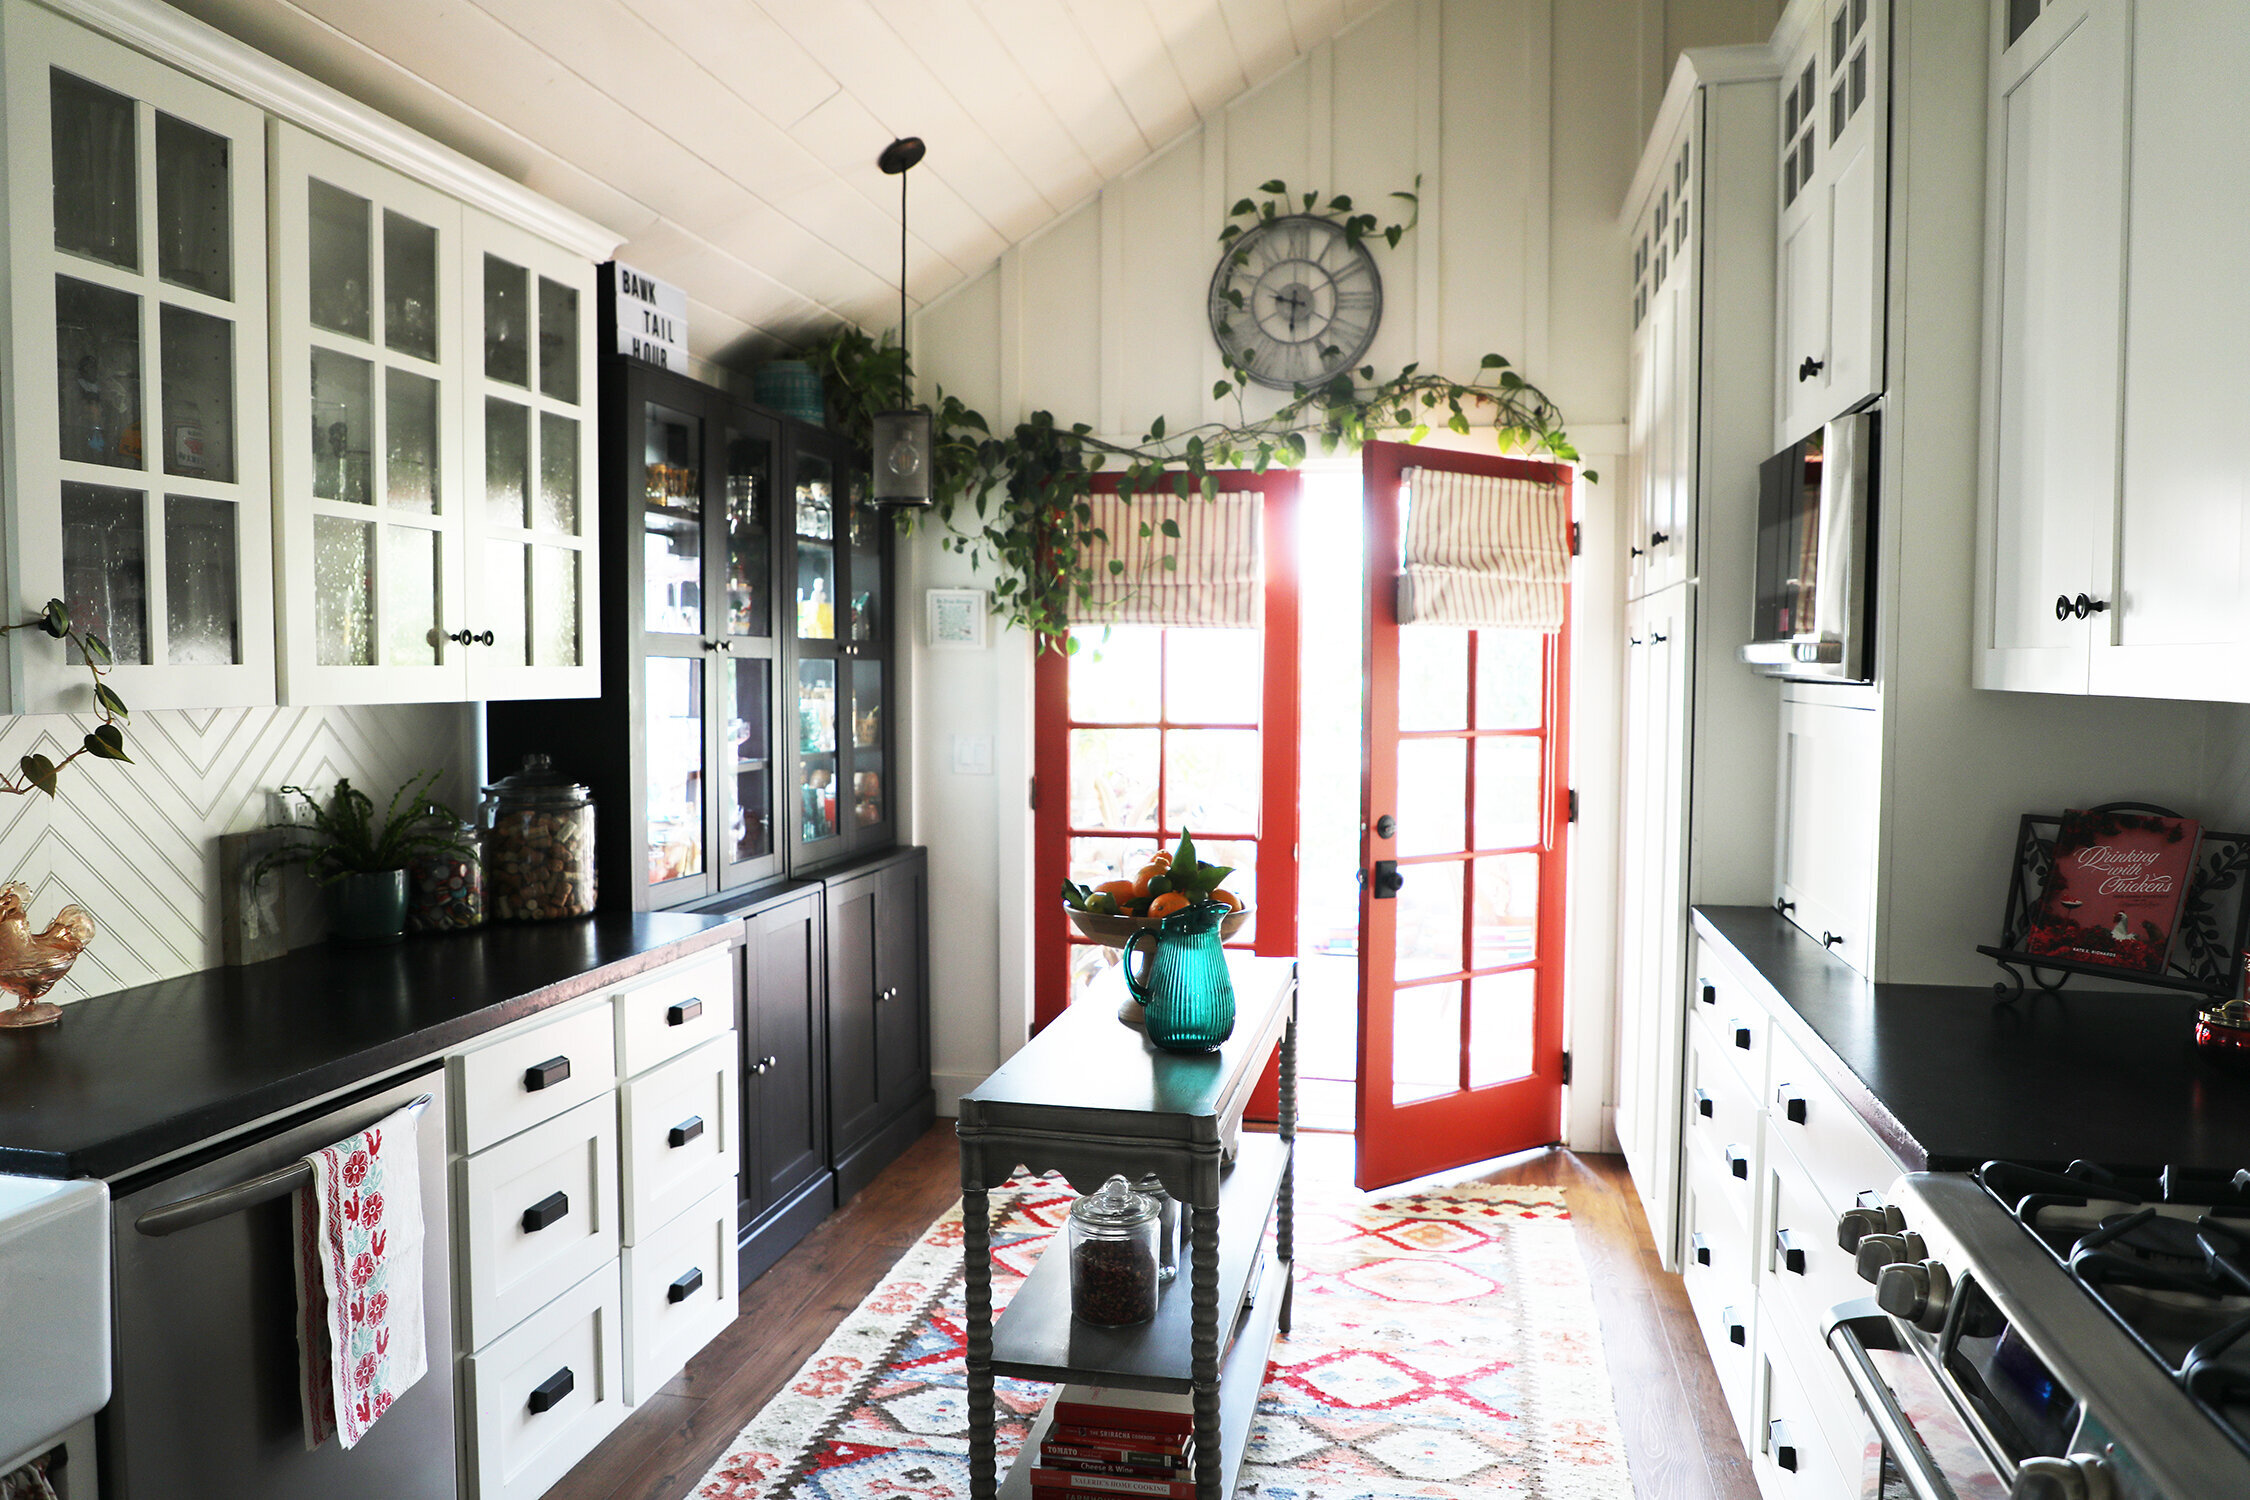
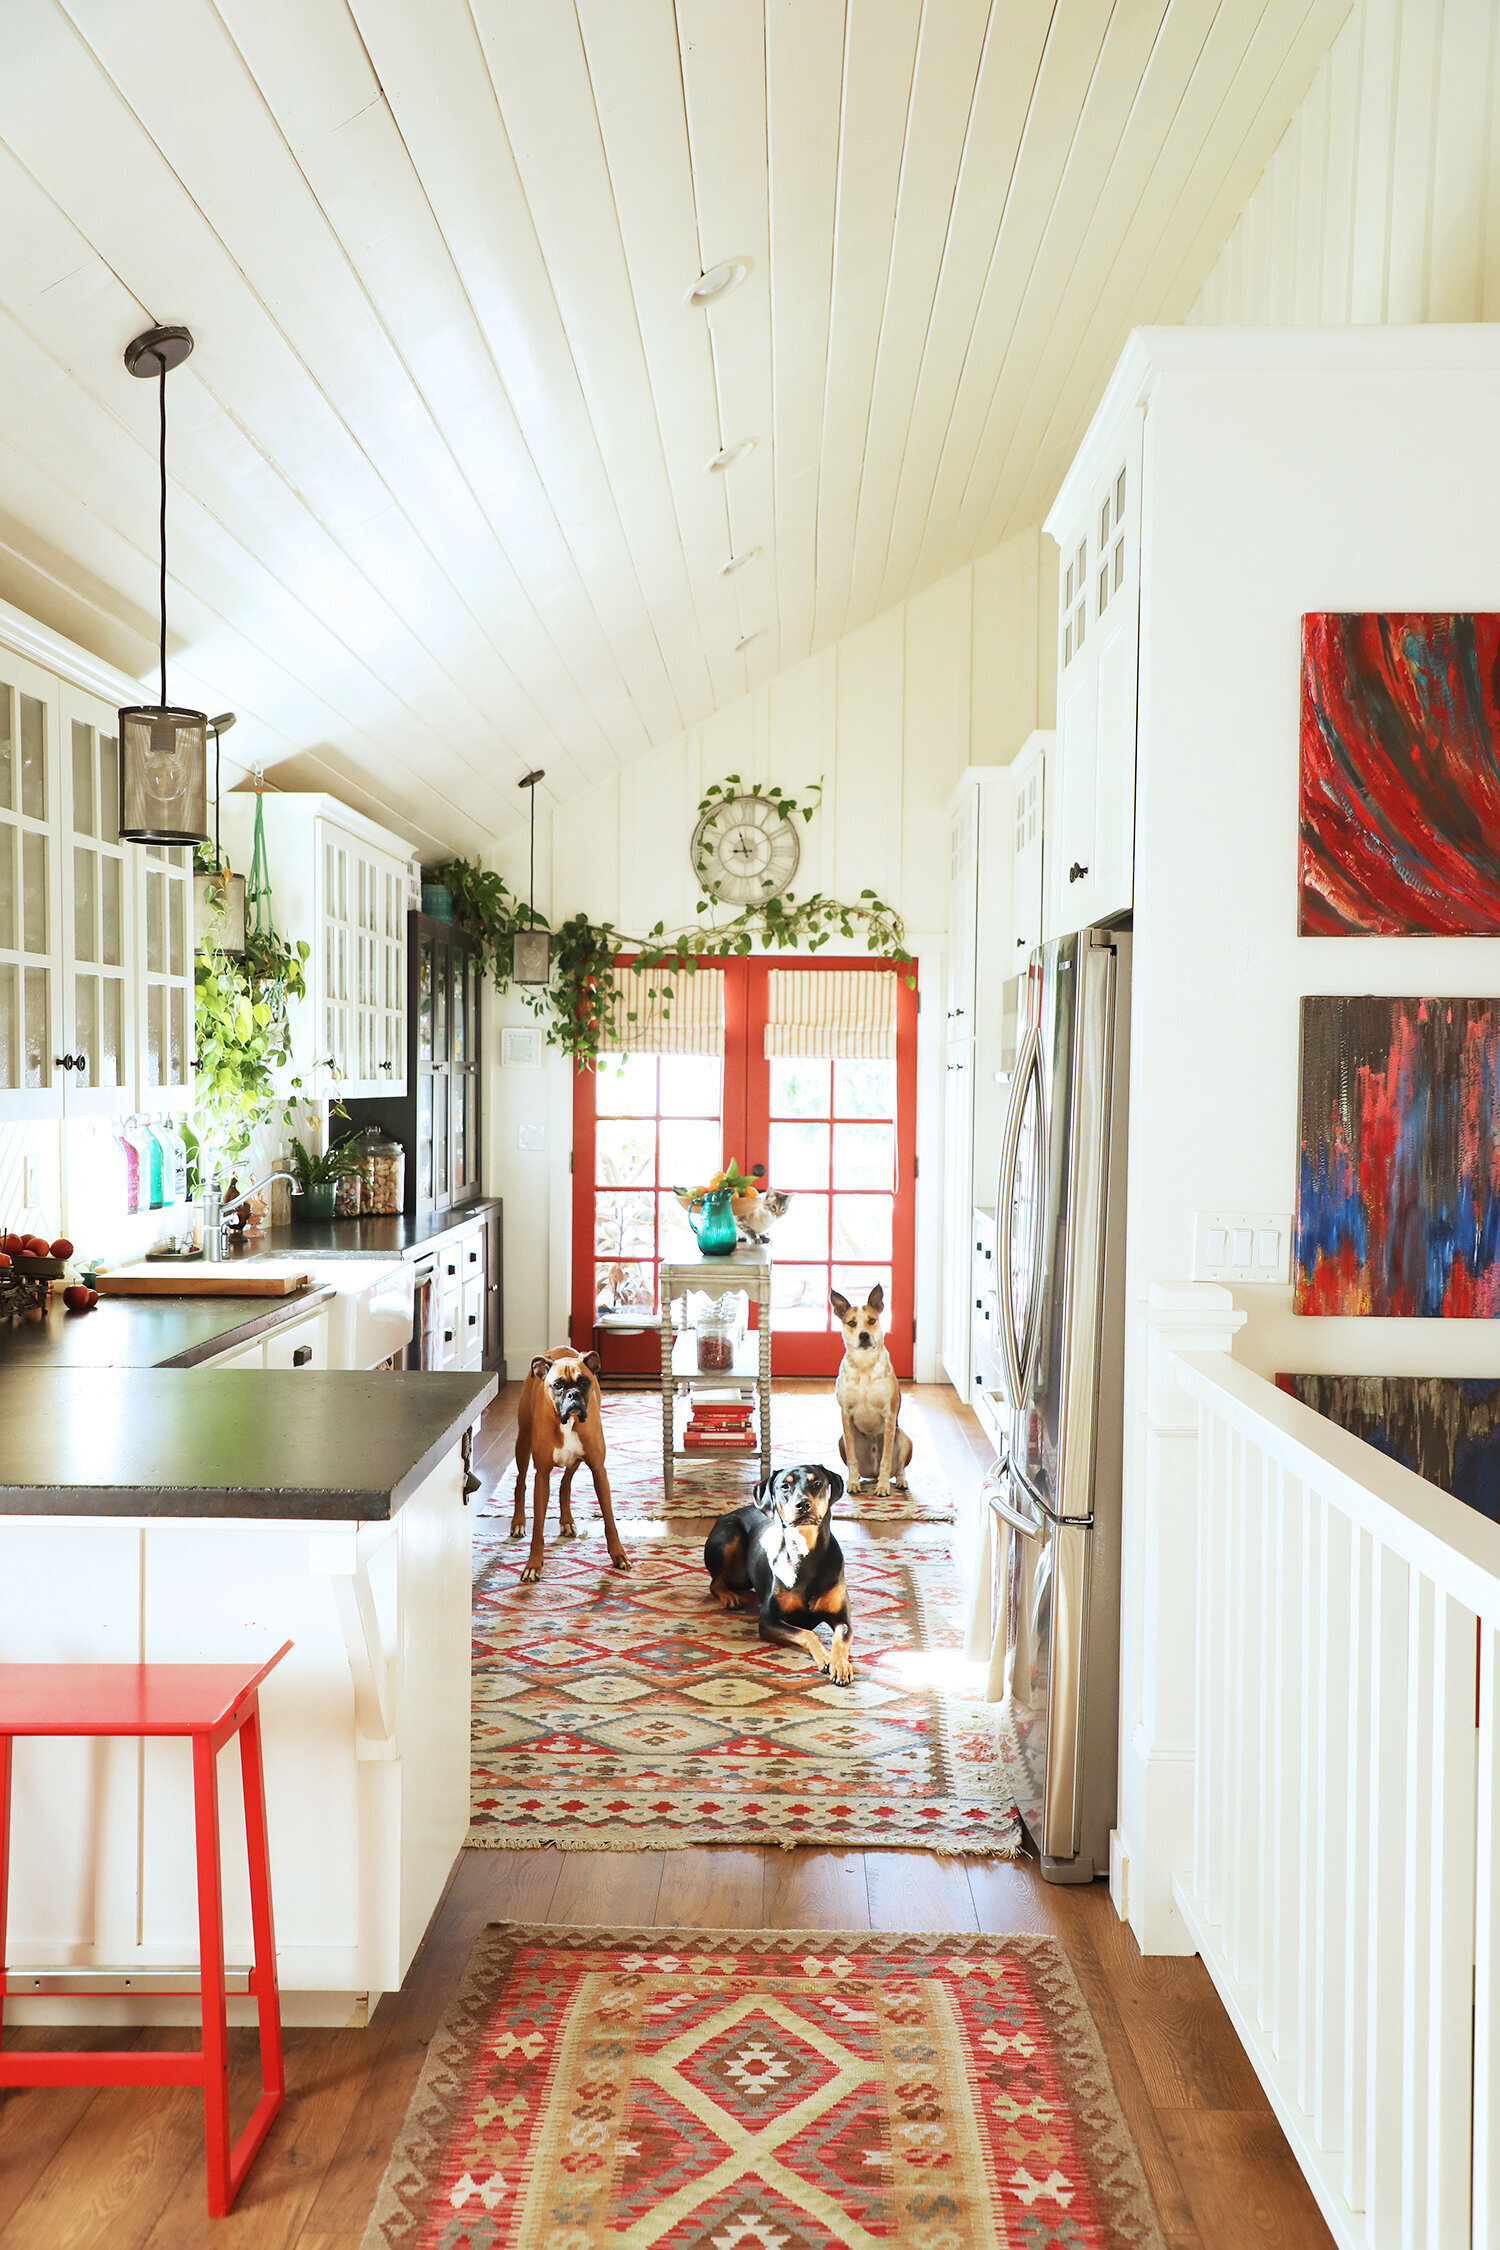
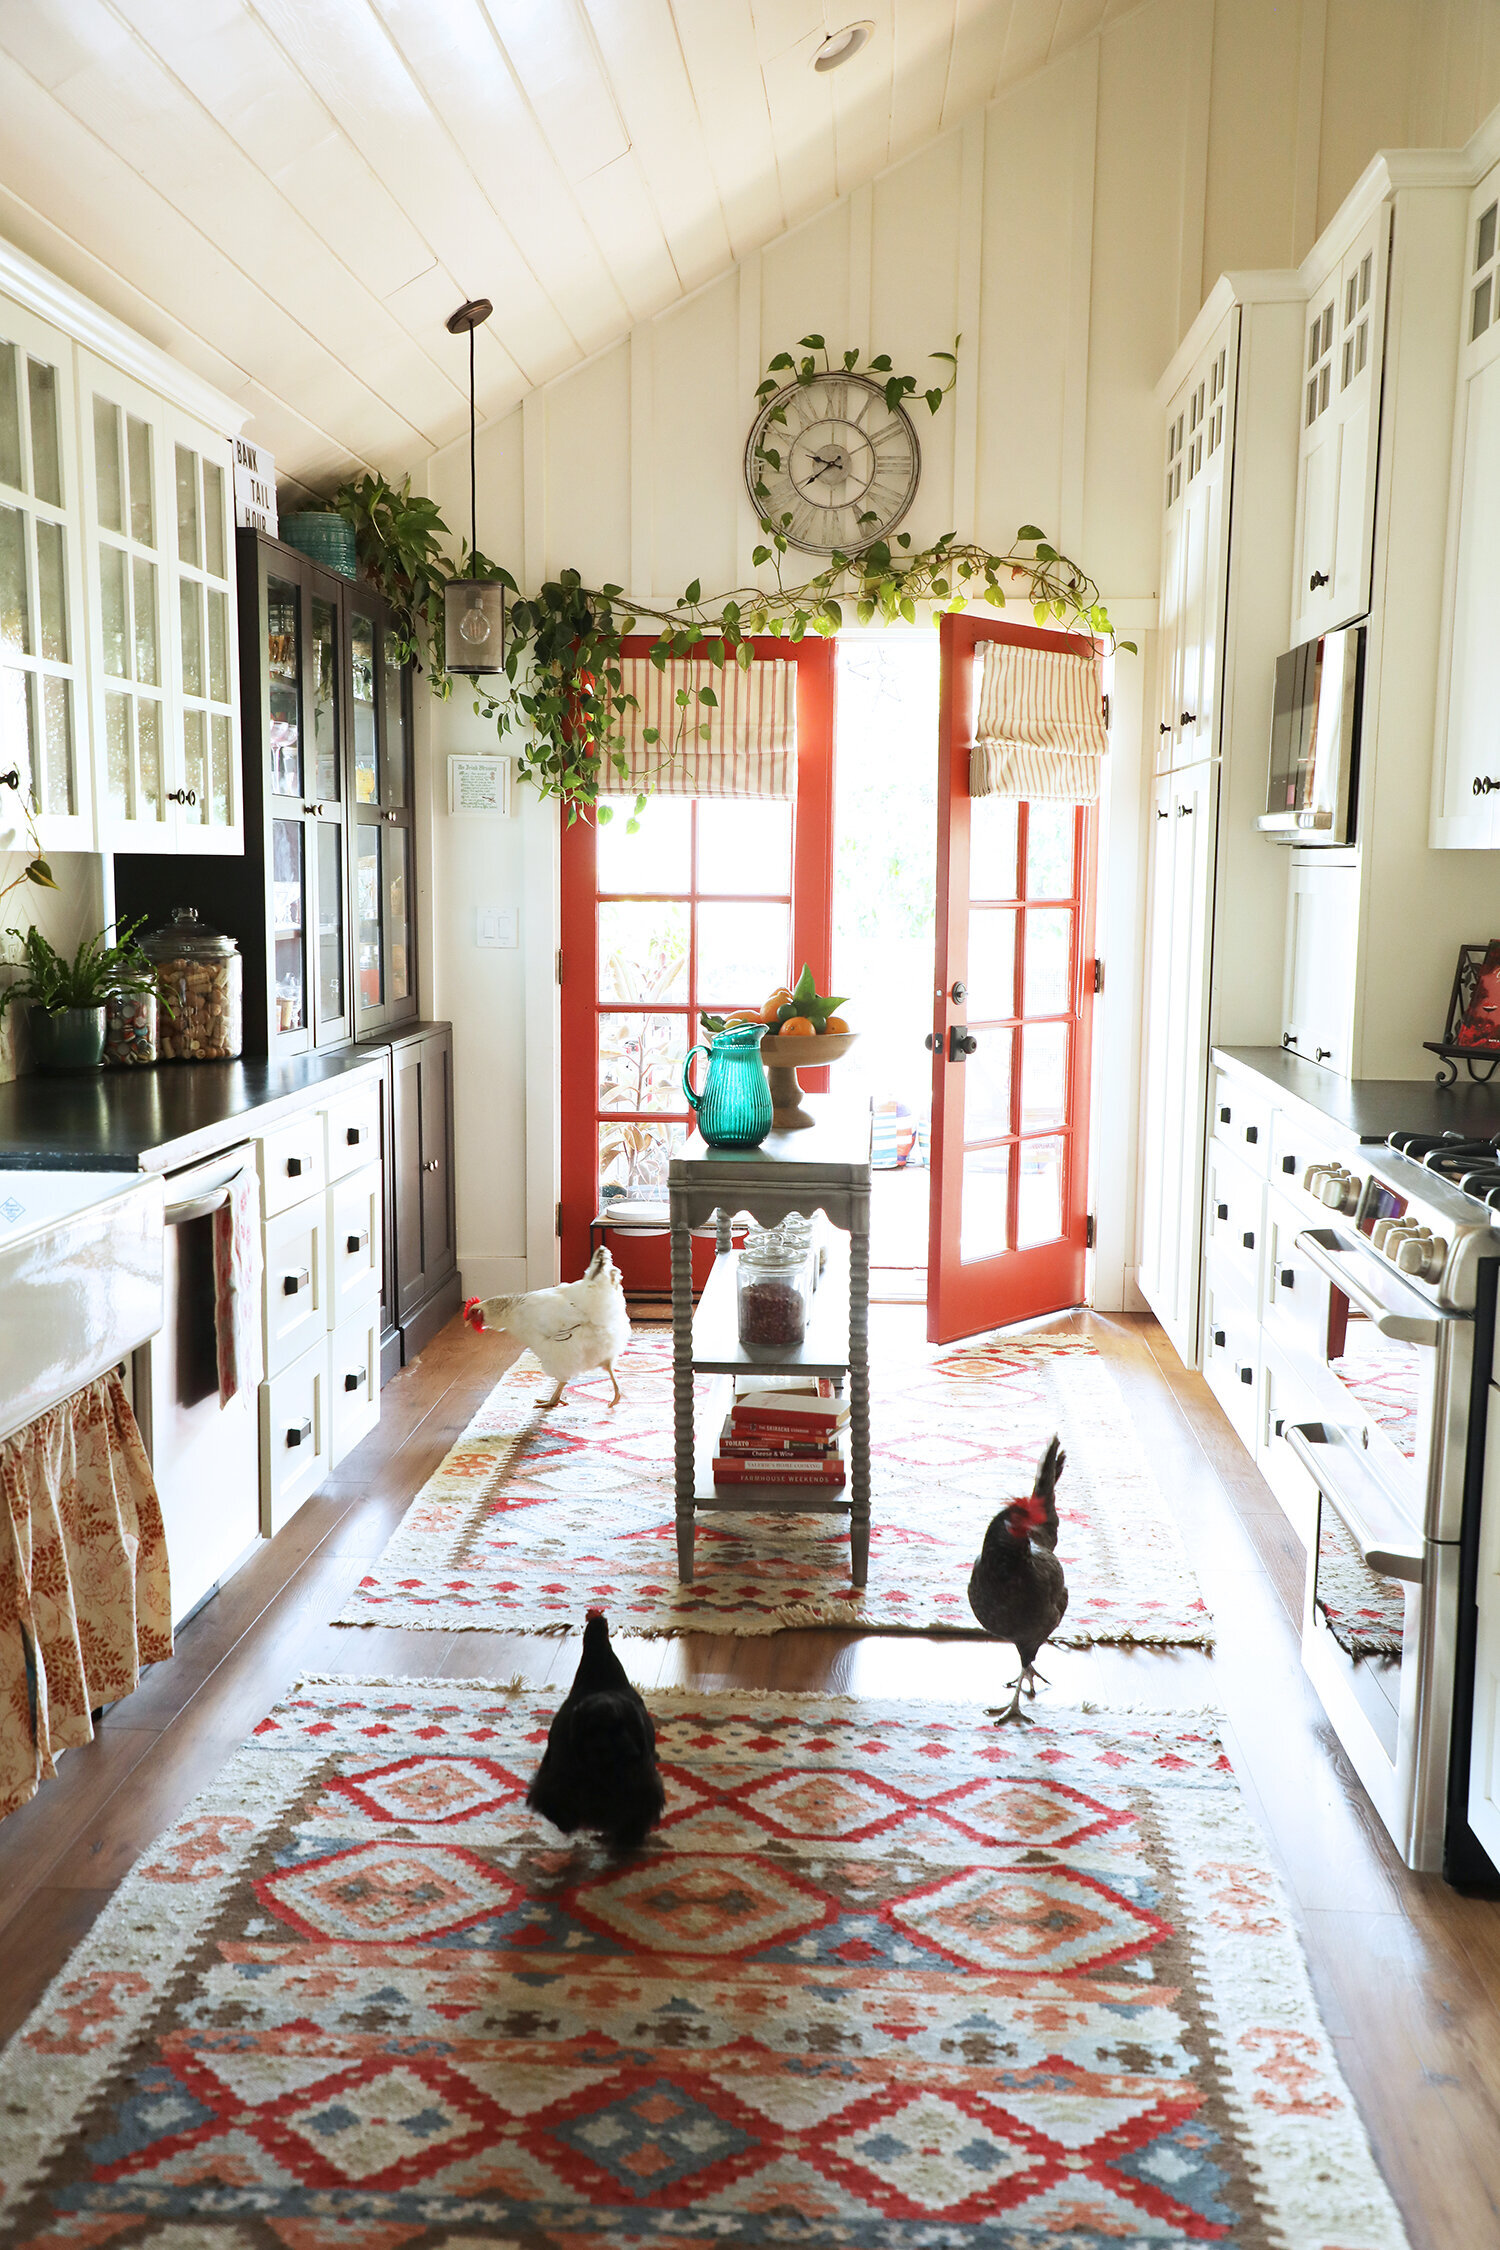
We tore out the dividing faux brick wall and peninsula on the far end and just opened everything the heck up. We replaced the bank of windows and the single door at the far end with double french doors that lead out onto the deck (more about the deck later). And of course, got rid of that carpet. Yeesh.
Before.
After.

Check out this functional fridge arrangement. It still makes me chuckle. The fridge actually stayed in more or less the same spot in the new kitchen, if you can believe it. We just built it into the cabinets instead of setting it in front of them.

After.

Before.
I must state for the record that I actually really loved those old bead board cupboards. And I really wanted to try to repurpose them—but ultimately, they were in such garbage shape that we had to let them go. My chevron bead board backsplashes are a nod to those cabinets (incidentally, I get a lot of requests for tutorials on these backsplashes—look for that in a blog post soon!).
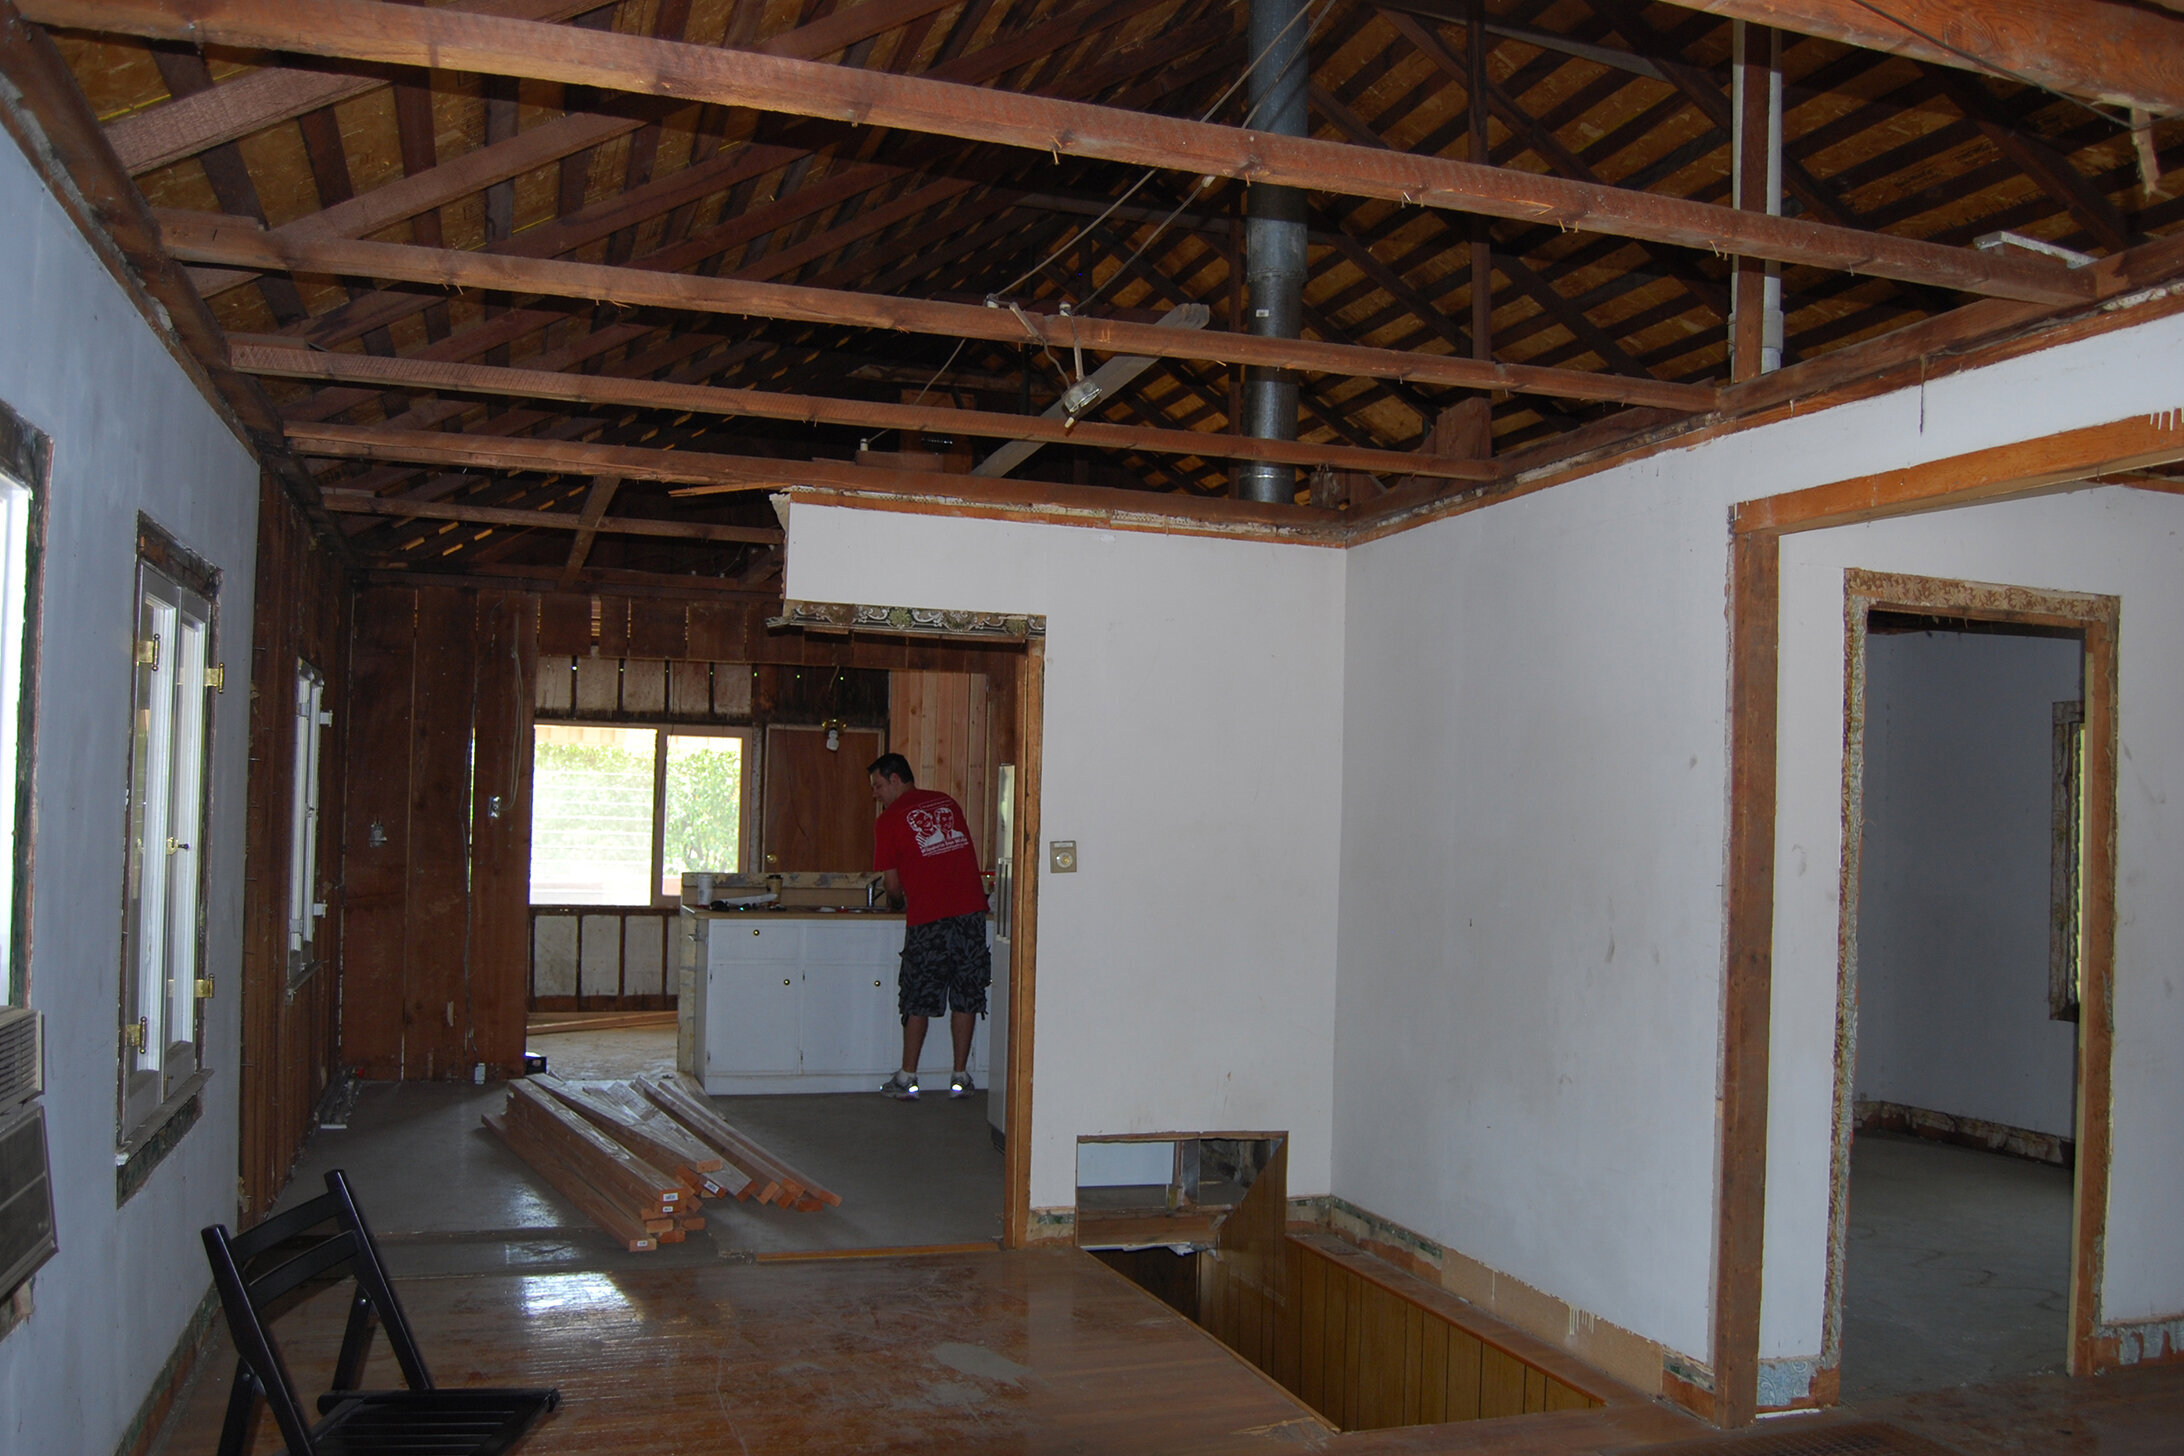
Now let’s take a look at some images from once we started tearing these “walls” down.
Check out those layers and layers of wallpaper hanging out under the white paneling. You can also sort of see in the foreground but also in the background, how the walls were constructed of boards. The back wall, which is an exterior wall, was only made from these boards with the 70’s wood paneling on the inside. Which explains why there were vines growing in and little spots of daylight in the walls. At one point, before the 70’s paneling went up to “modernize” the space, the walls were just board and batten with wallpaper on the interior surface. COOLCOOLCOOL.
I think that about sums up the before and after tour of this space—so let’s talk some details.
Countertops: I reeeeeeeeeeeeeeally wanted soapstone counters in here. Badly. But….yeah no, we could not afford them. Not even remotely. Luckily for us, our contractor buddy had always wanted to try to make concrete countertops and agreed to help us experiment with that instead. So that’s what we did. With the full intention of replacing them eventually with some sort of stone. Here we are 13 years later, and do you think we have replaced them. NOPE. They’ve held up great. AND IF IT AIN’T BROKE….
The sink: probably the only “splurge” in this entire space (frankly, there were probably only something like 3 splurges in this entire renovation) was that farmhouse sink (sources listed below). Or what we refer to as the kitchen bathtub. It’s big, it’s deep, and I will never not have a sink like this again. It has been THE ABSOLUTE BEST.
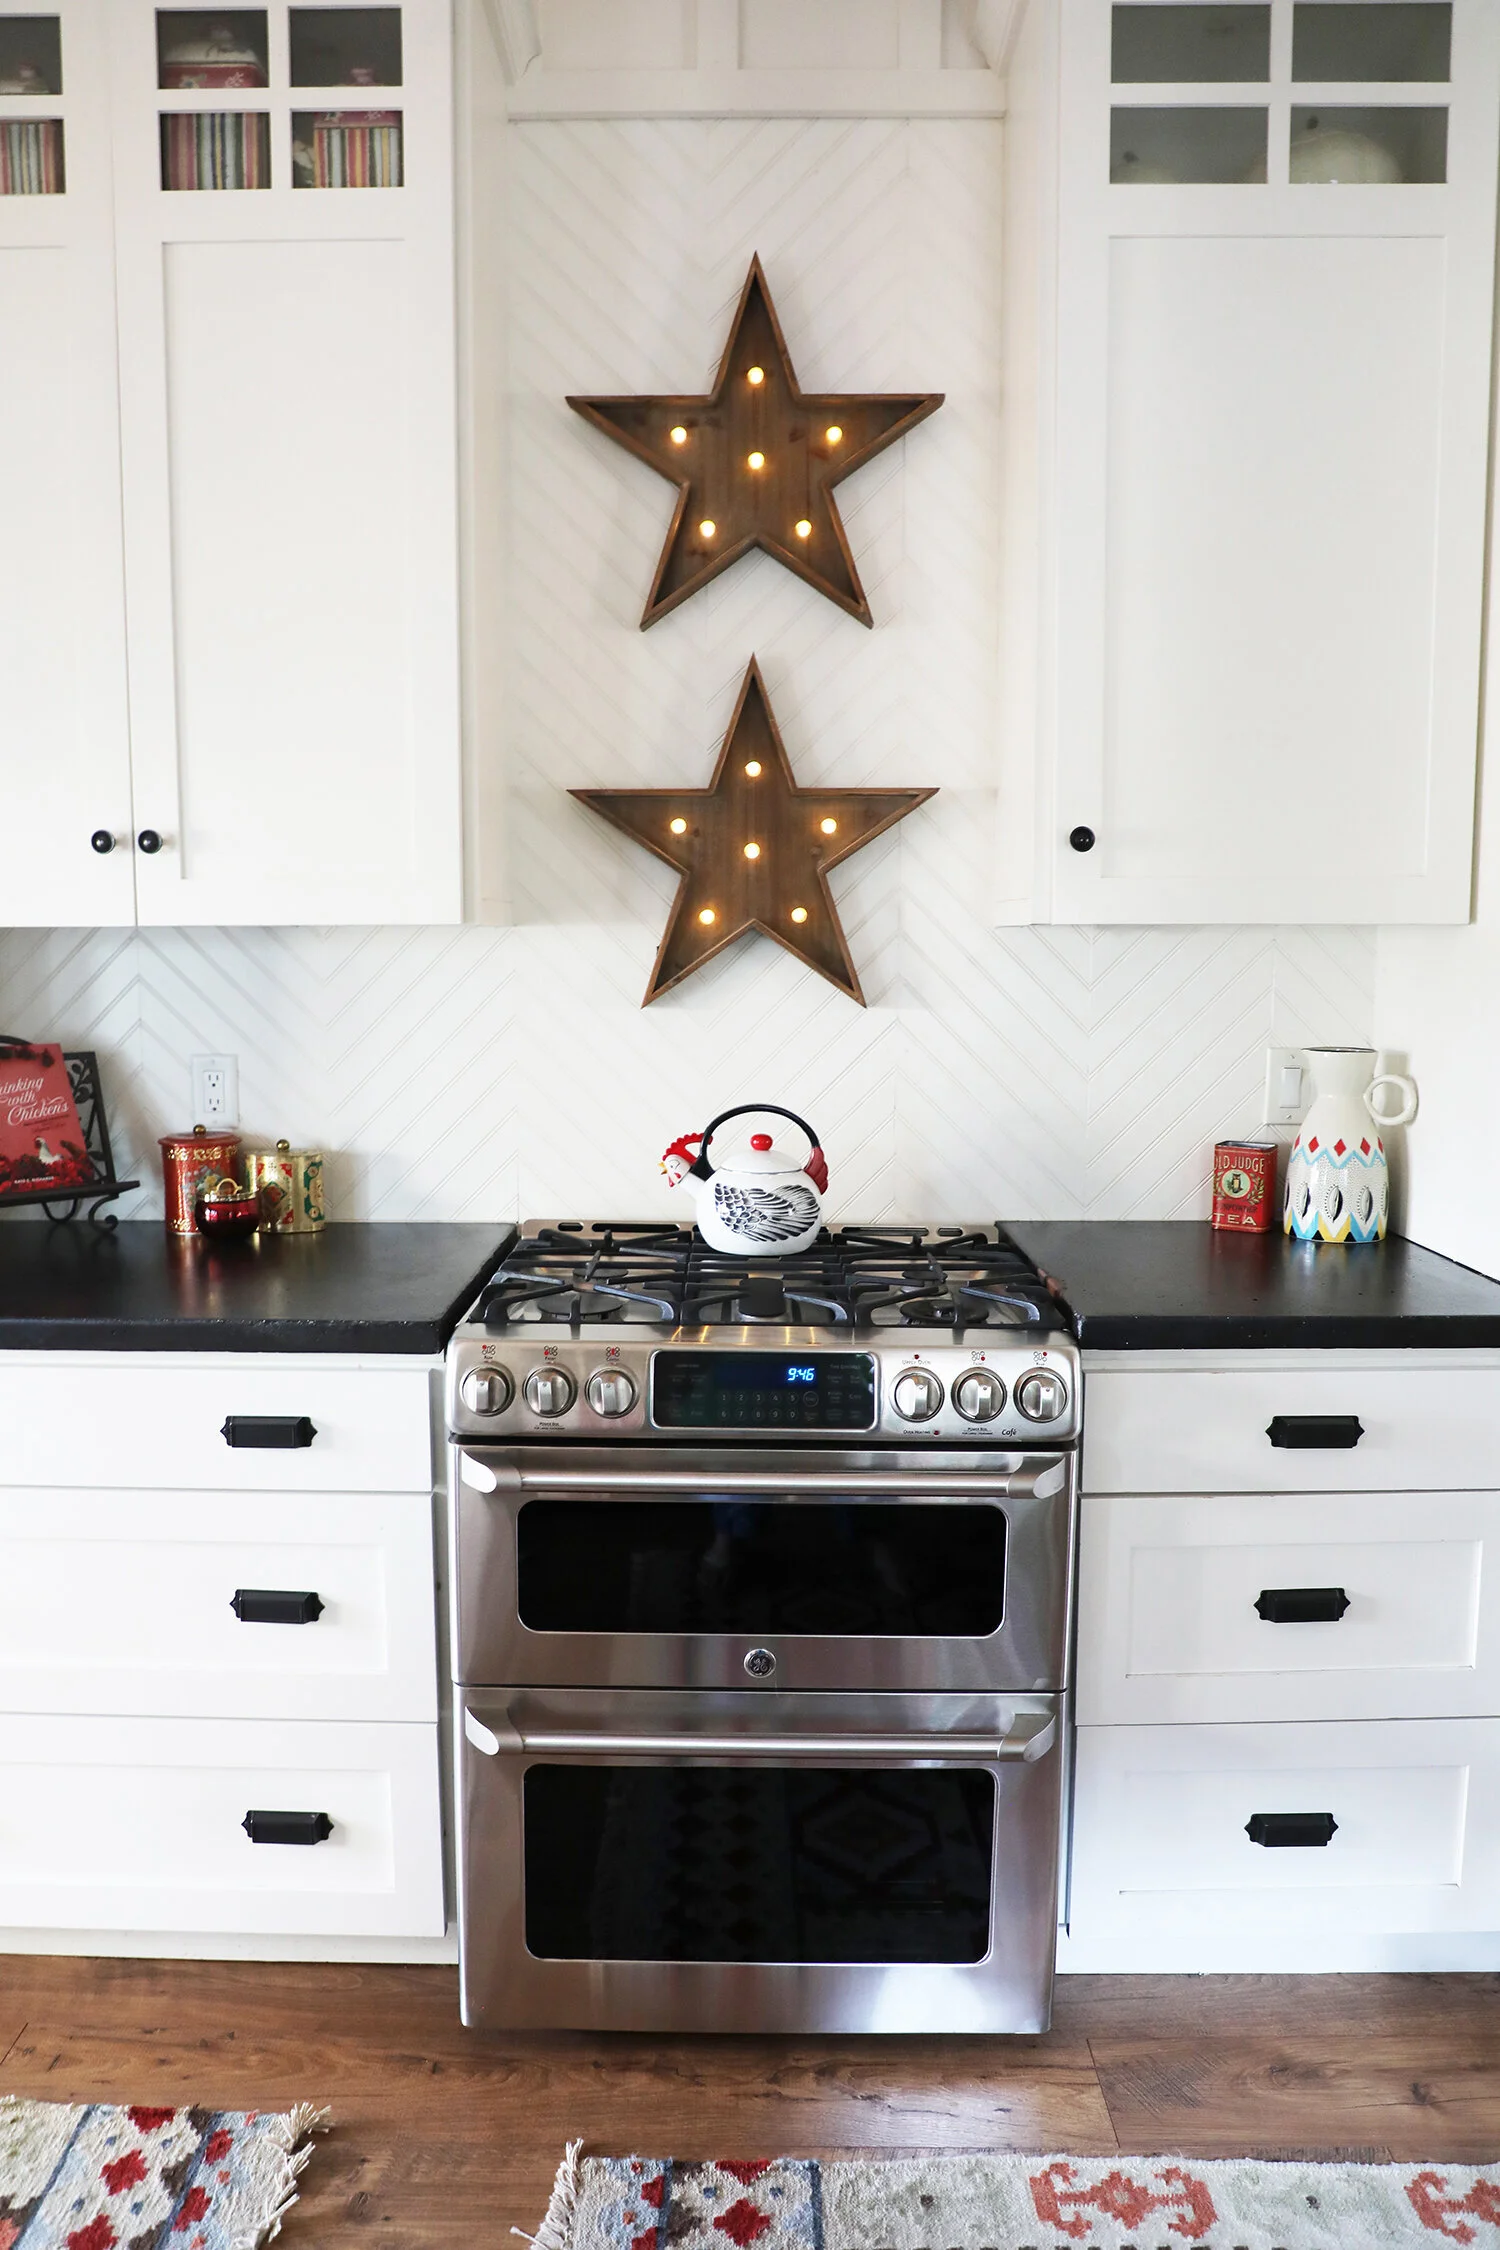
Backsplash: again, we were so out of money during this phase of the renovation, that we couldn’t afford to do tile. Instead, as a nod to the probably original bead board in the probably original space, we decided to do a “temporary” backsplash of bead board paneling, only we installed it in a chevron pattern to kinda be a little weird about it. And 13 years later have we replaced it with tile? NOPE. Hahahahaha. I still love it.
And no. We still do not have a vent hood over our range. [shrug]
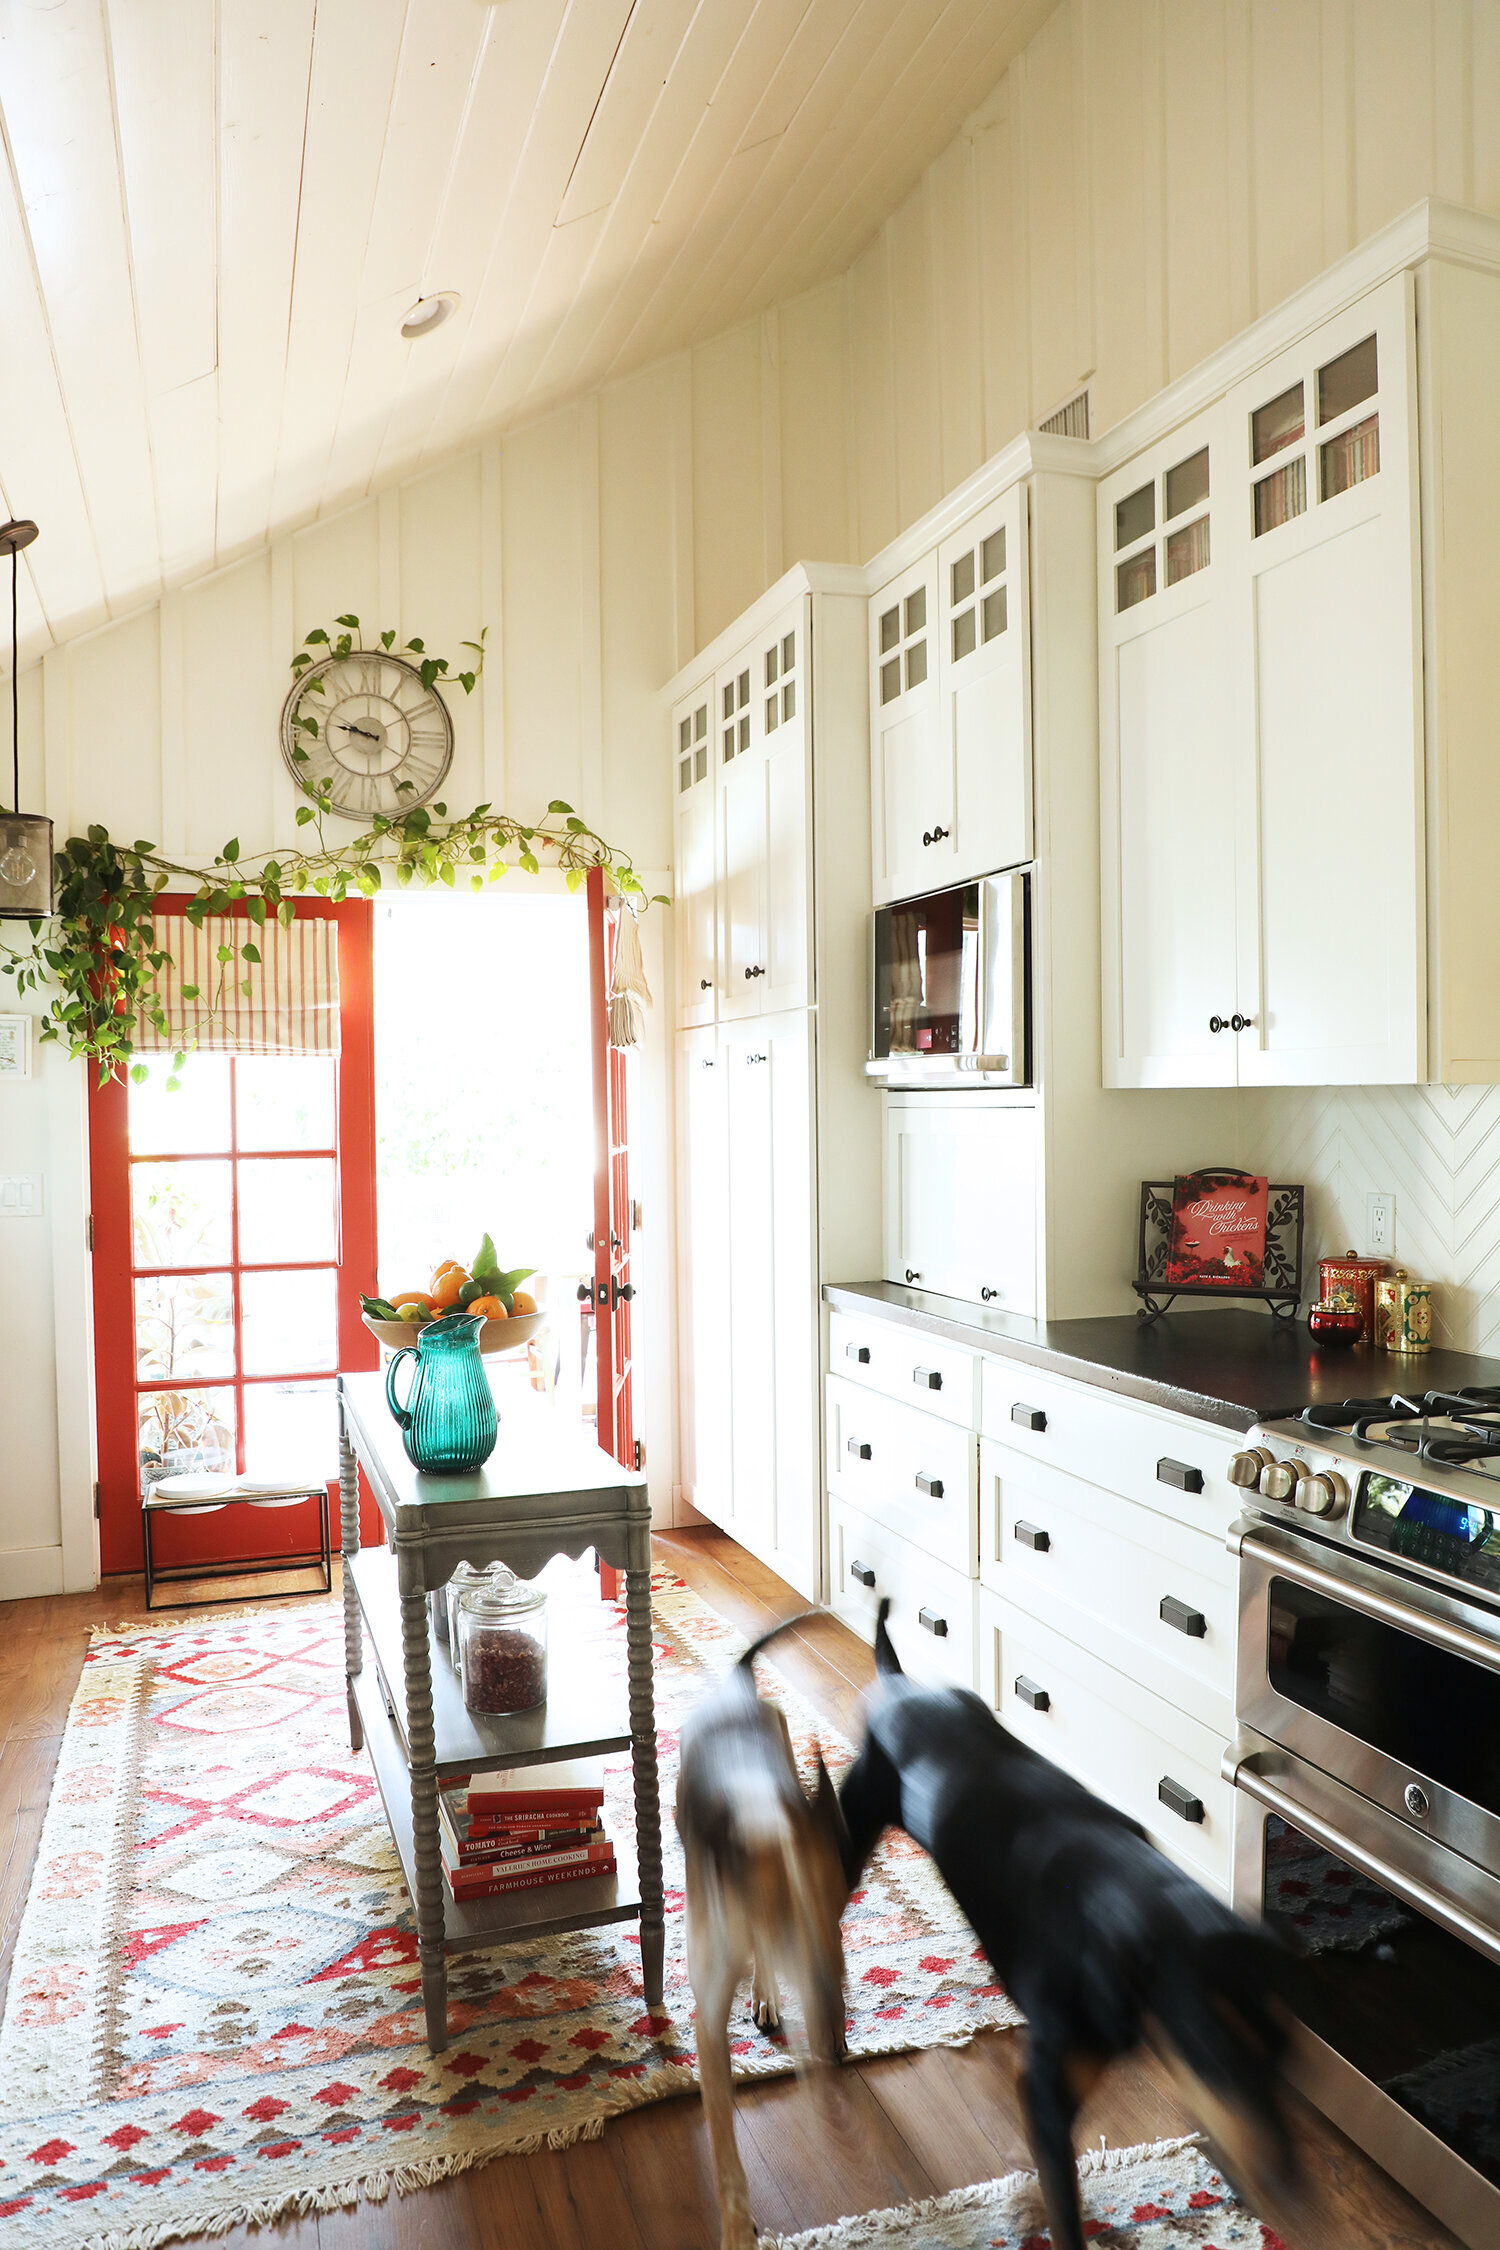
Floors: a couple of years ago, we were beyond fortunate to work with Pergo and replace the floors in our entire house with their gorgeous and durable Pergo Portfolio + WetProtect (find links below in the source list). Before this, we had put some really bargain, bargain basement laminate wood floors installed by installers who were not actually installers (we didn’t do it ourselves, but probably should have—it was a VERY bad install), and we knew almost immediately that it was going to have to be replaced at some point. Indeed, it was very badly breaking down by the time Pergo approached us about working together. And let me tell you something—these new floors are like night and day with the old ones. I cannot sing their praises loud enough. They are gorgeous, they look like real farmhouse plank wood, and they are truly, gobsmackingly durable and spill-resistant.
Rugs: I get alaaaaaaaaaaaawt of questions and comments about the rugs in my kitchen. Especially, when people see chickens walking on them. Firstly, the chickens don’t come in THAT much. I swear. Secondly, I swear by using indoor/outdoor rugs in the kitchen—especially, these from FabHabitat (see source list below). They can literally be taken outside and hosed off to clean. And I also love that they’re made from recycled materials. But above all else—I love how well they’ve held up to the constant pet traffic in our house.

Sources:
Paint:
All paint by Behr:
Cabinets, walls, backsplash, ceiling, trim: Swiss Coffee
French doors: Farmhouse Red
Floors & Rugs:
Sink:
We got ours originally from Signature Hardware (they don’t seem to have this exact one anymore, but I’ve linked to a similar one)
Here is our exact sink from a different retailer: Rohl Shaws Original Farmhouse Sink
Red Bar Stools:
I get asked the source on these sooooo often: IKEA…but I am sad to report that they are from 13 years ago and are loooooooooong since discontinued.
Black Standalone Glassware Cabinets:
IKEA!!! The HAVSTA storage combo although it currently only seems to come in white.
Kitchen Console Table:
It’s actually a sofa console table but we kinda like using it as a sort of island— from Wayfair.com Elliya Console Table.
Wire Mesh Pendant Lights:
Sundance Catalog but from long, long ago and they are no longer available.
Wooden Star Marquee Lights:
Can’t remember…but I think World Market and they are definitely not still available.
That’s about it! If there’s anything I’ve missed that you have questions about—drop me a comment!