

The Farmhouse Living Room Renovation: Before + After
After.
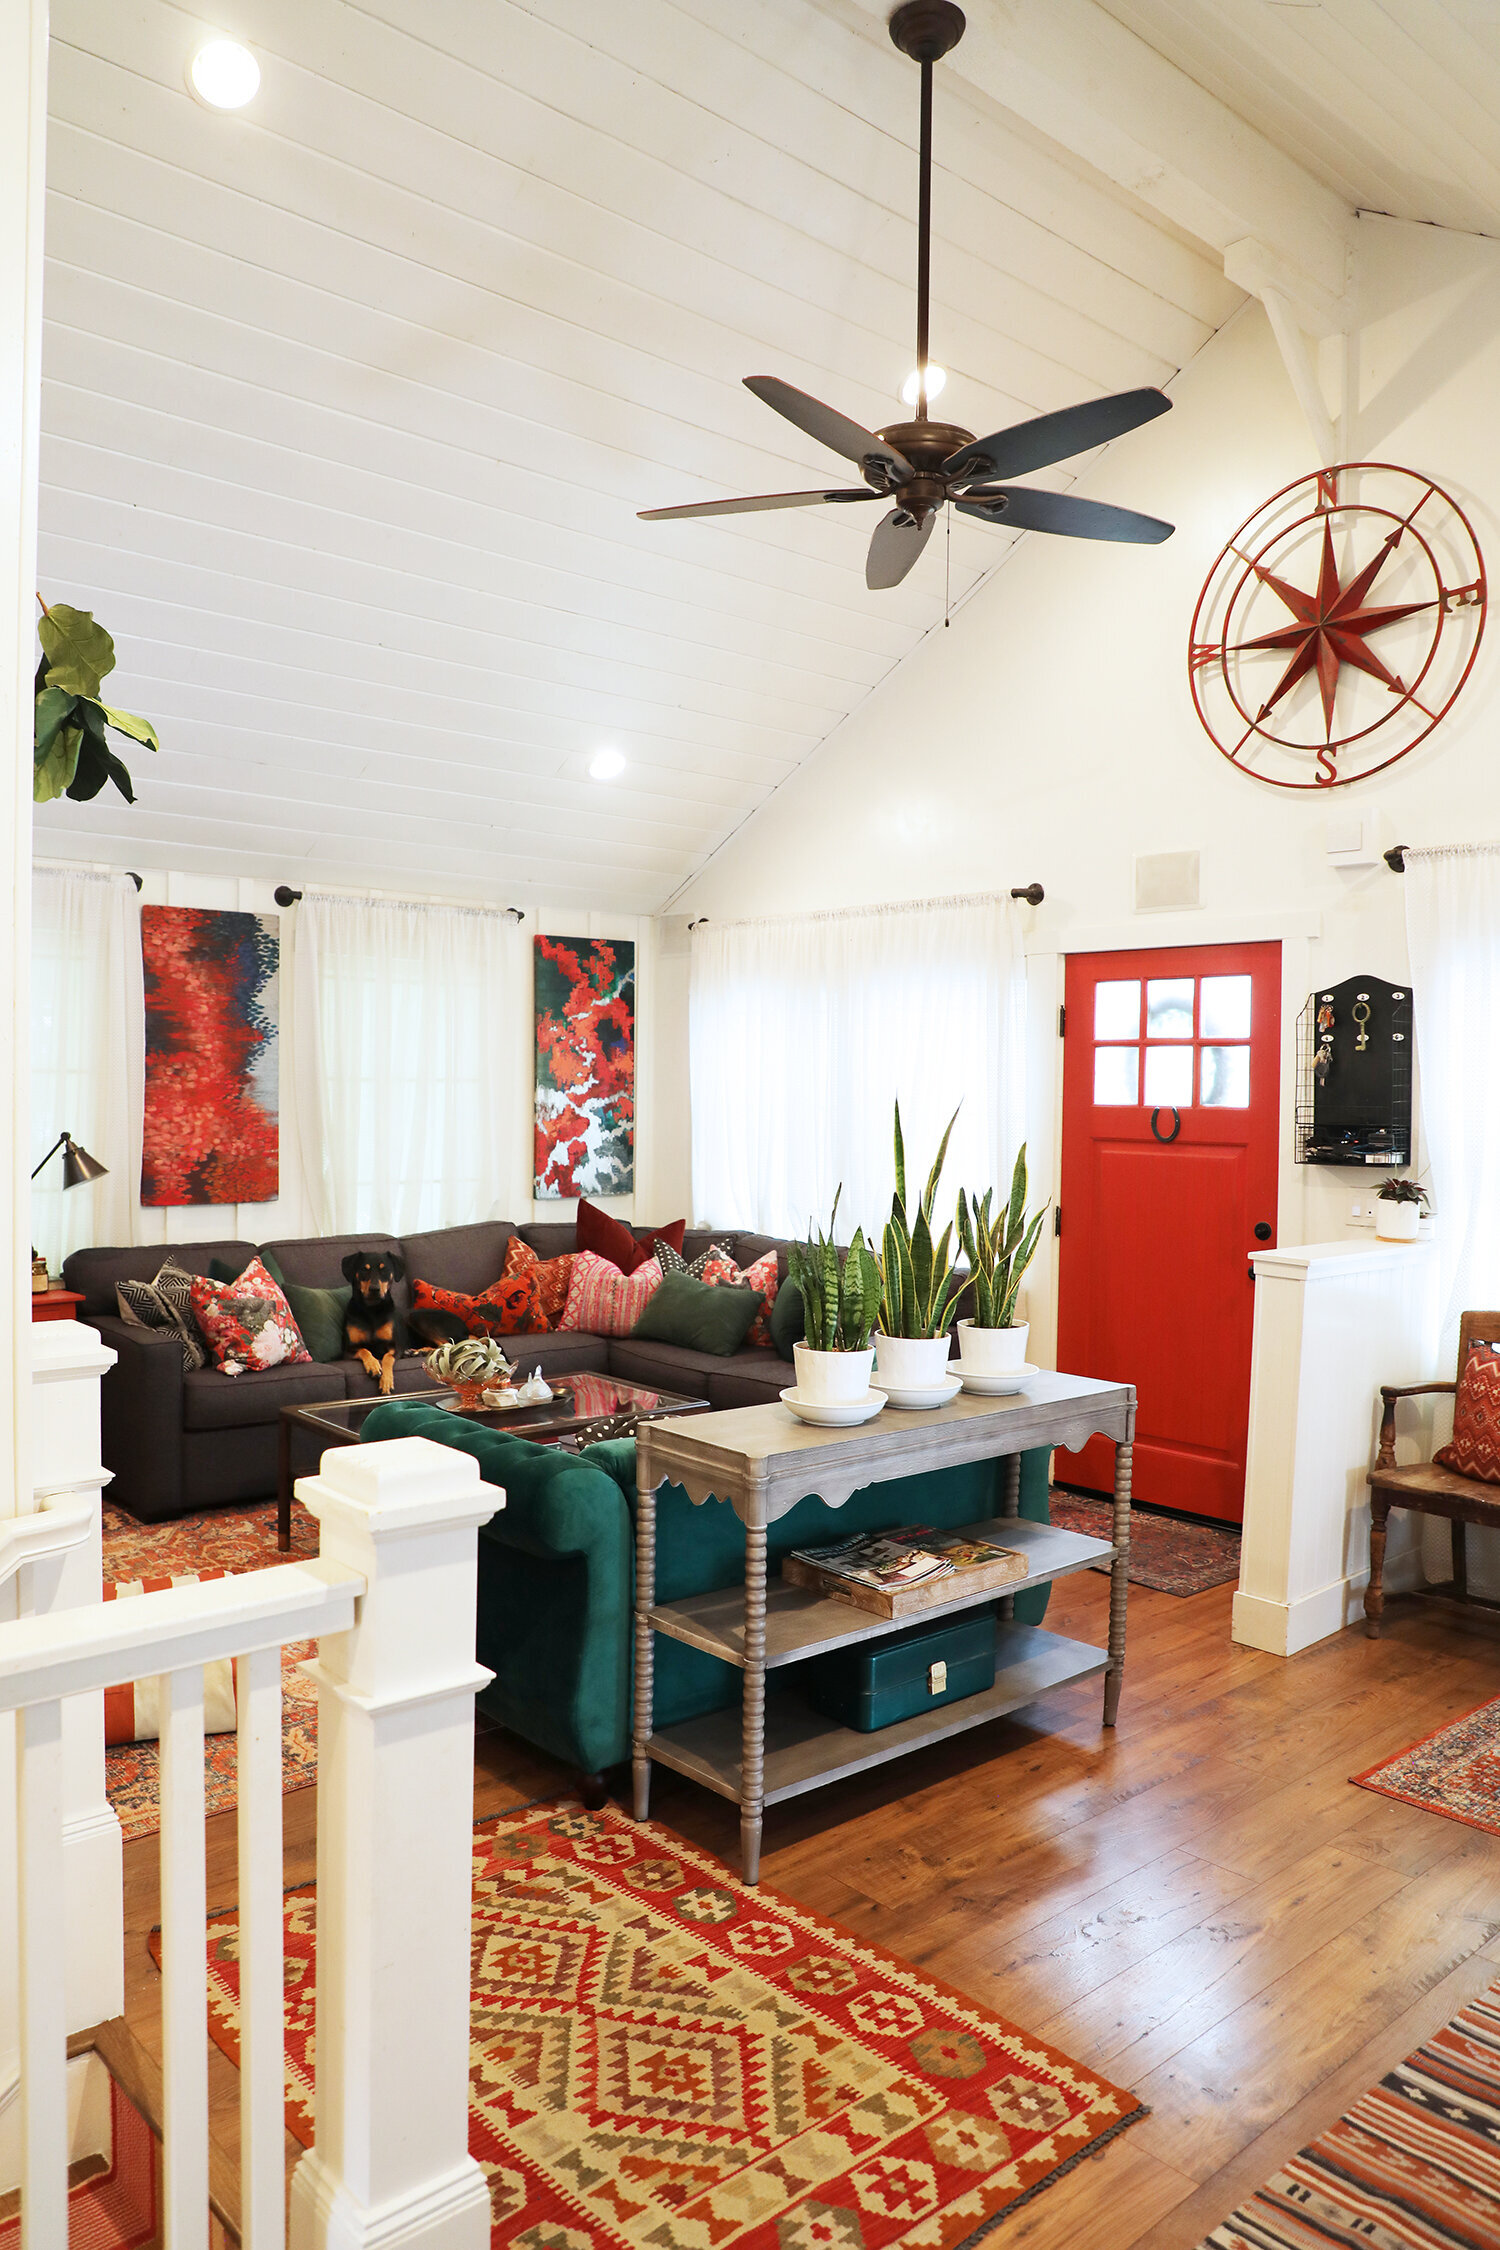
I figured I’d share the house befores and afters as though we’re on a wee little walking tour, so first up: the living room. COME ON IN (through the front door that wasn’t there before)!
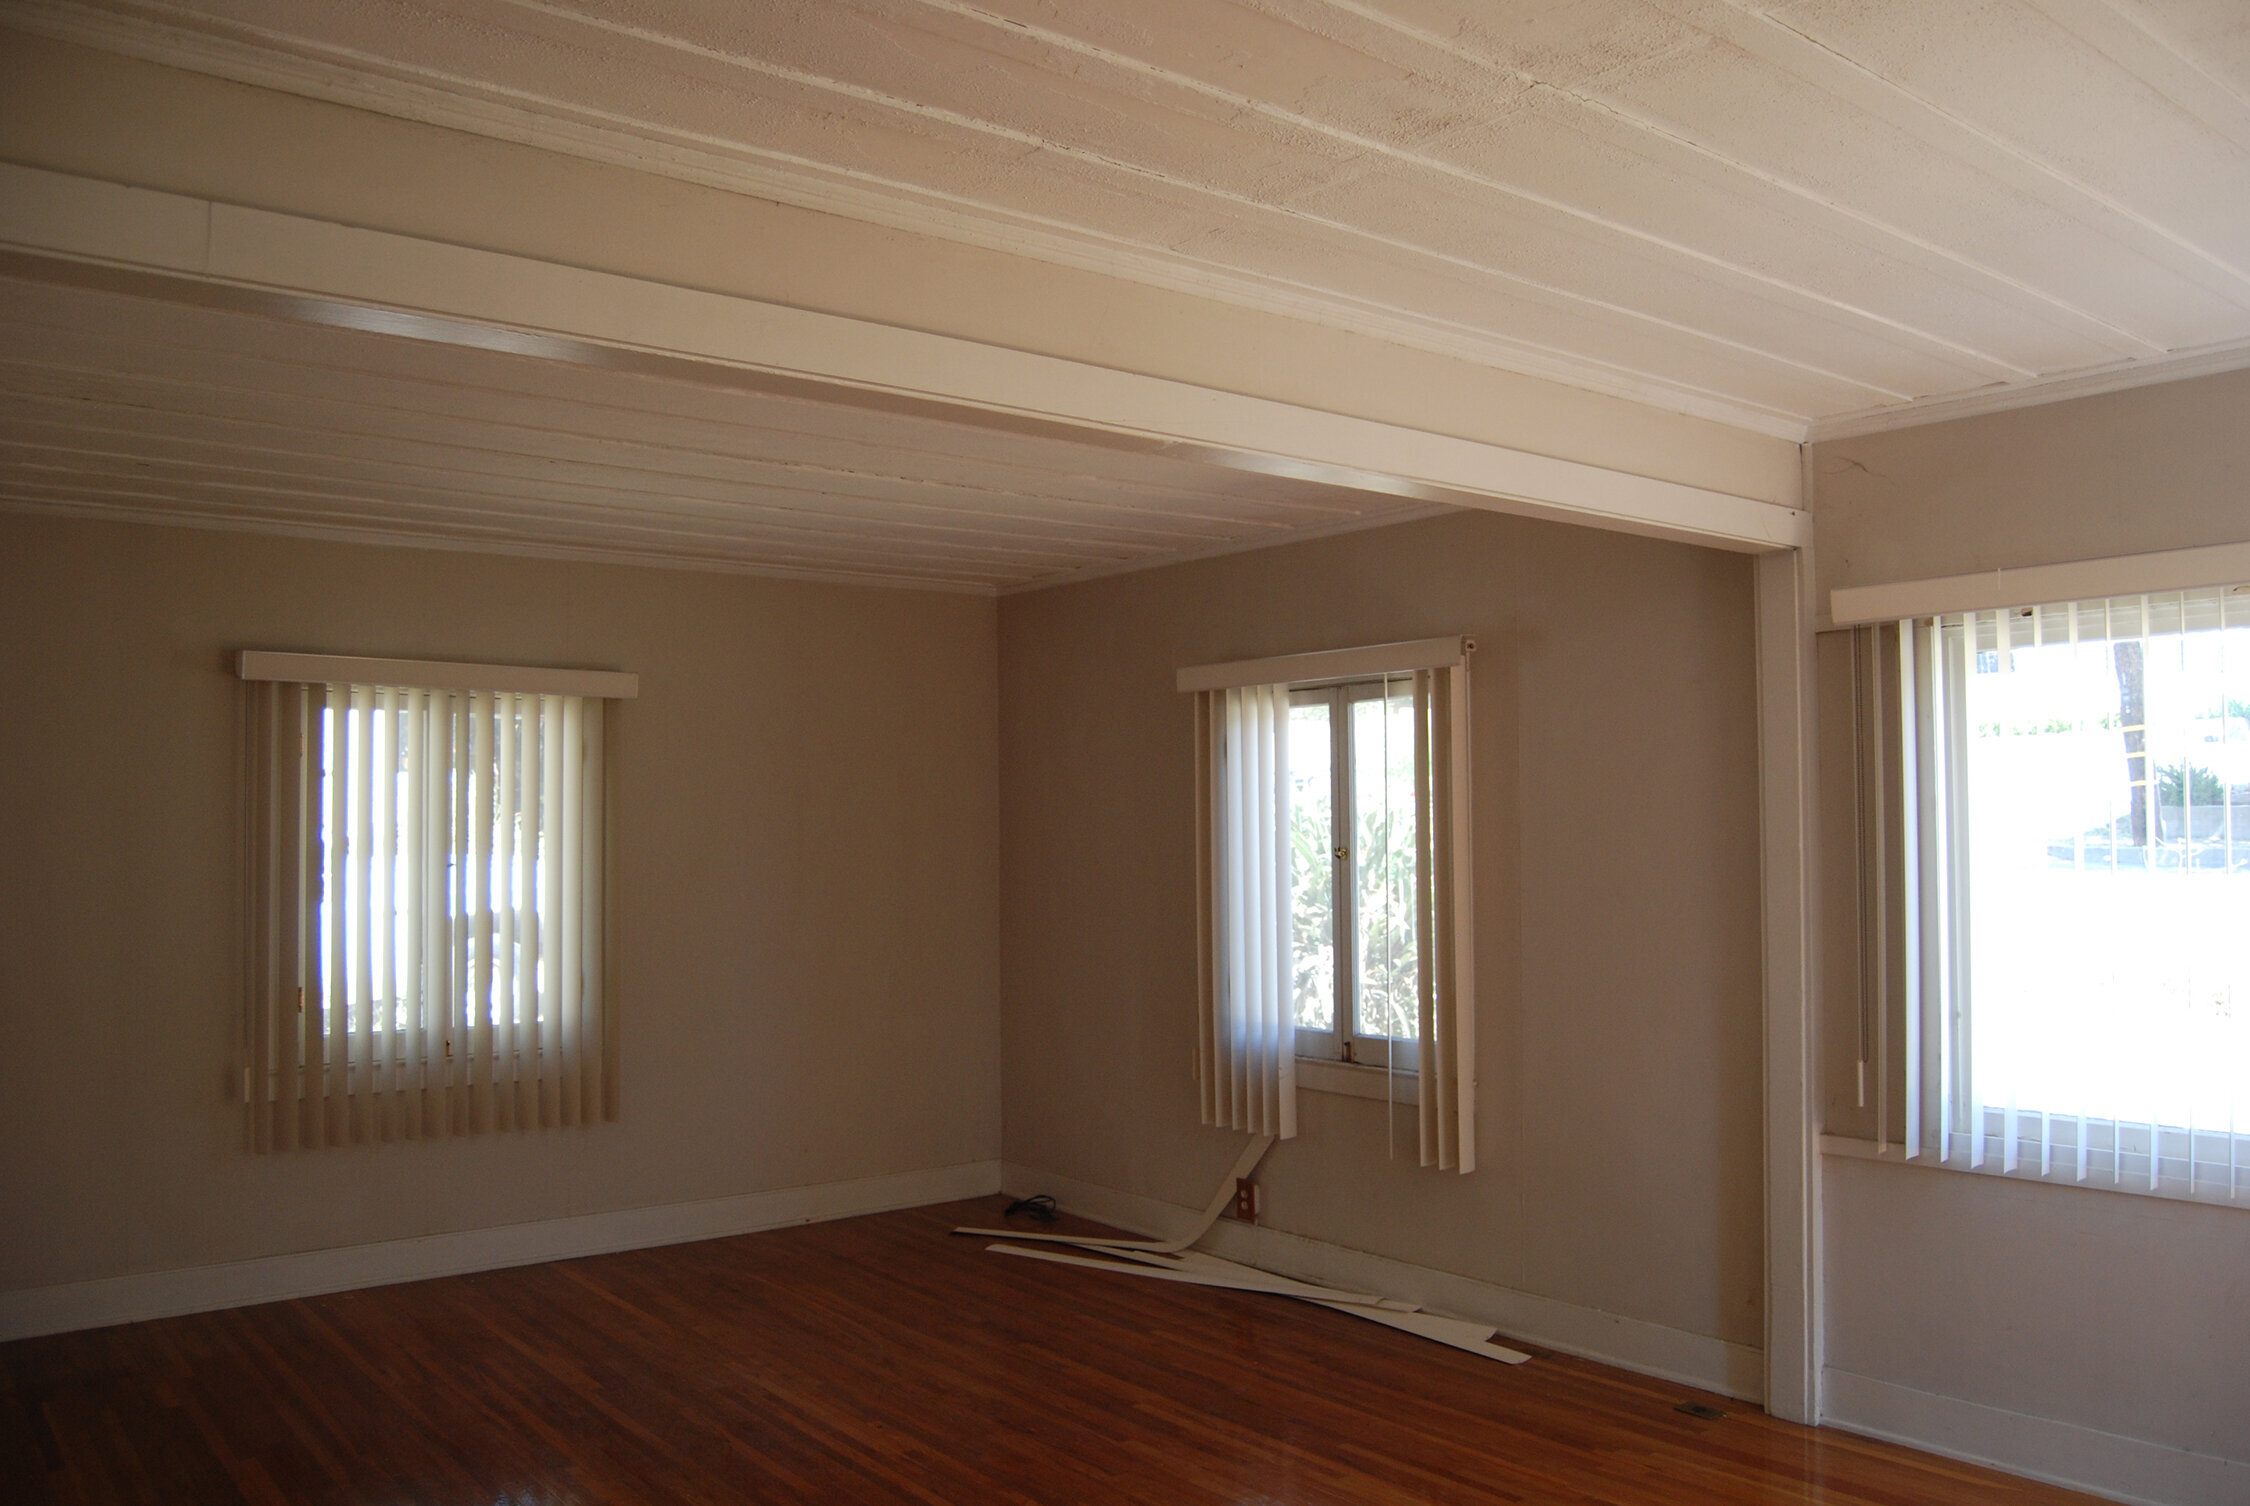
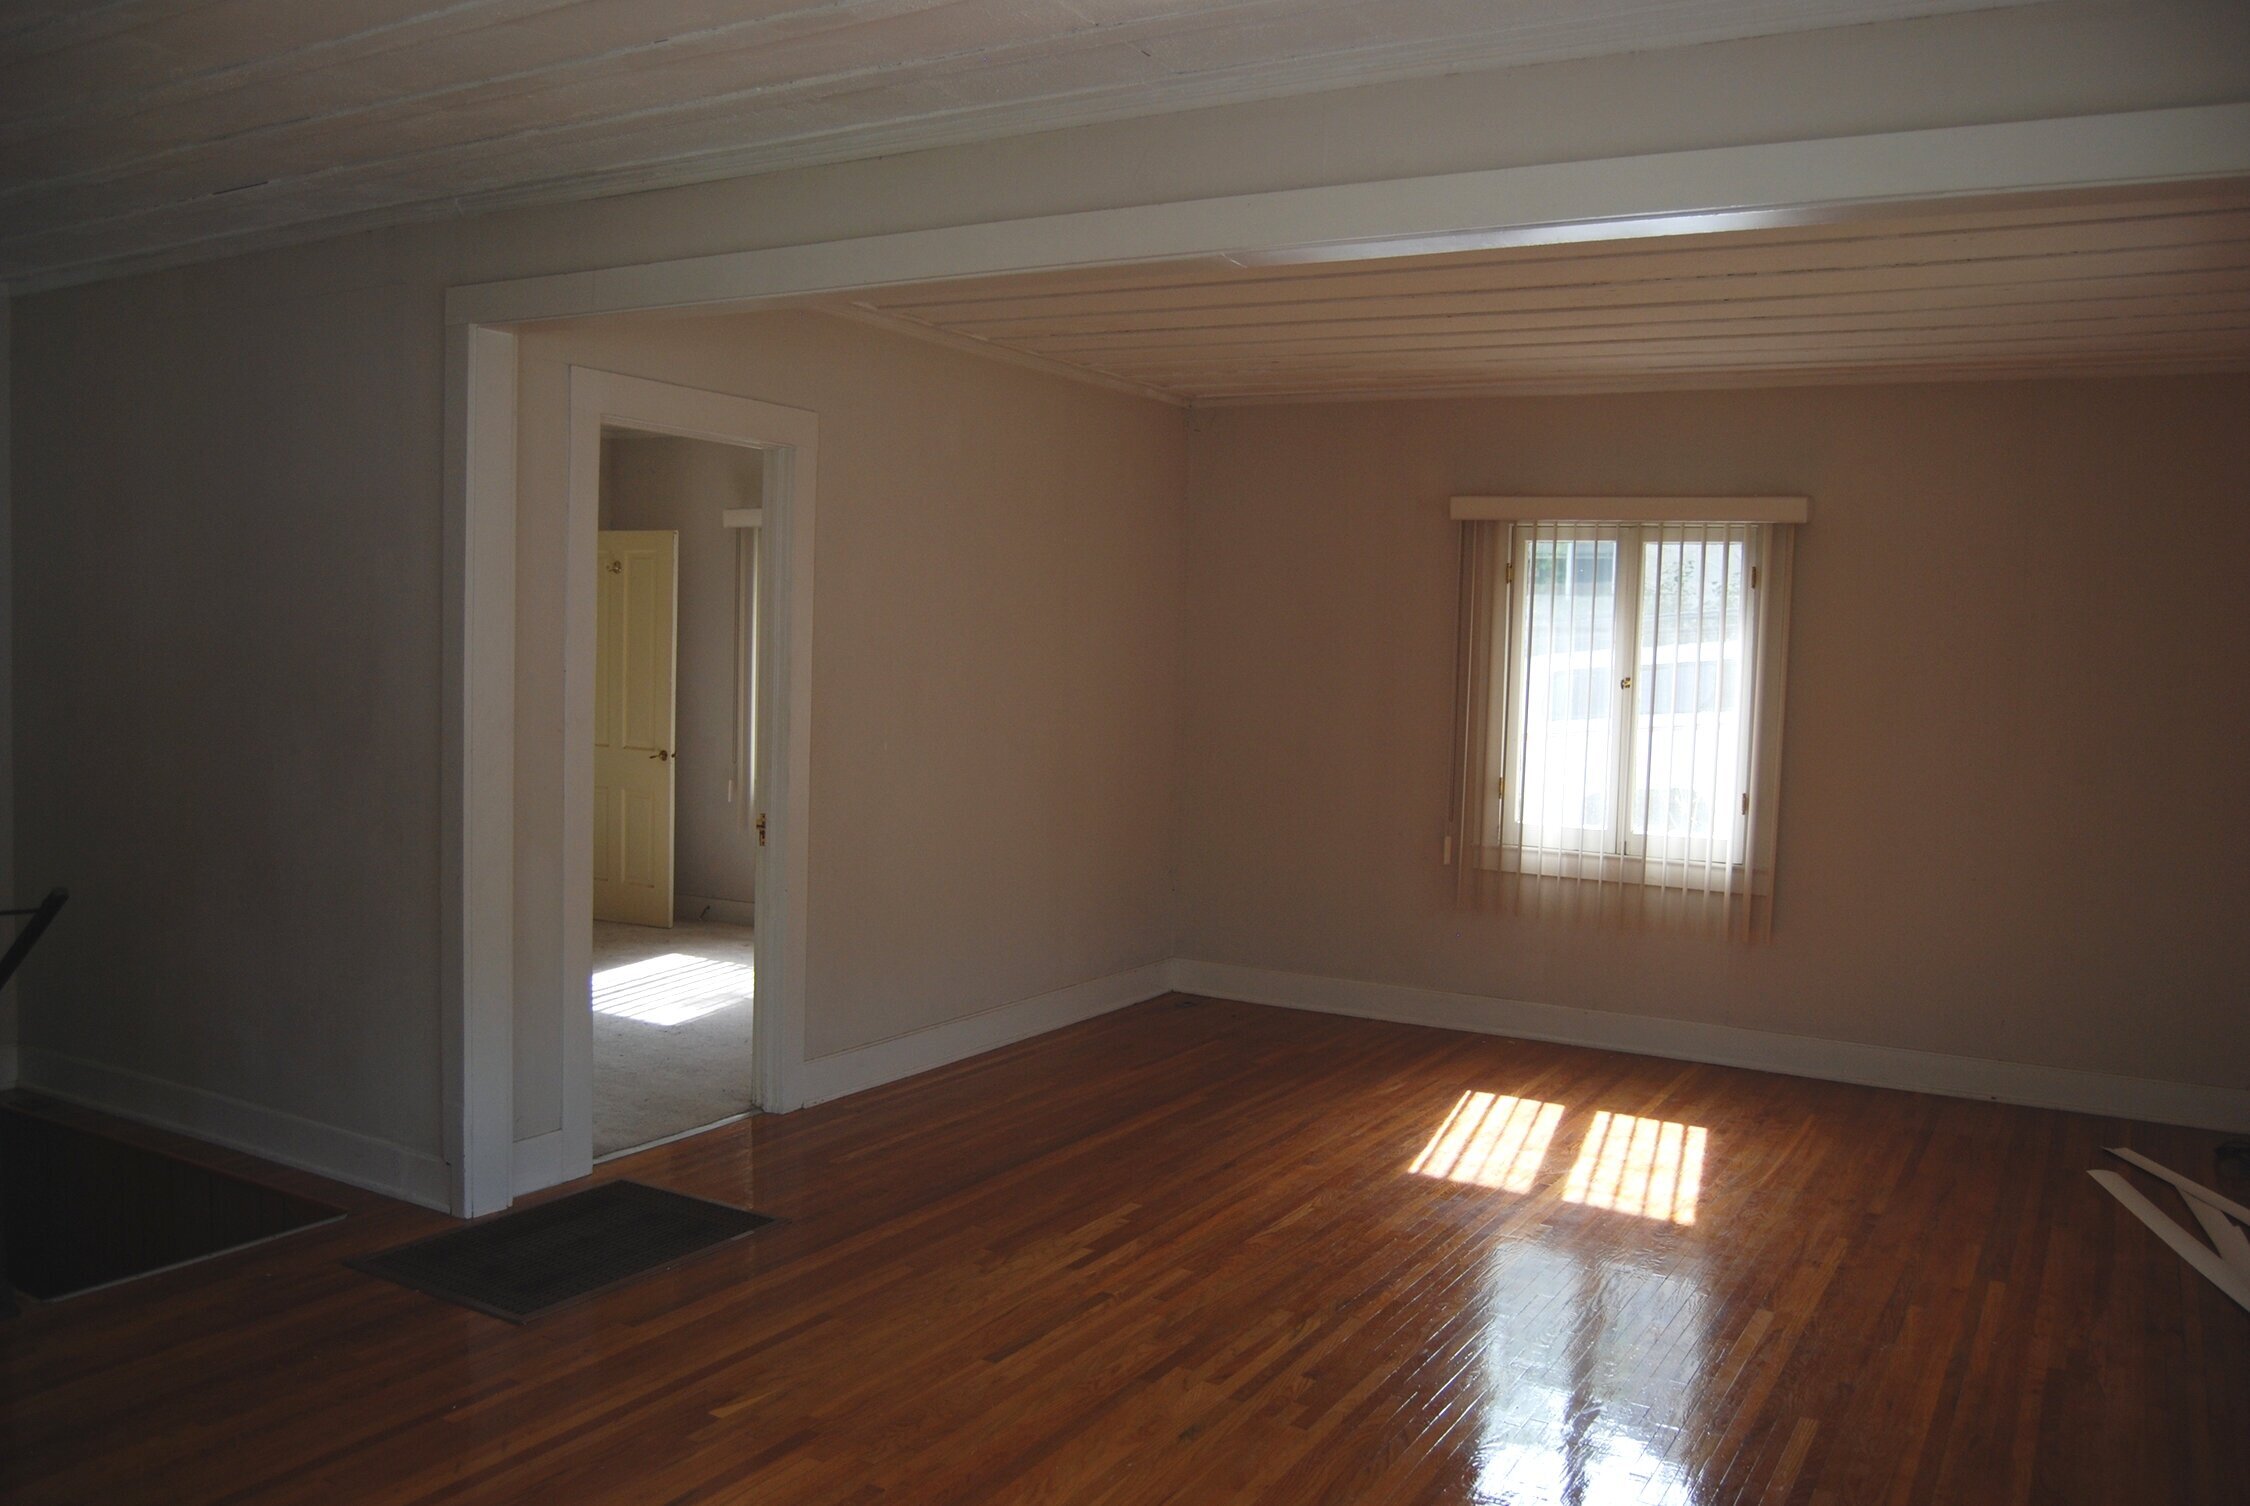
Before.
As I mentioned in my previous post, the house was built in 1908. The interior space had seen some renovations somewhere around the 60’s or 70’s (and 80’s: I’m looking at you, vertical blinds) with an impressively disjointed collection of mismatched paneling, flooring, wallpaper, and other odds and ends. Pretty standard stuff for a house of this age, yanno? The living room was probably what I’d call the best looking room in the house—it had gorgeous original hardwood floors (THE ONLY room in the house that had them), whose gloriousness was rather dampened by the dichotomy of the sagging drop ceiling directly above them. So while it wasn’t a terrible space compared to the rest of the house, it was pretty…medium.
After.
Did we wind up keeping those original hardwoods? Yes. In a sense….they’re hanging out under the awesome laminate plank wood floors (have I mentioned that we have dogs?) we put down over the top of ALL THE FLOORS (more on that later). I was hellbent on saving them and replicating them throughout the rest of the house, but ultimately, we decided it was a better use of our money and time to put something in that would hold up to all of our stampeding animals.
We definitely did not keep those drop ceilings…and boy what a difference the vaulted shiplap ceilings made in what is not the world’s biggest space. For what it’s worth, we did these ceilings about 13 years ago…long before the fairly recent shiplap craze—and it’s my dad’s fault. See, he’s a Navy veteran and a salty sea dog of a sailor all his life, and he came to take a look at our house progress right after we ripped all the drop ceilings down—right when I was having an existential crisis about putting drywall up there. It just didn’t feel right in a 100+ year old “farmhouse” to have drywalled ceilings. He took one look at it and, in his special, curt GET-TO-THE-POINT-KATE voice, he simply says to me, “Shiplap”. As though I knew what the hell that was and it was so obvious. I didn’t, and it wasn’t. So he marched me down to the lumber yard and lo and behold: Shiplap. It was, indeed, a thing. So we put it on our ceiling. Thanks, Dad.
After.
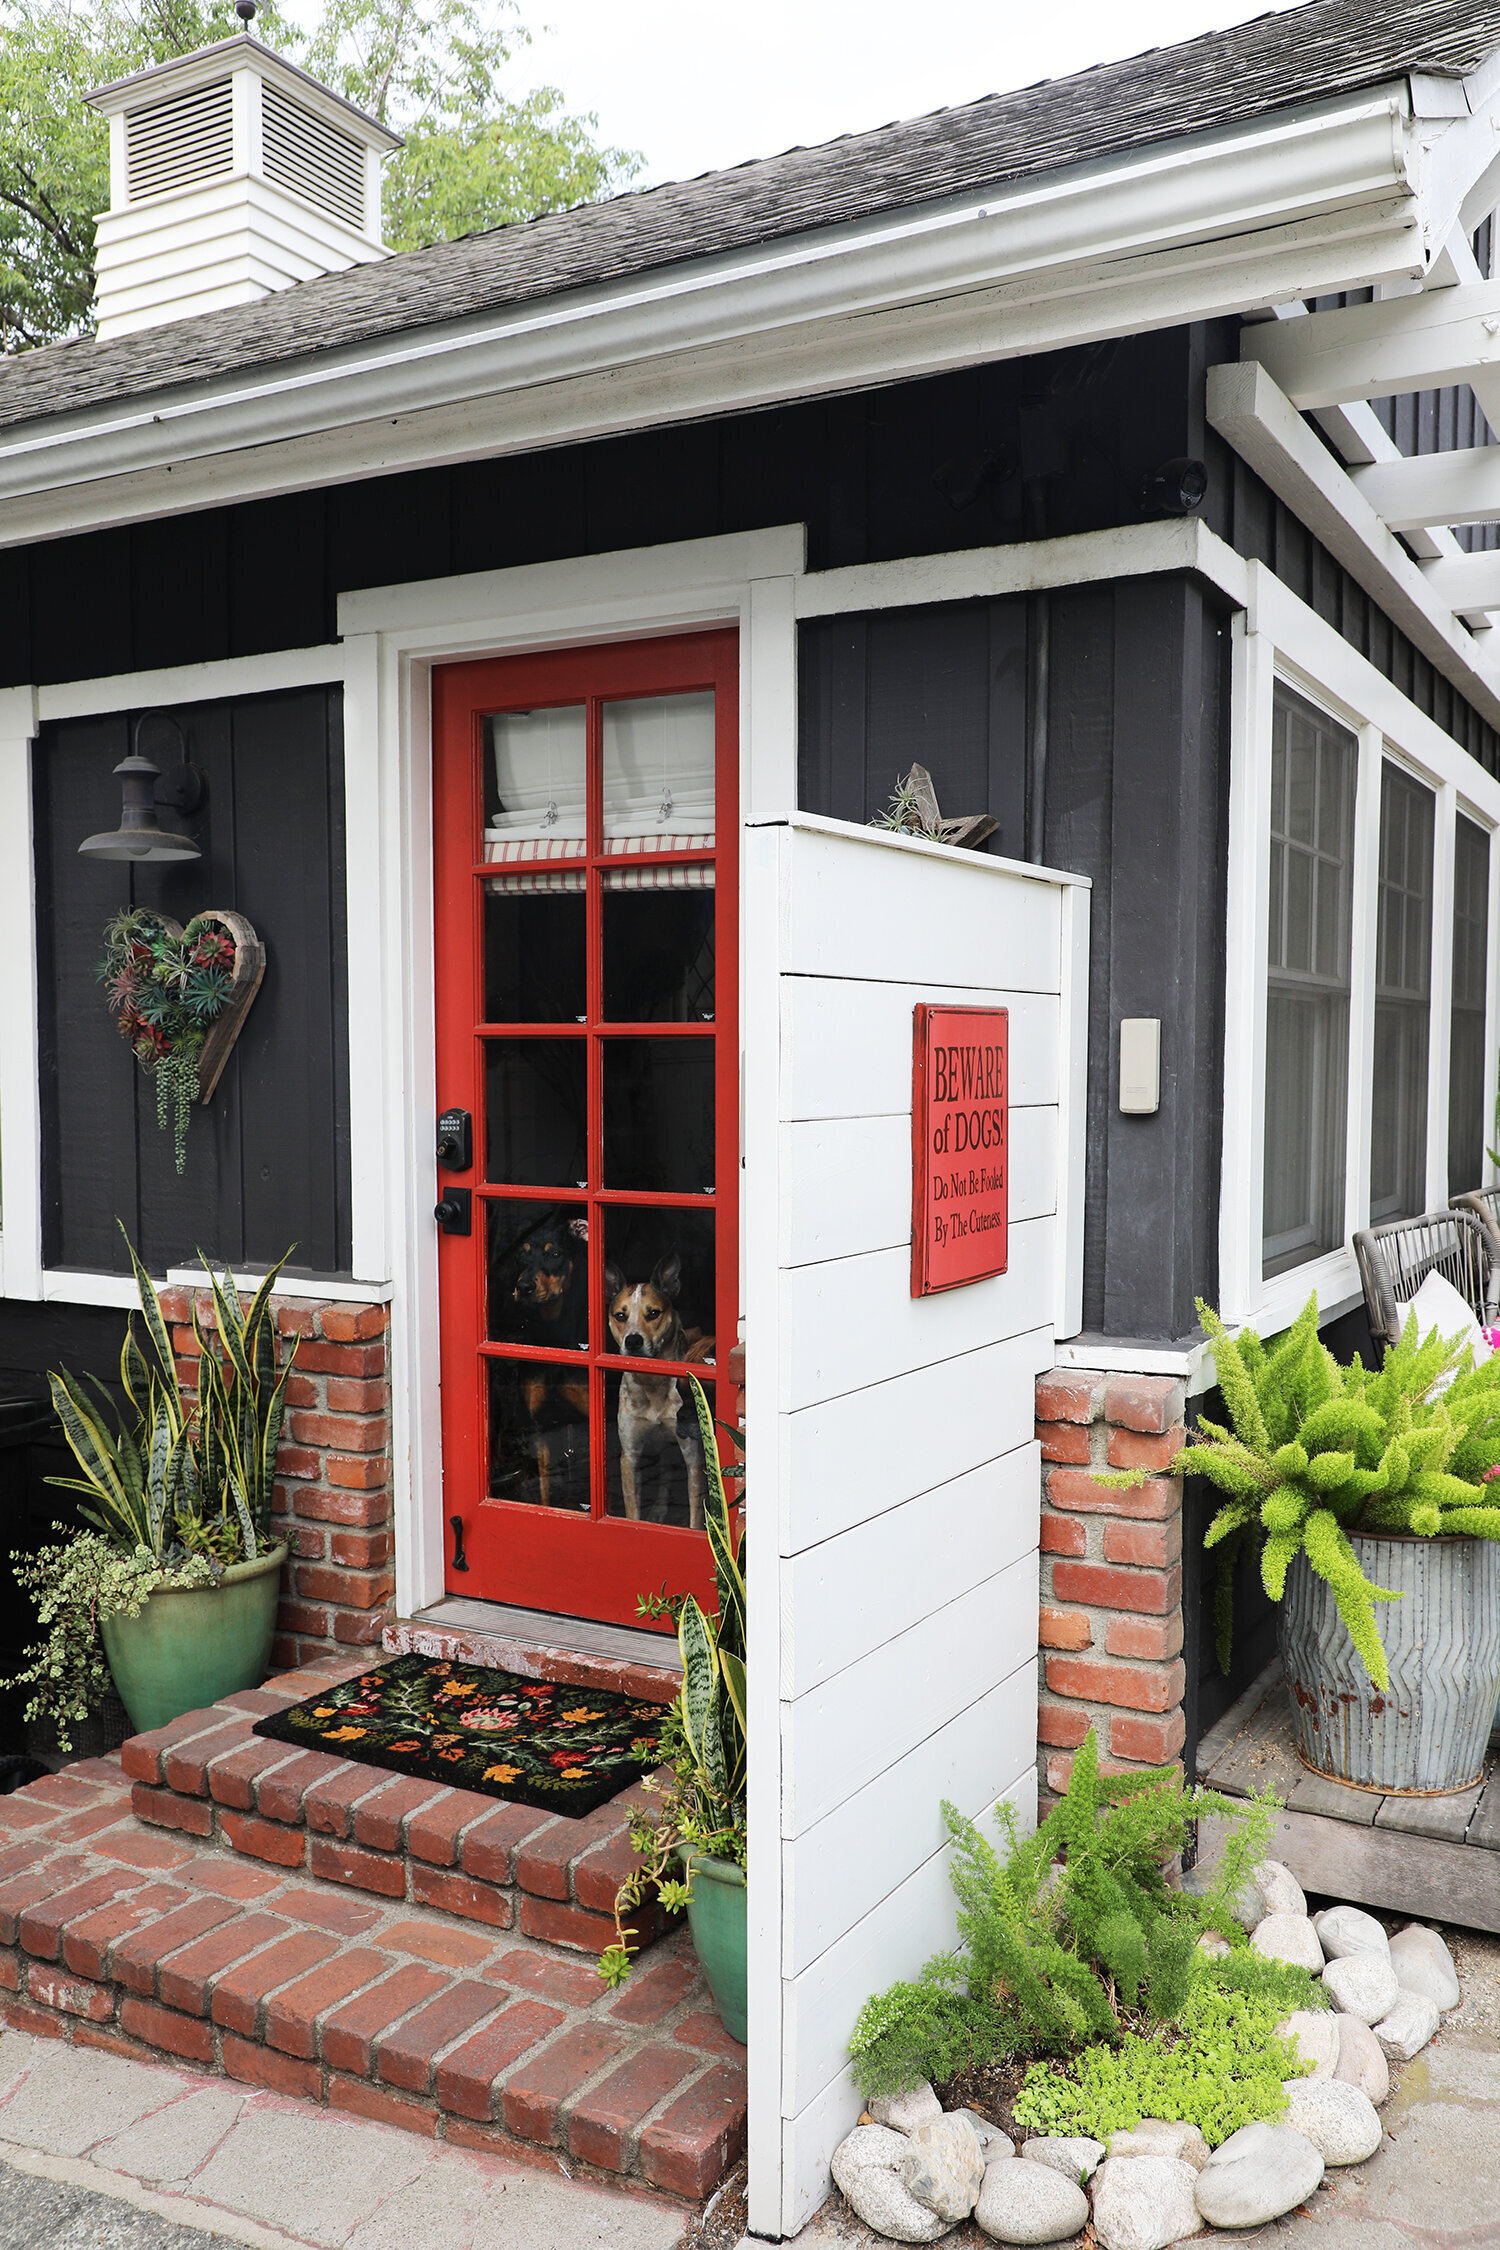
So the front door. The one that didn’t exist before. Well, it’s not that it didn’t exist, it just wasn’t on the front of the house. It was tucked off to the side on the driveway and I kinda didn’t get the best “before” photos of it. But here we go anyways:
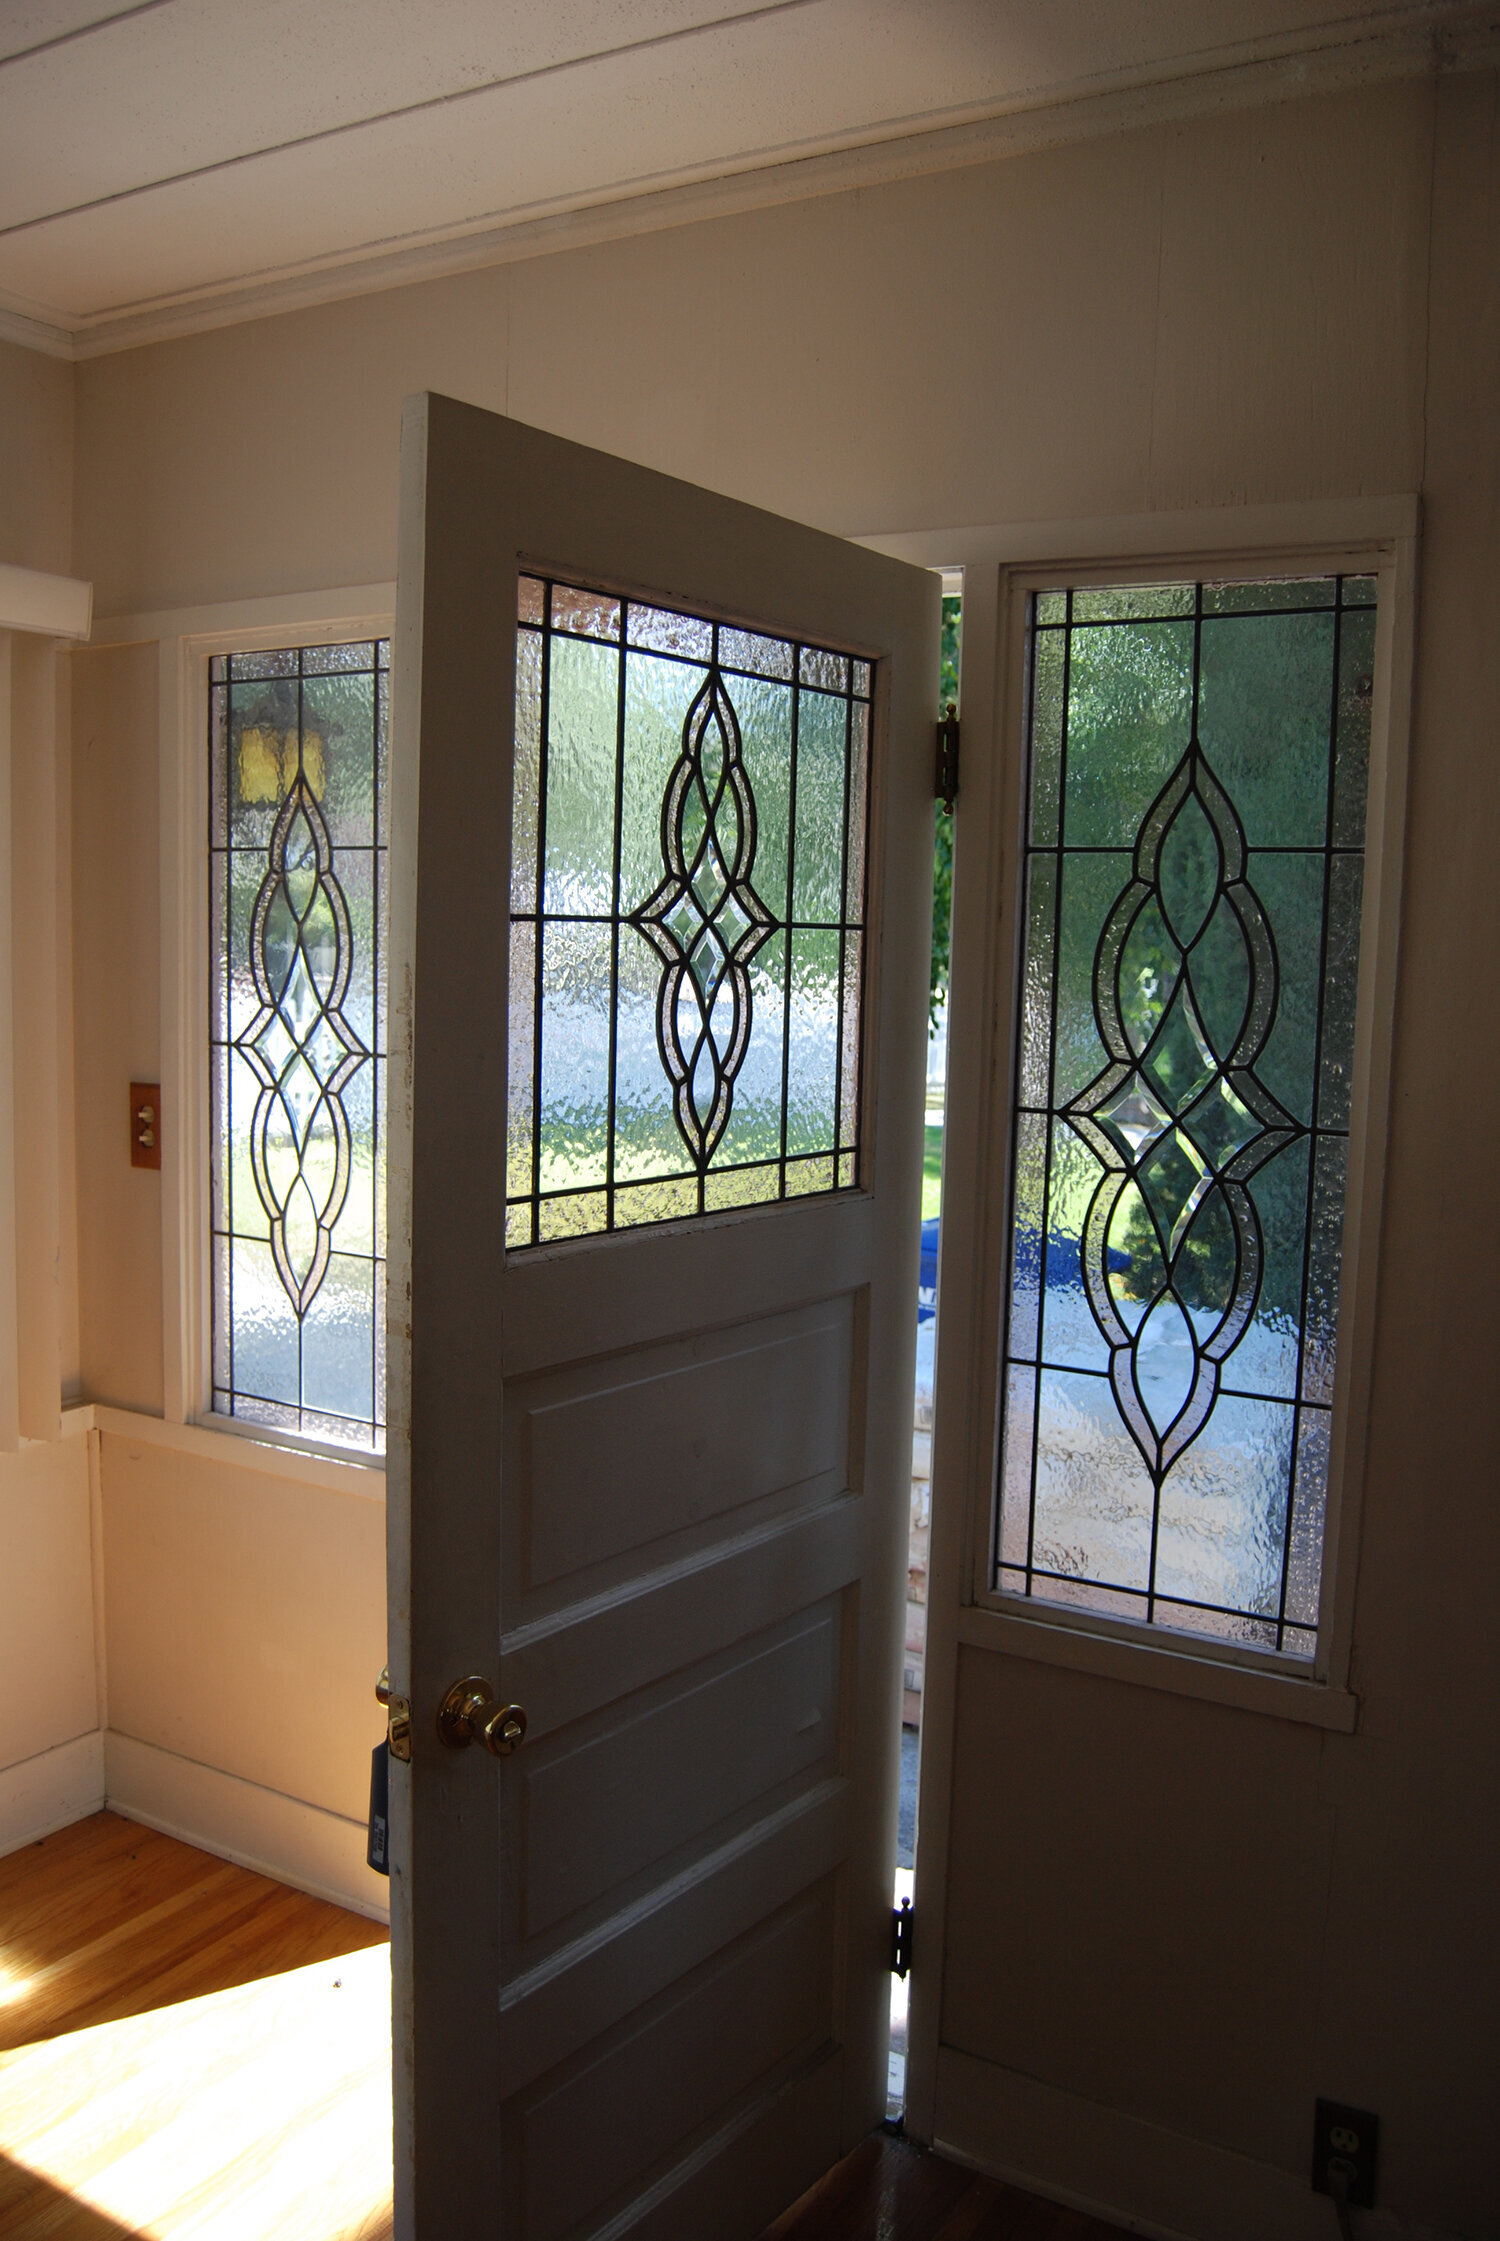
Before.
I know what you’re thinking: it’s kinda cool, right? It’s probably not original-to-the-house stained glass, but it’s stained glass (pink, nonetheless!). But before you get loud about us messing with this—there were some issues. Firstly, this was an interior door that had been modified to have the stained glass window. It wasn’t a big, sturdy exterior door. There was actually a reason for this, and I’ll get into it more later….but the entire house didn’t have a single stud in it. All the walls were simple board and batten (what you see on the exterior of the house). There were no studs. Just board and batten with a layer of interior paneling put across the inside, and in some cases, just wallpaper straight over the board and batten (I’ll share images of this in the next post). So they used a thin door because they had thin walls. Needless to say, the door wasn’t very sturdy (and I would say the same about the the thin walls, but hey—they’ve stood for over 100 years, so I can’t really sit here and knock it. Literally. Don’t knock on them, okay? Thanks.)
Yes. We wound up building out ALL THE WALLS. So that they were actually walls, with studs and insulation and all the proper ingredients.
Aside from all this, we established in the previous post that the existing front door was on the side of the house and it was just a weird location. The front of the house needed a front door. A real one. So we put one in the front (along with a porch and pergola) and turned the “front” side door into a side side door. Capeesh?
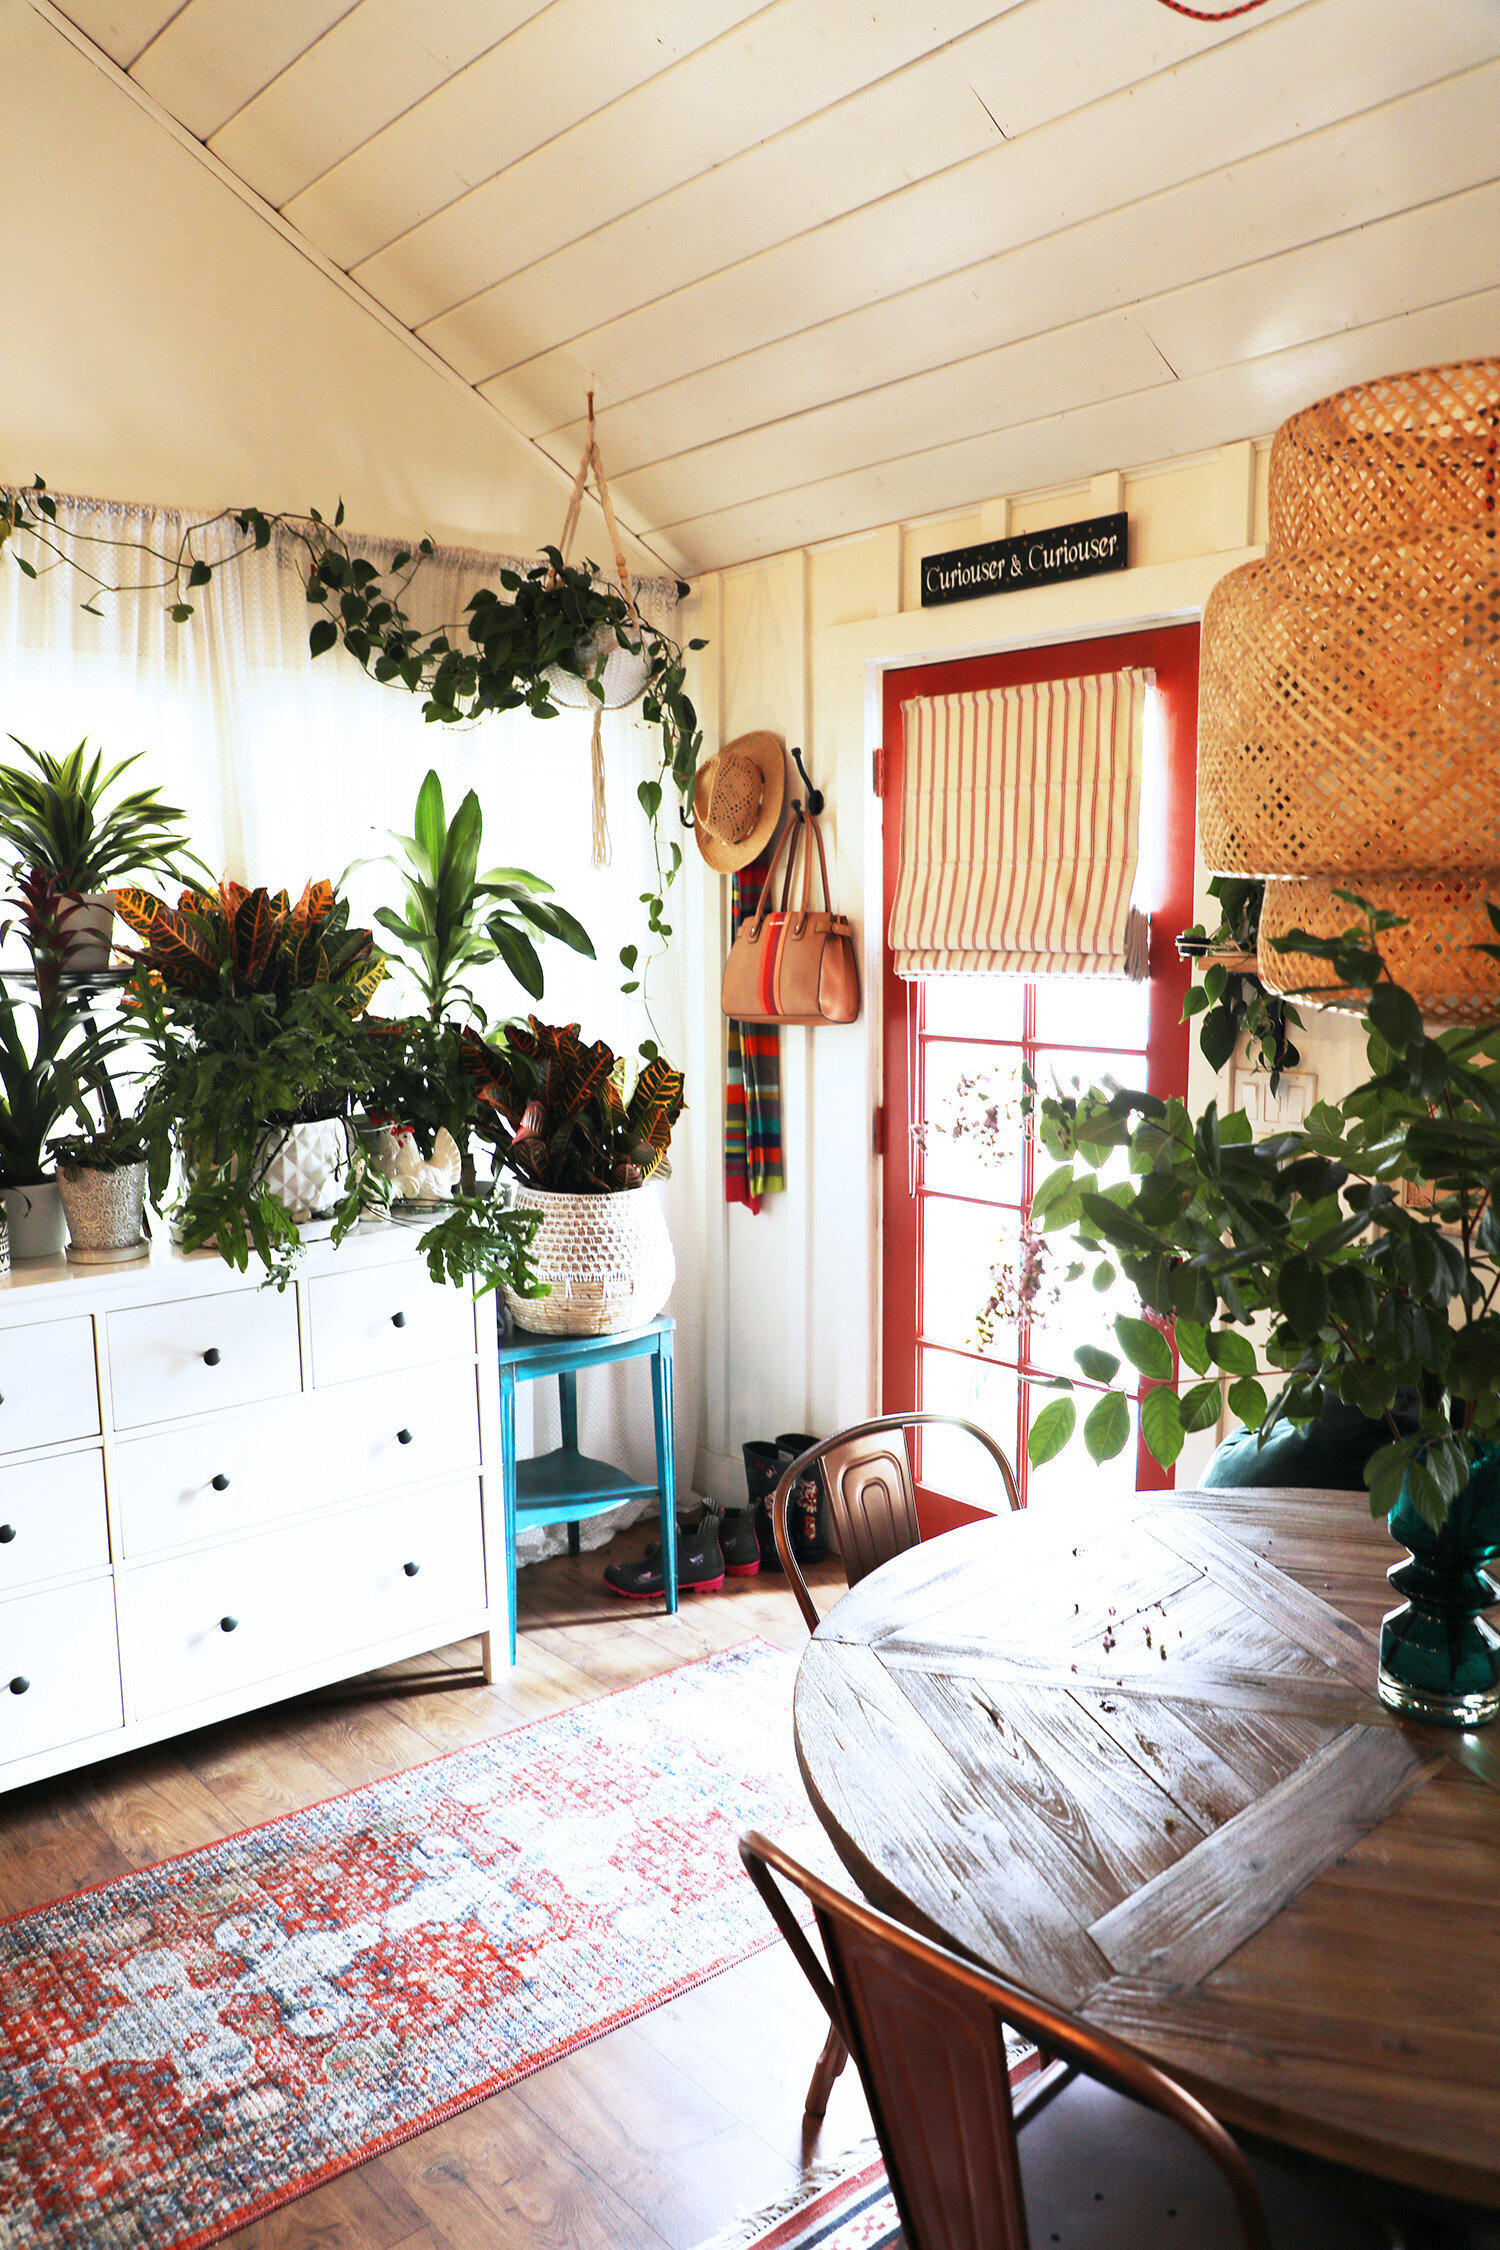
After. The original front door. Now a side door to the driveway.
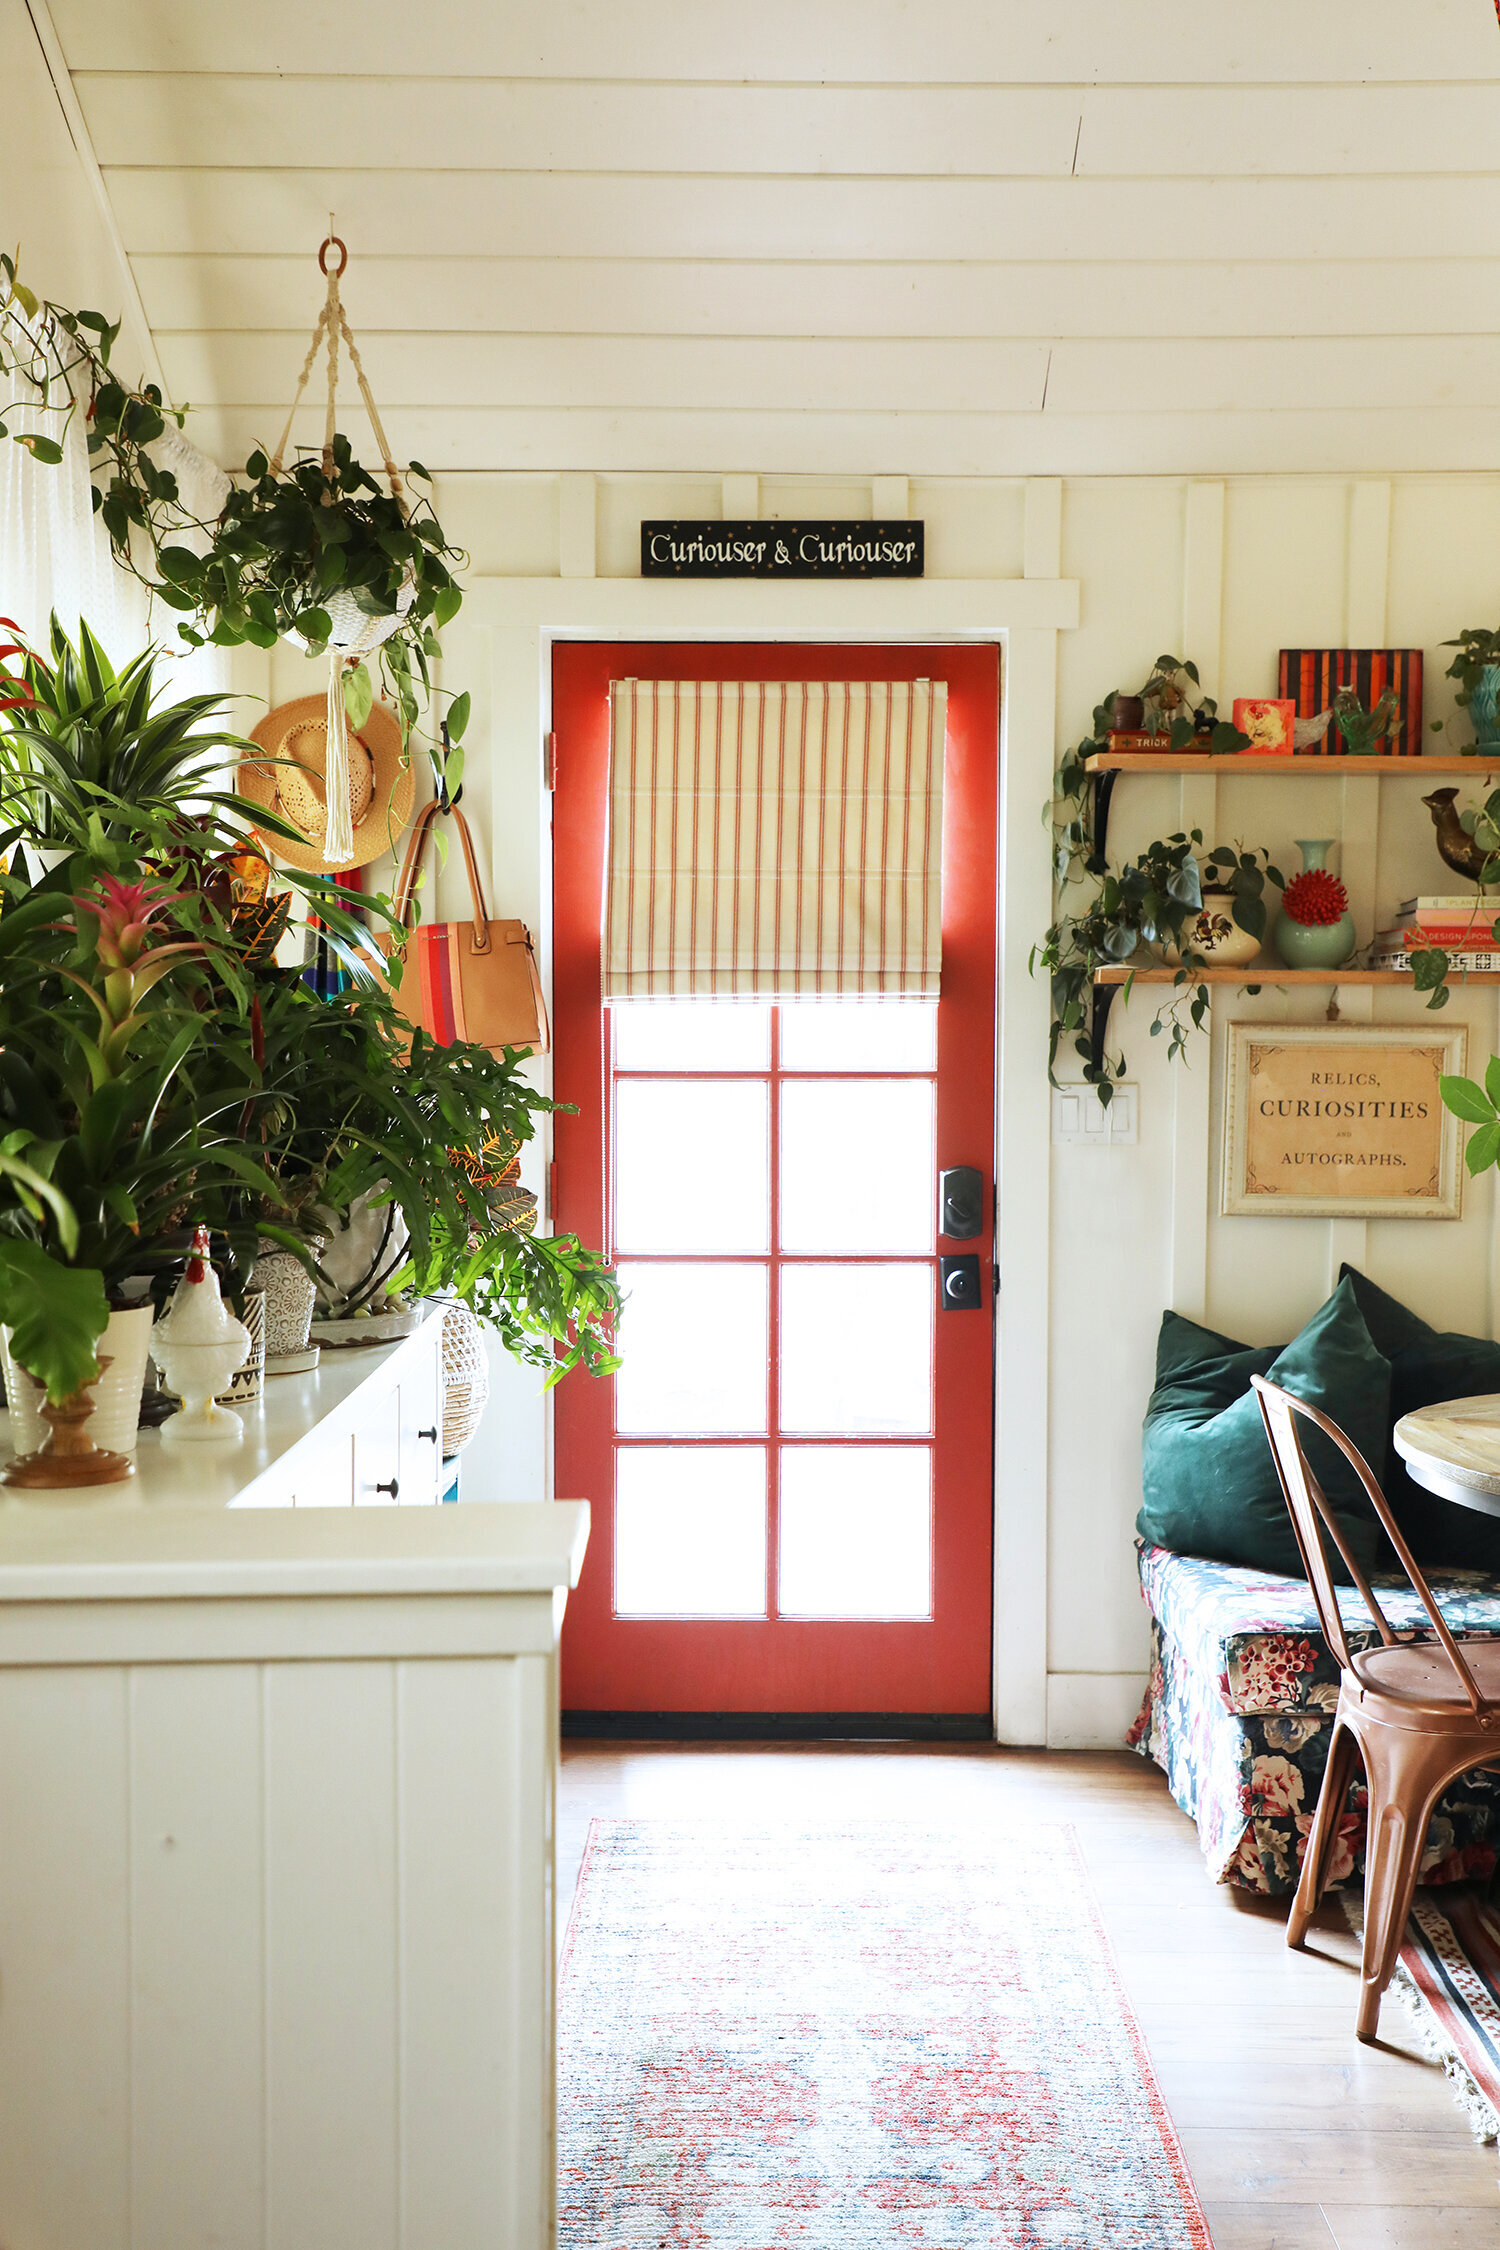
After. The new front door is directly to the left of where I was standing to take this shot.
Let’s look at this situation from the outside:
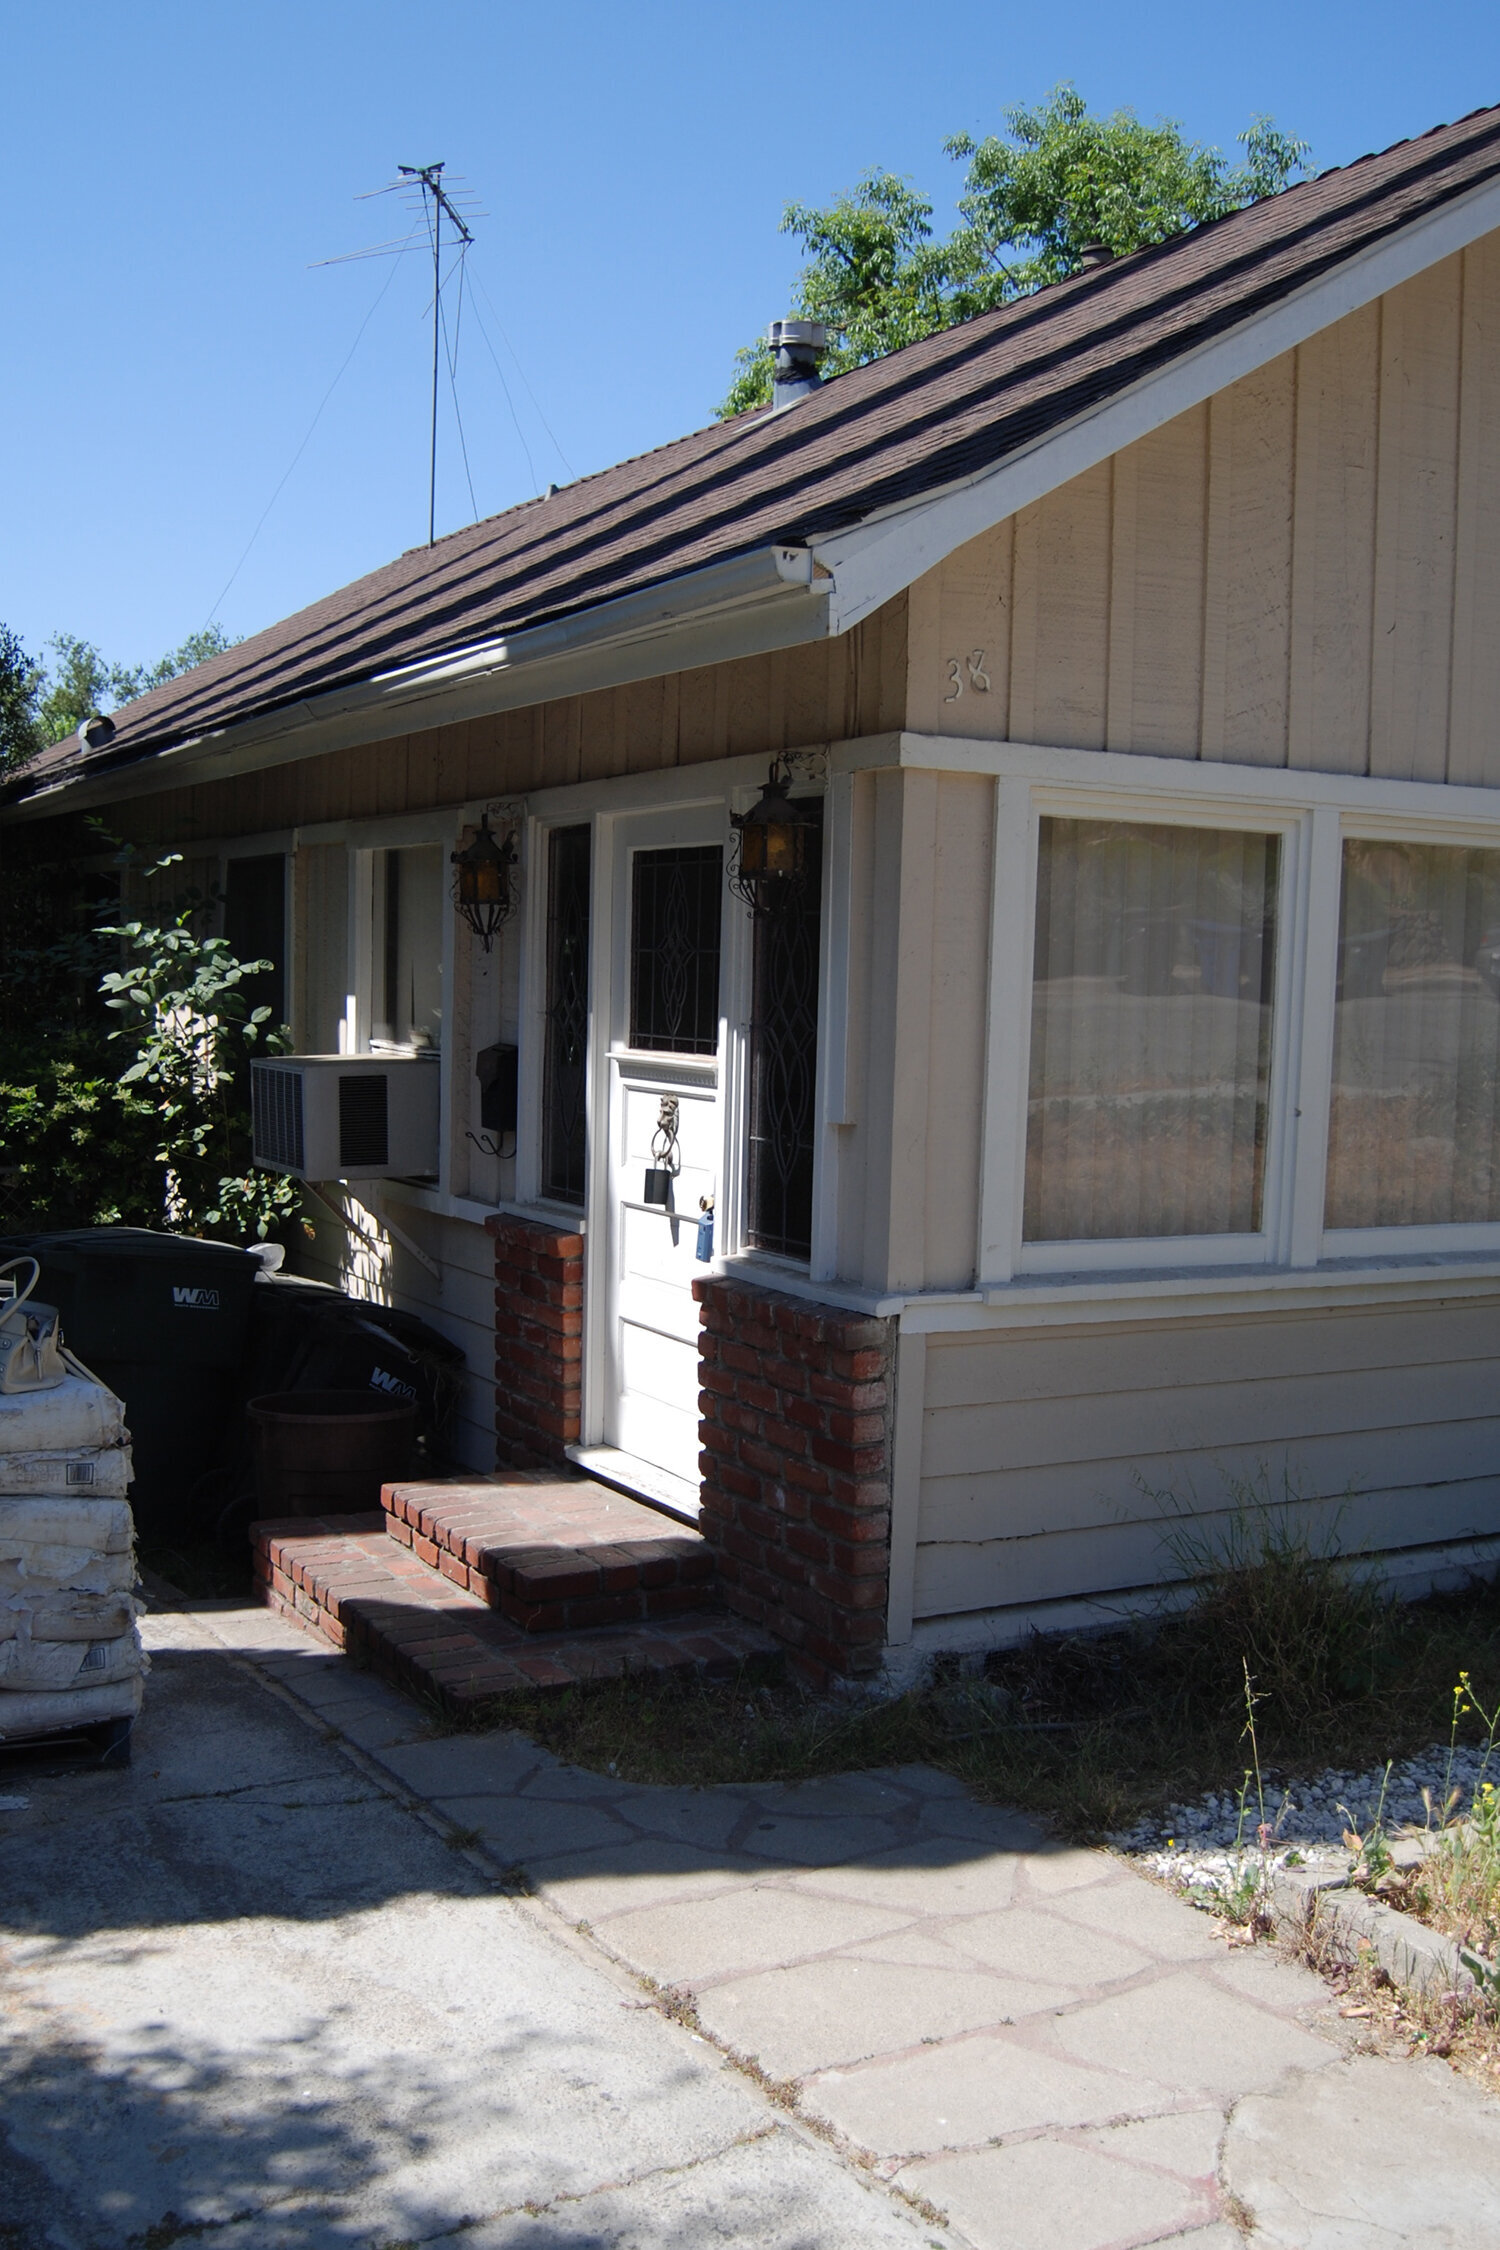
Before. What was the original front door off the driveway.
After. We brought the fence up to the corner of the house so that this door would act as a side door that let into the yard/driveway. We have an electric gate across the driveway that is sitting open here so that I could take this shot.
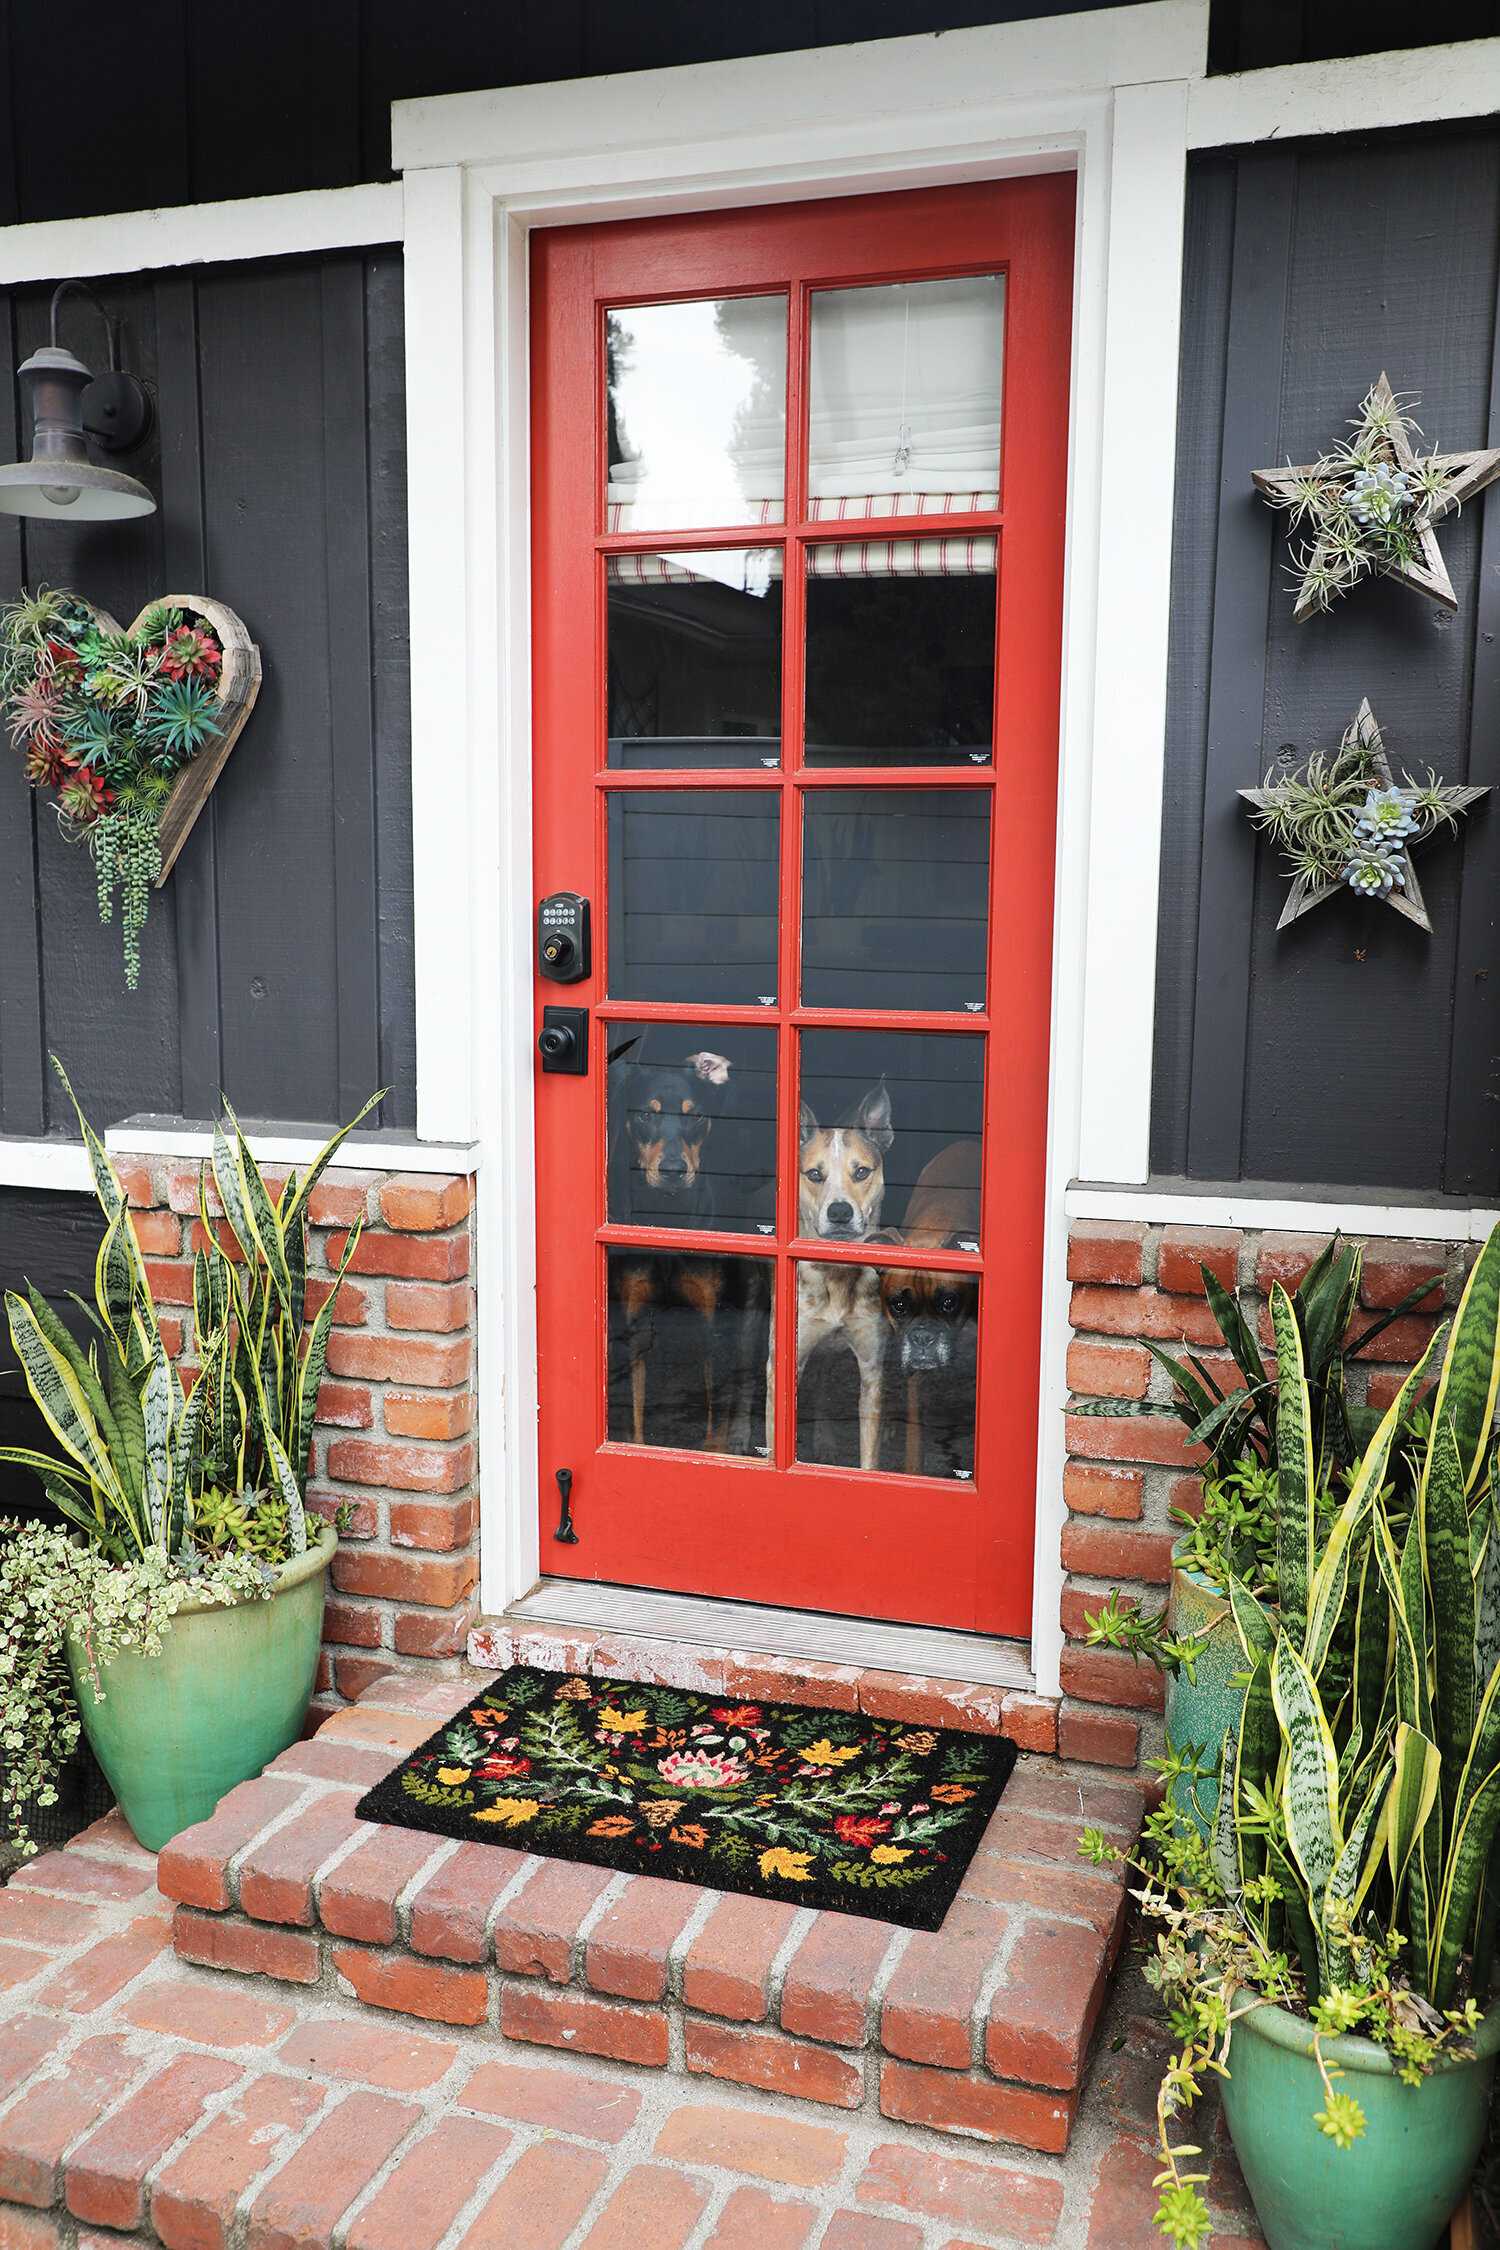
After. Hi puppies.

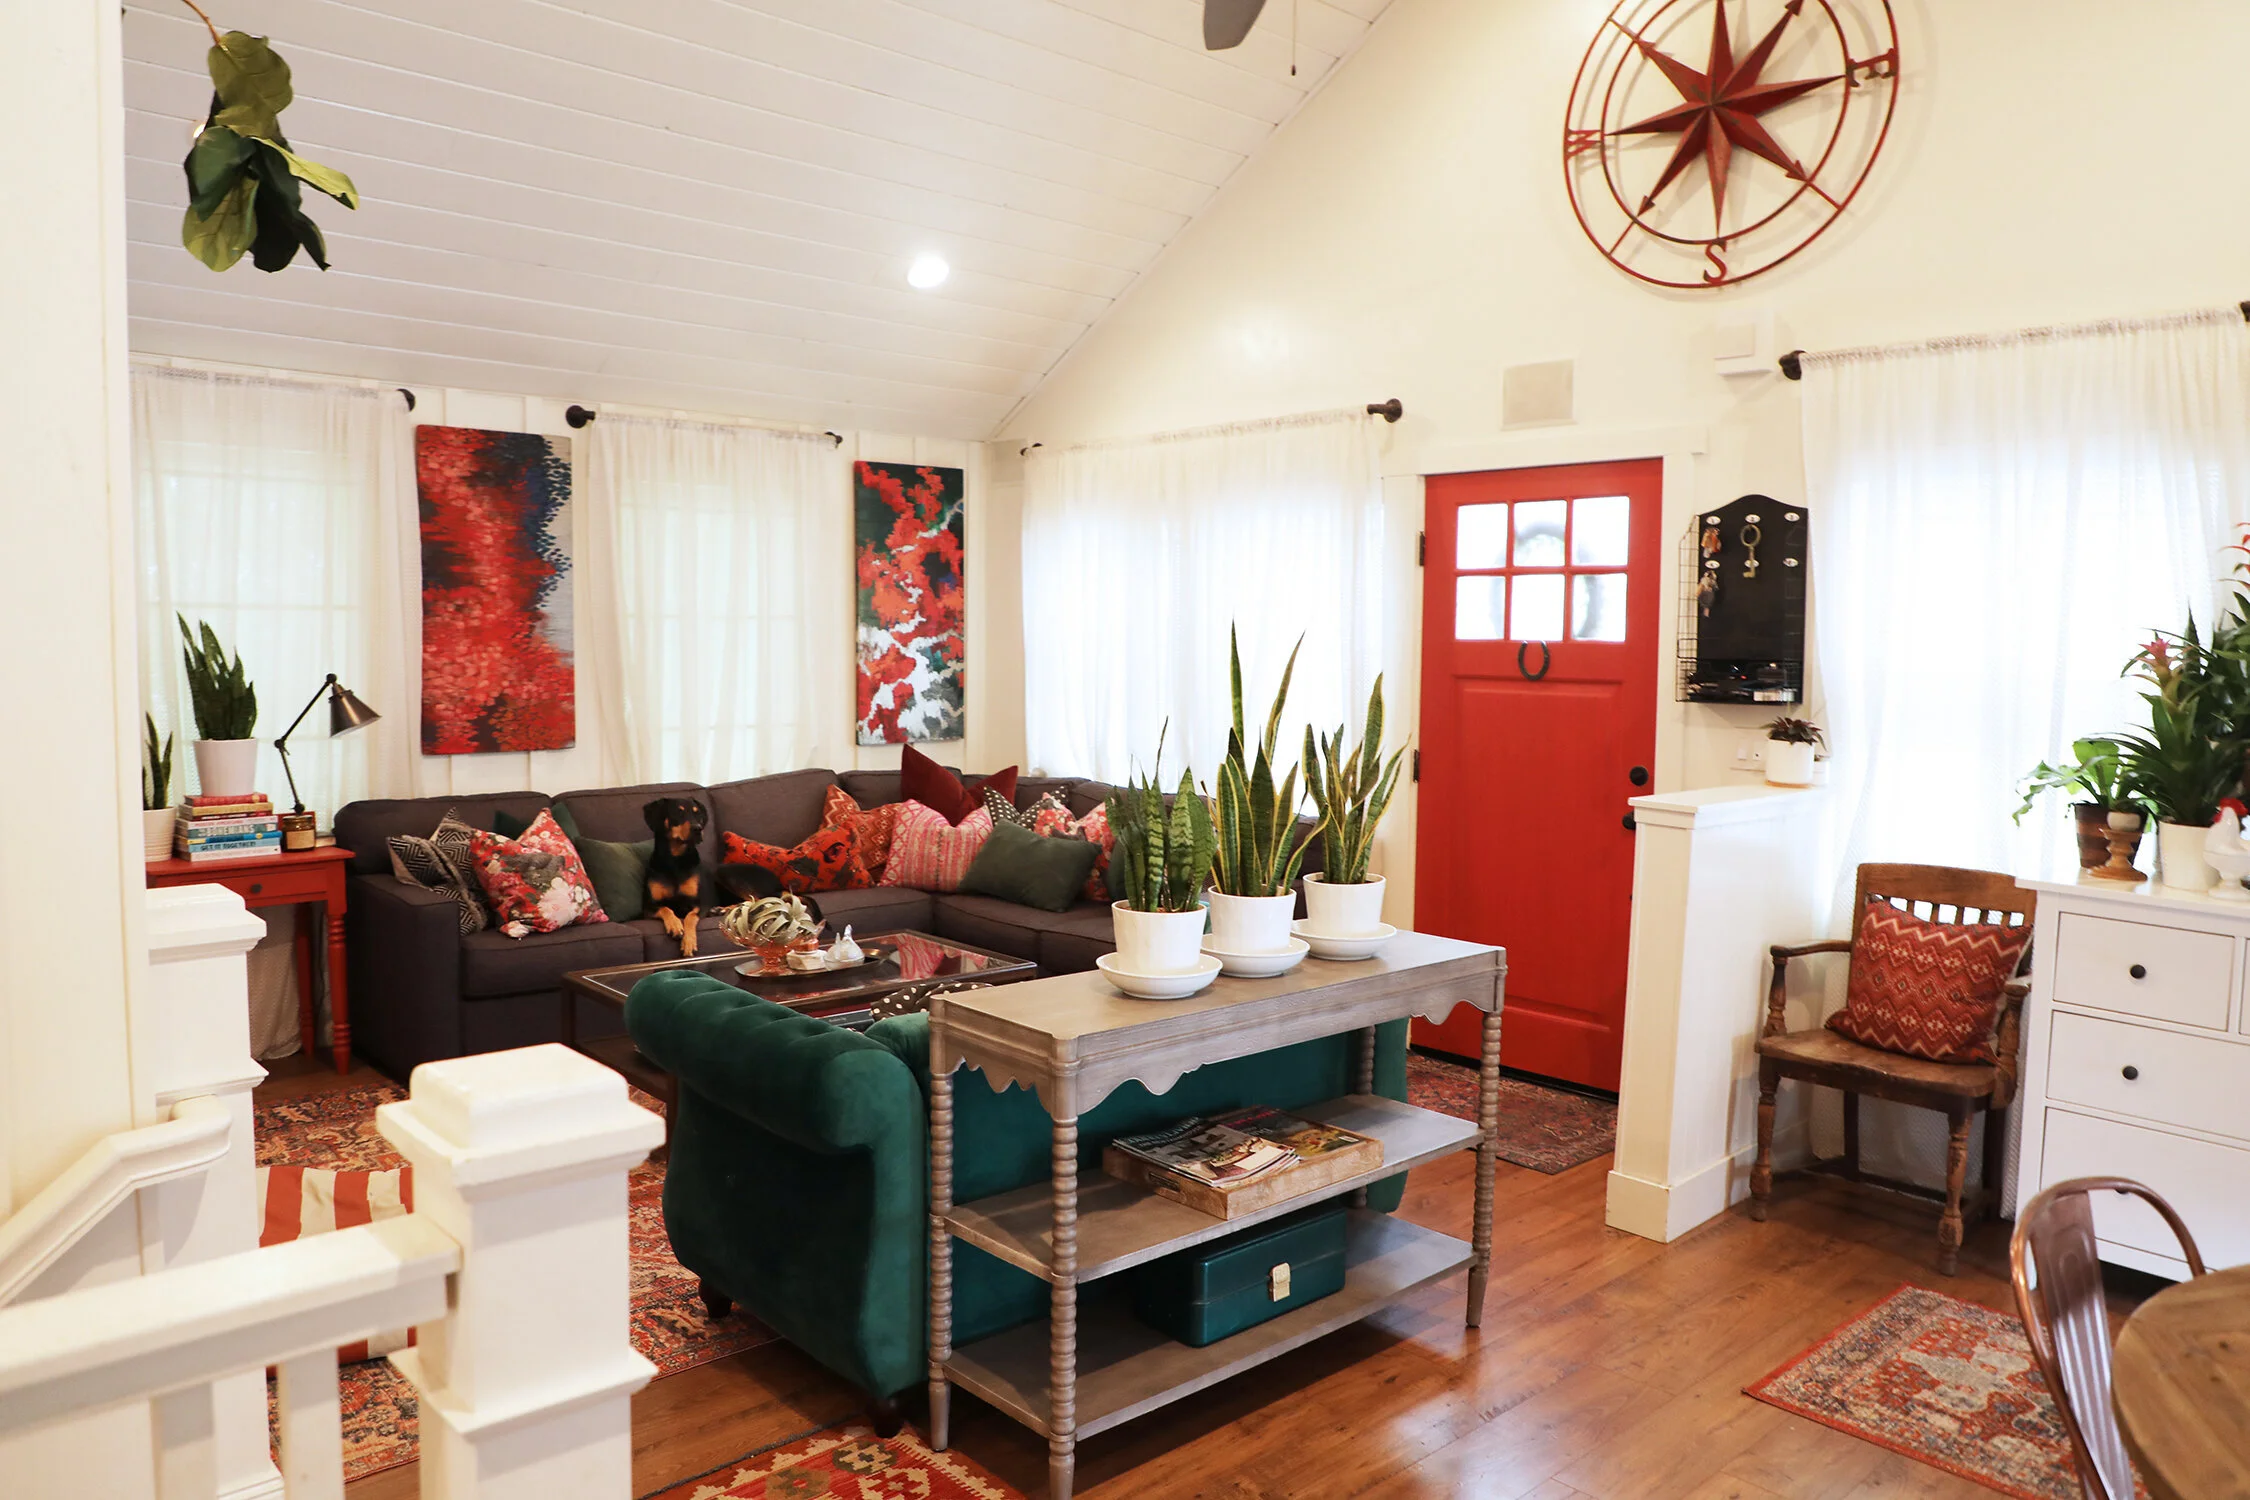
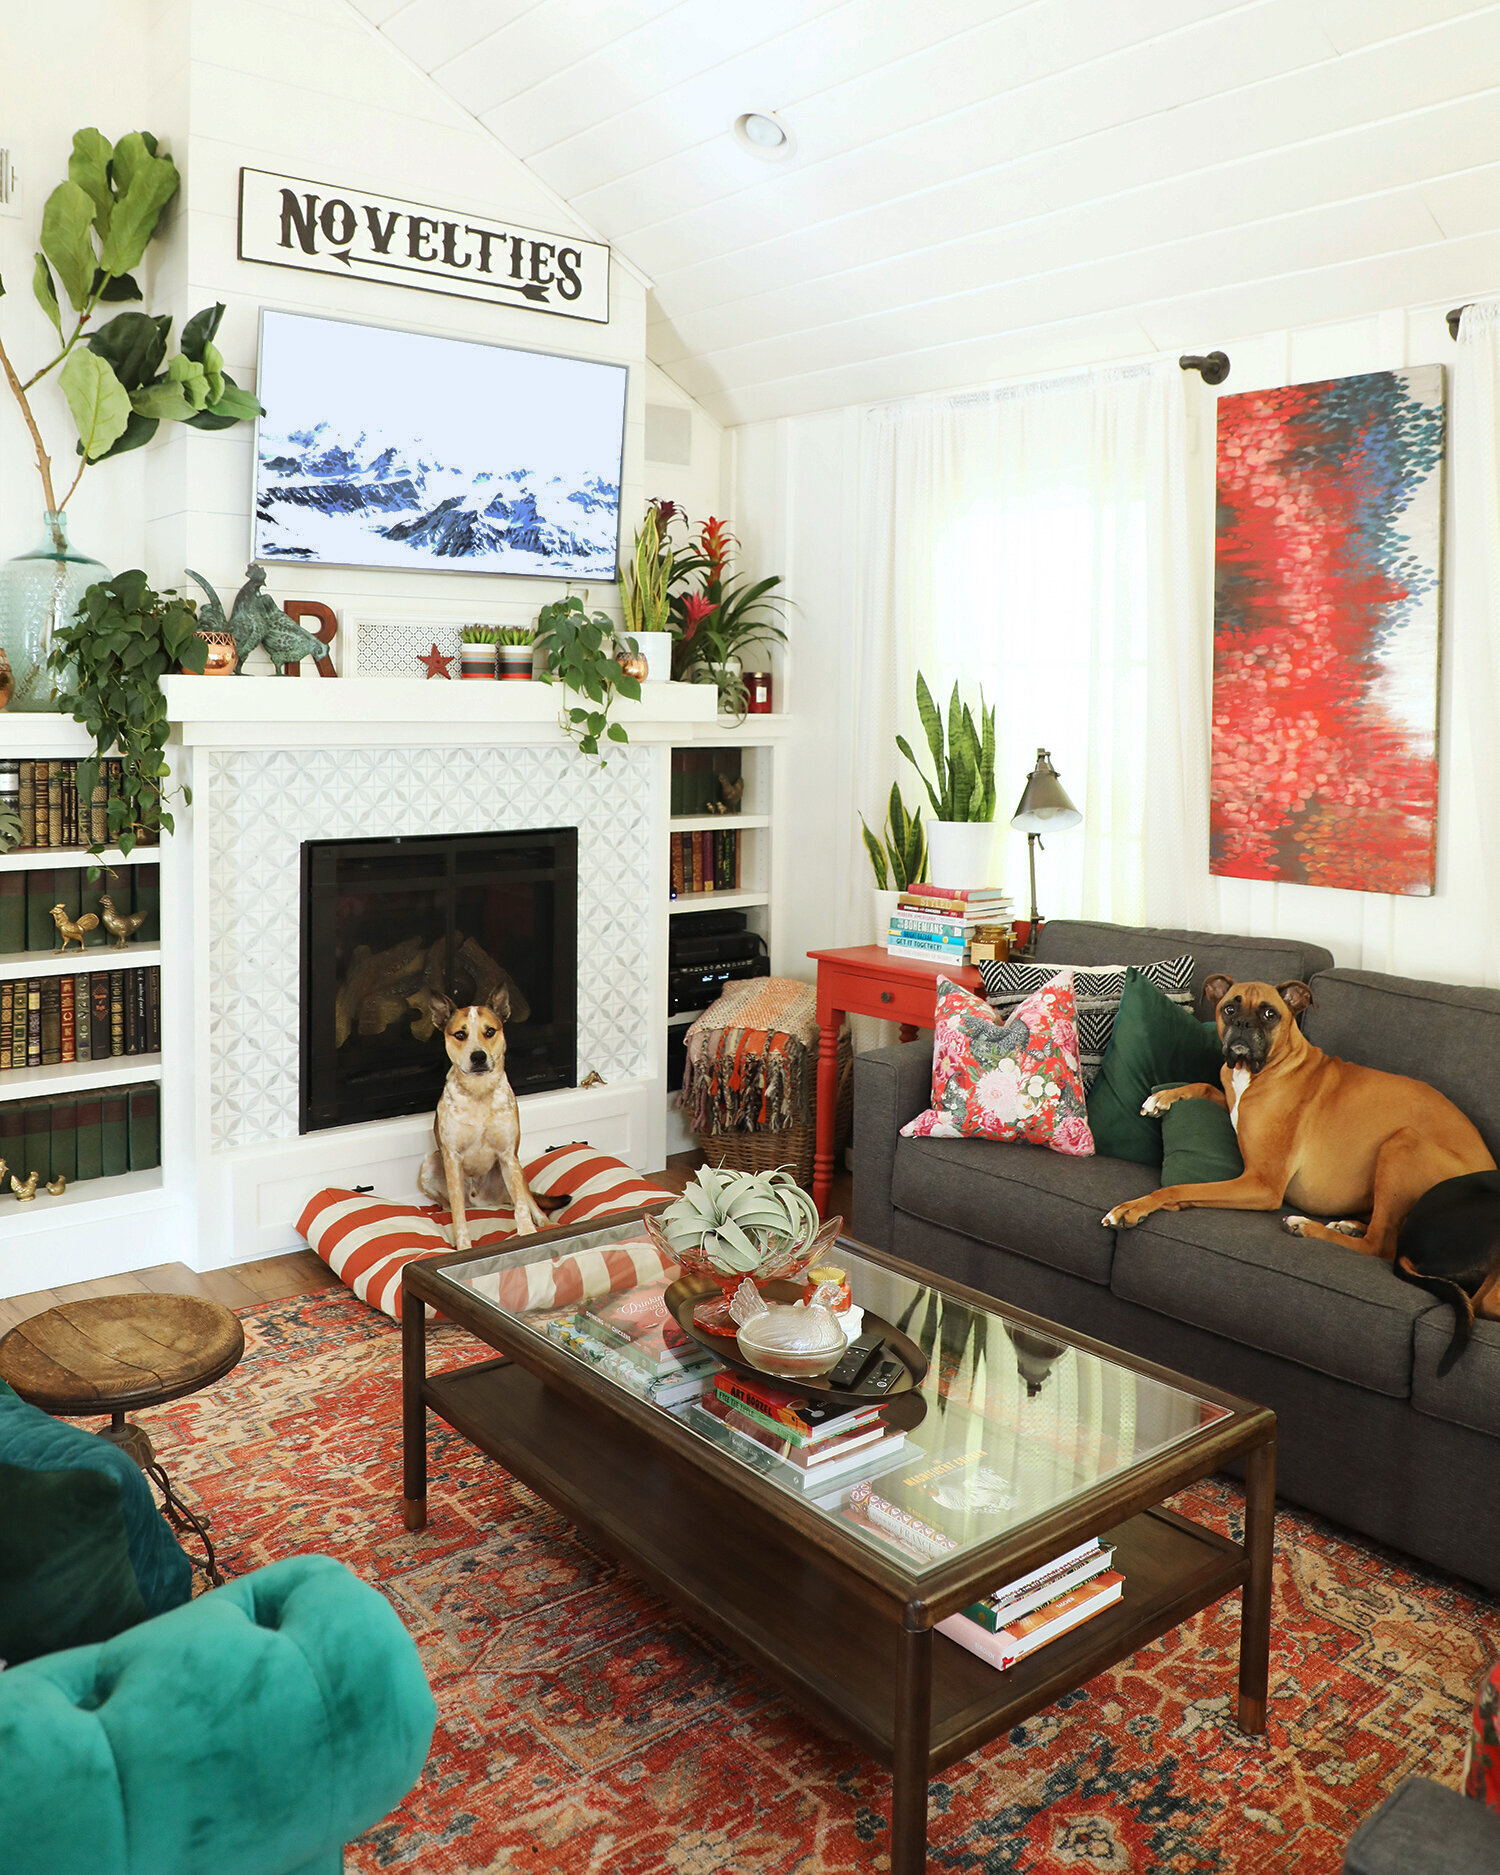
After.

After. I have……..a few houseplants……..

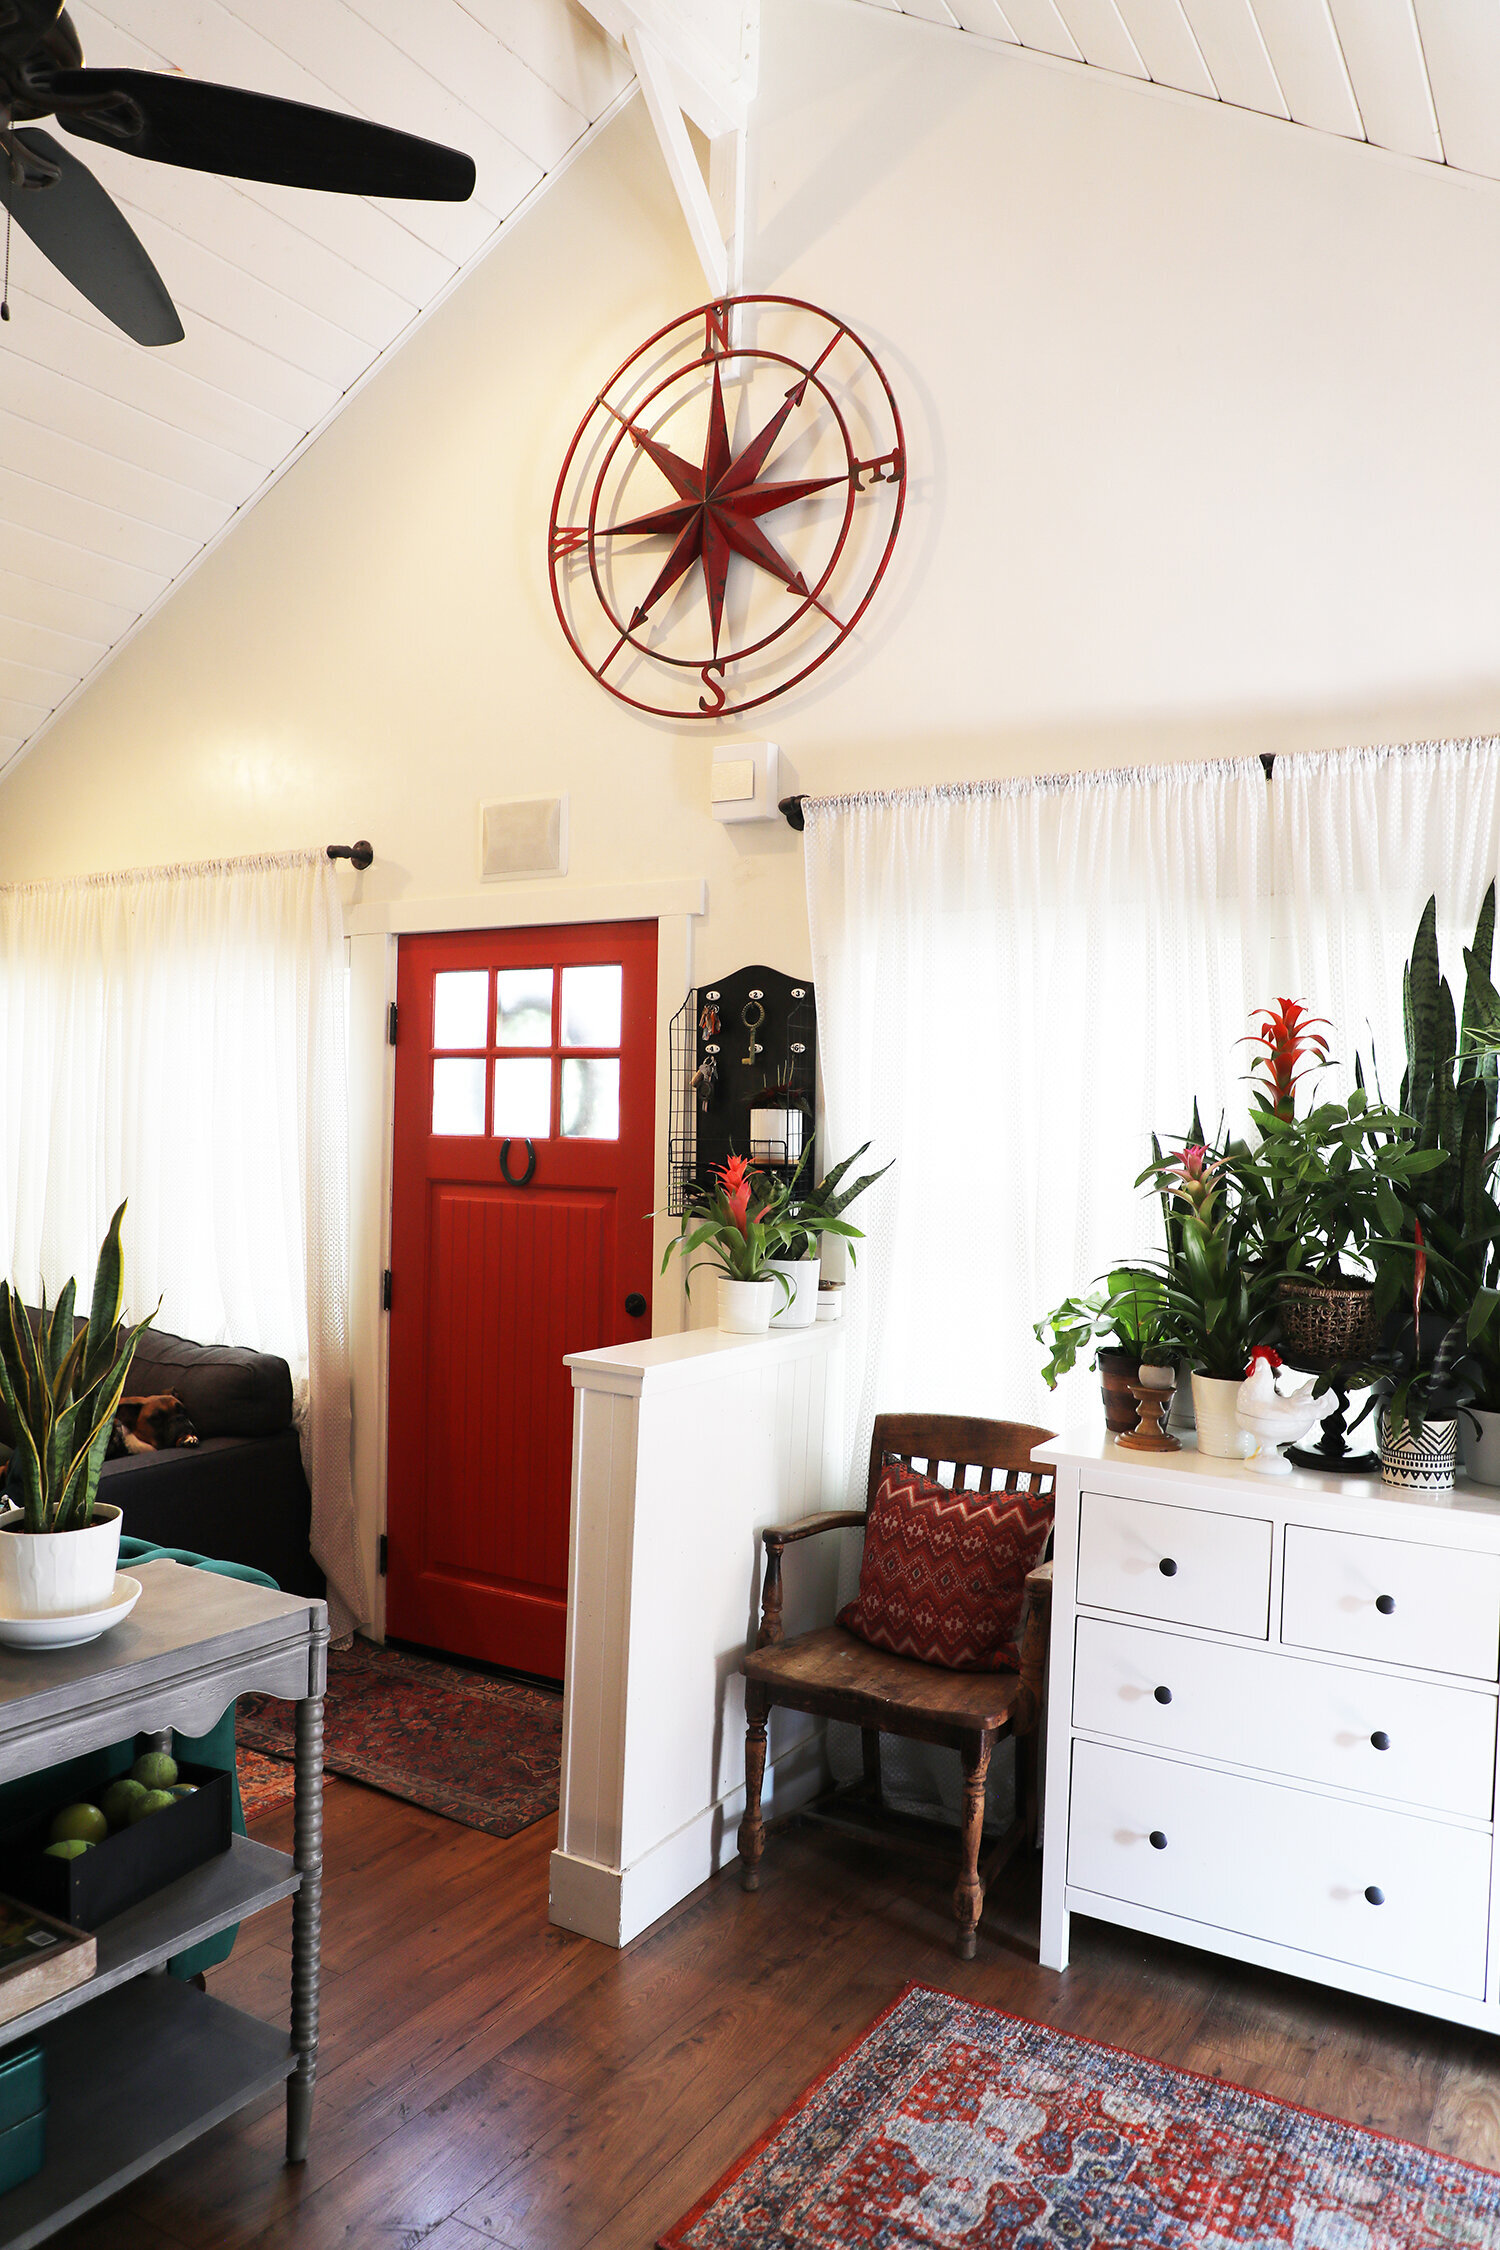
After. Standing at the side door looking back across the room.
I’m a “separate entry way” sort of person. I struggle with not having one. So to give a leetle bit of an “entryway” feeling, we put in a pony wall. Which is also not something I love. Like: if you’re going to be a wall, be a wall? You know? Don’t be half of a wall? But this was kind of one of those situations where we needed a little bit of a wall: we needed somewhere to hang leashes. And also to store the cat.
So it’s not a pony wall, okay? It’s The Cat Wall. That’s the professional terminology.
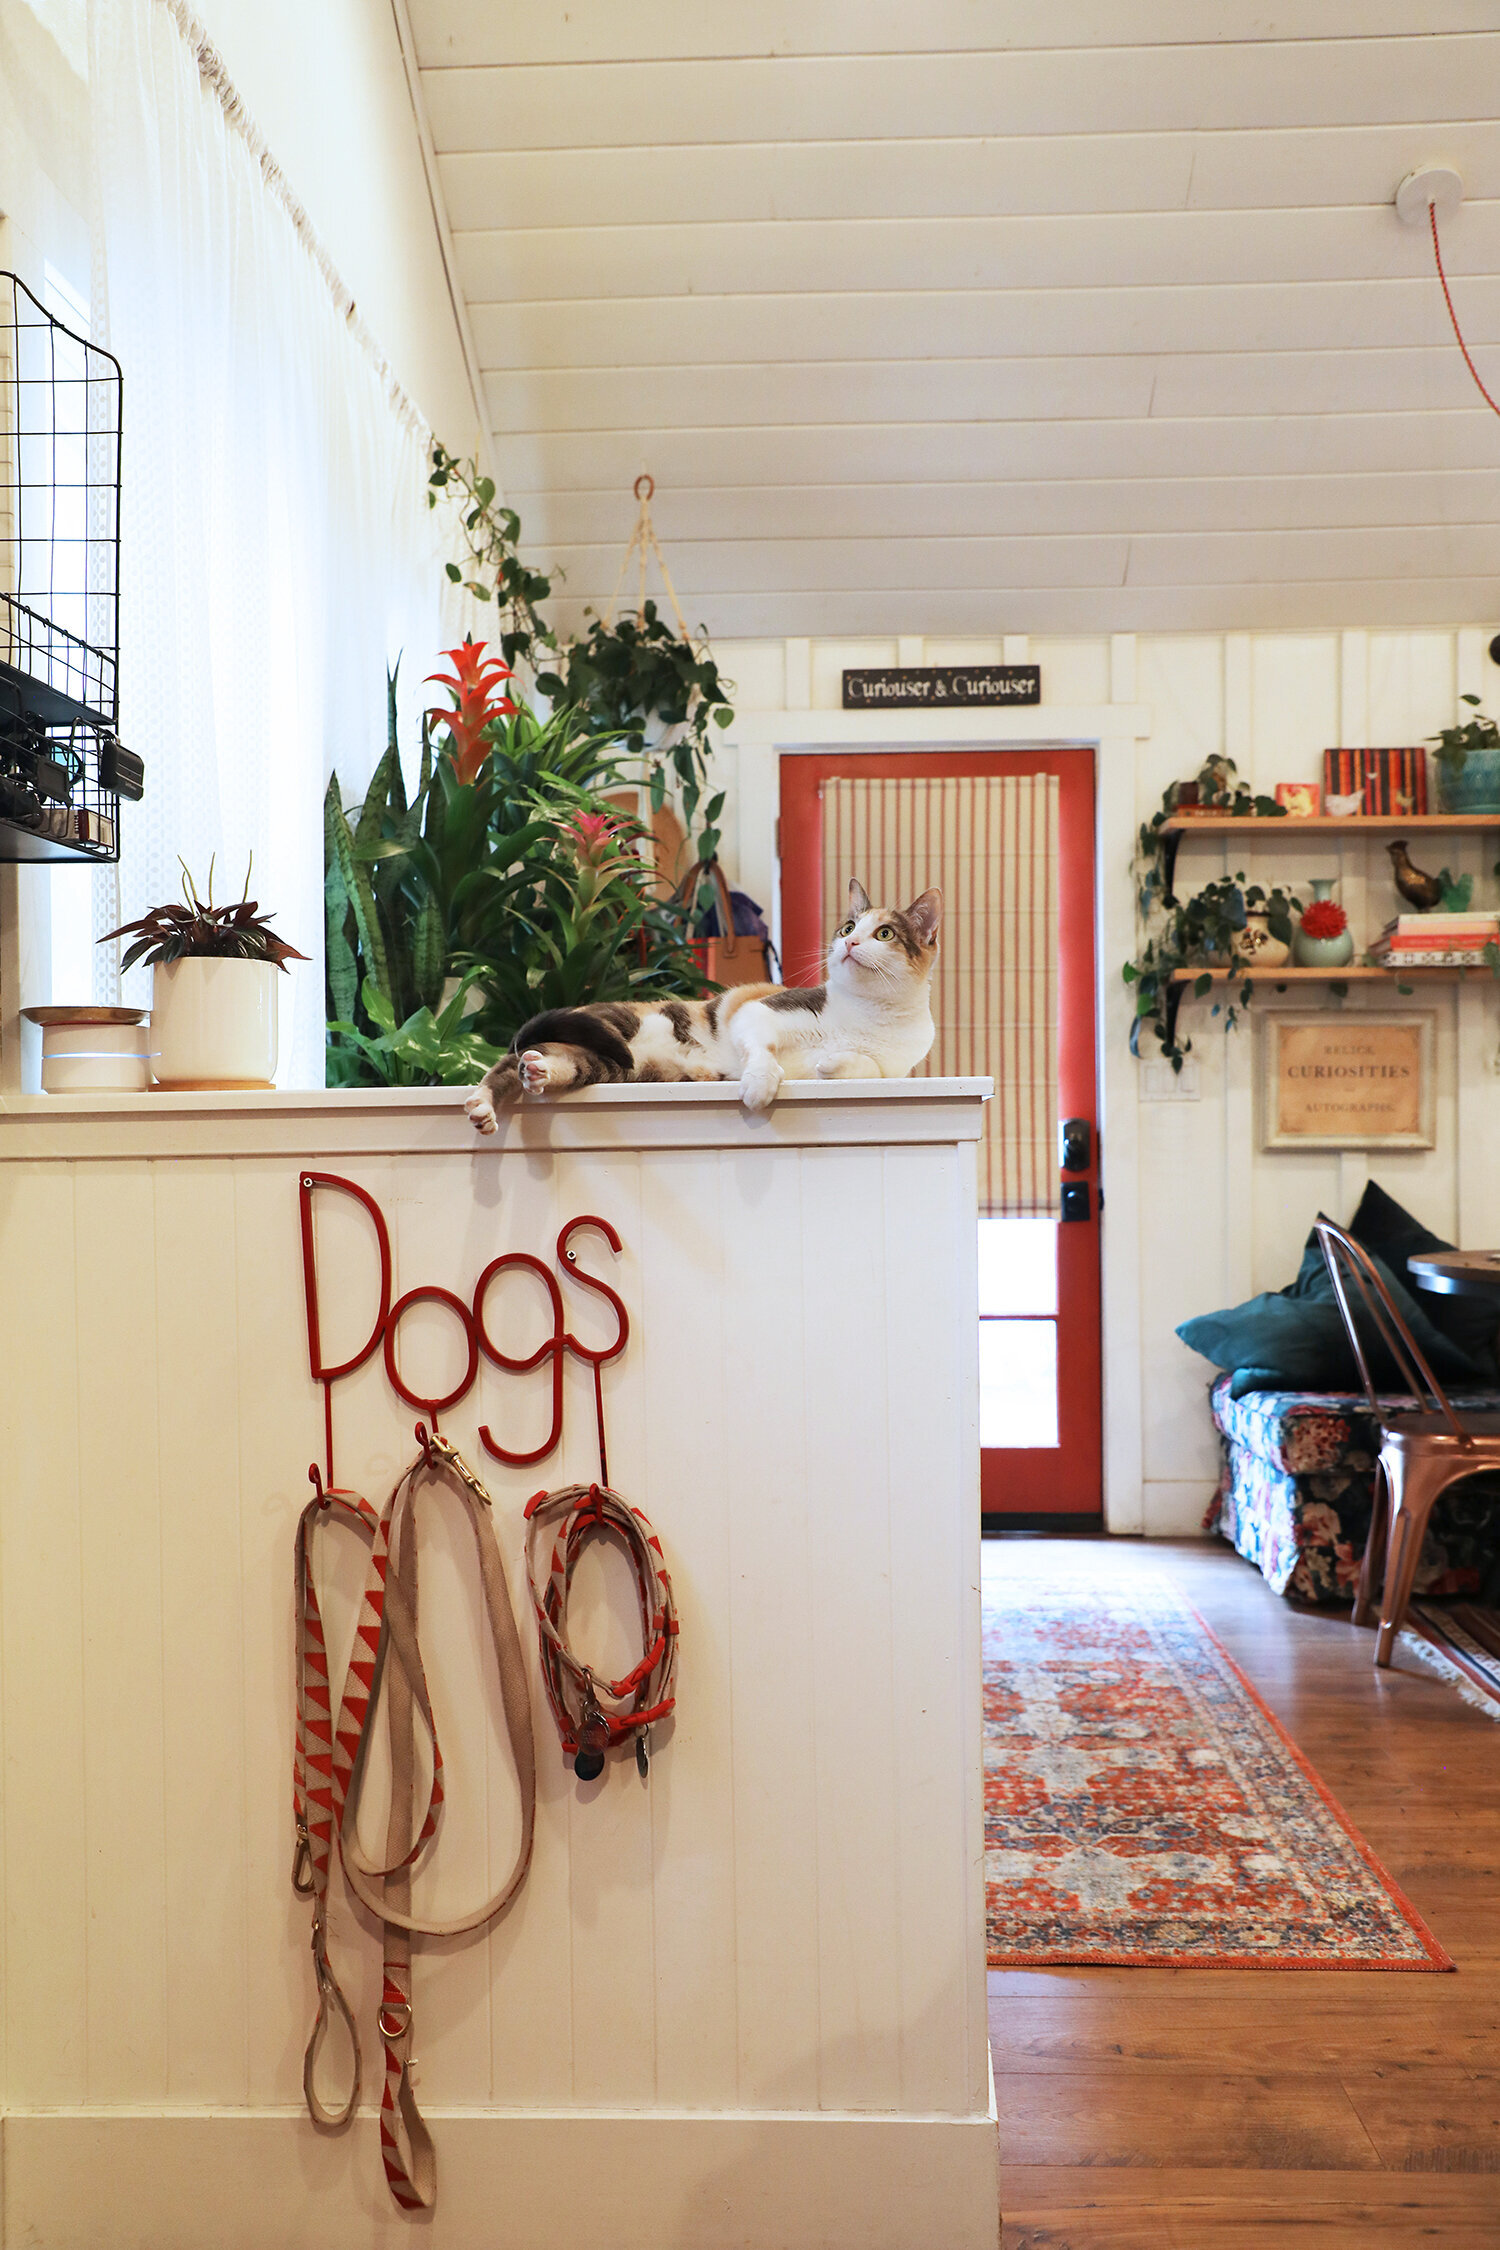
After. The Cat Wall. Geez those leashes are dirty. Somebody should wash them.
Before. Just to the left of the doorway is the portal to hell that was the previous stairwell that led downstairs. More on that later.
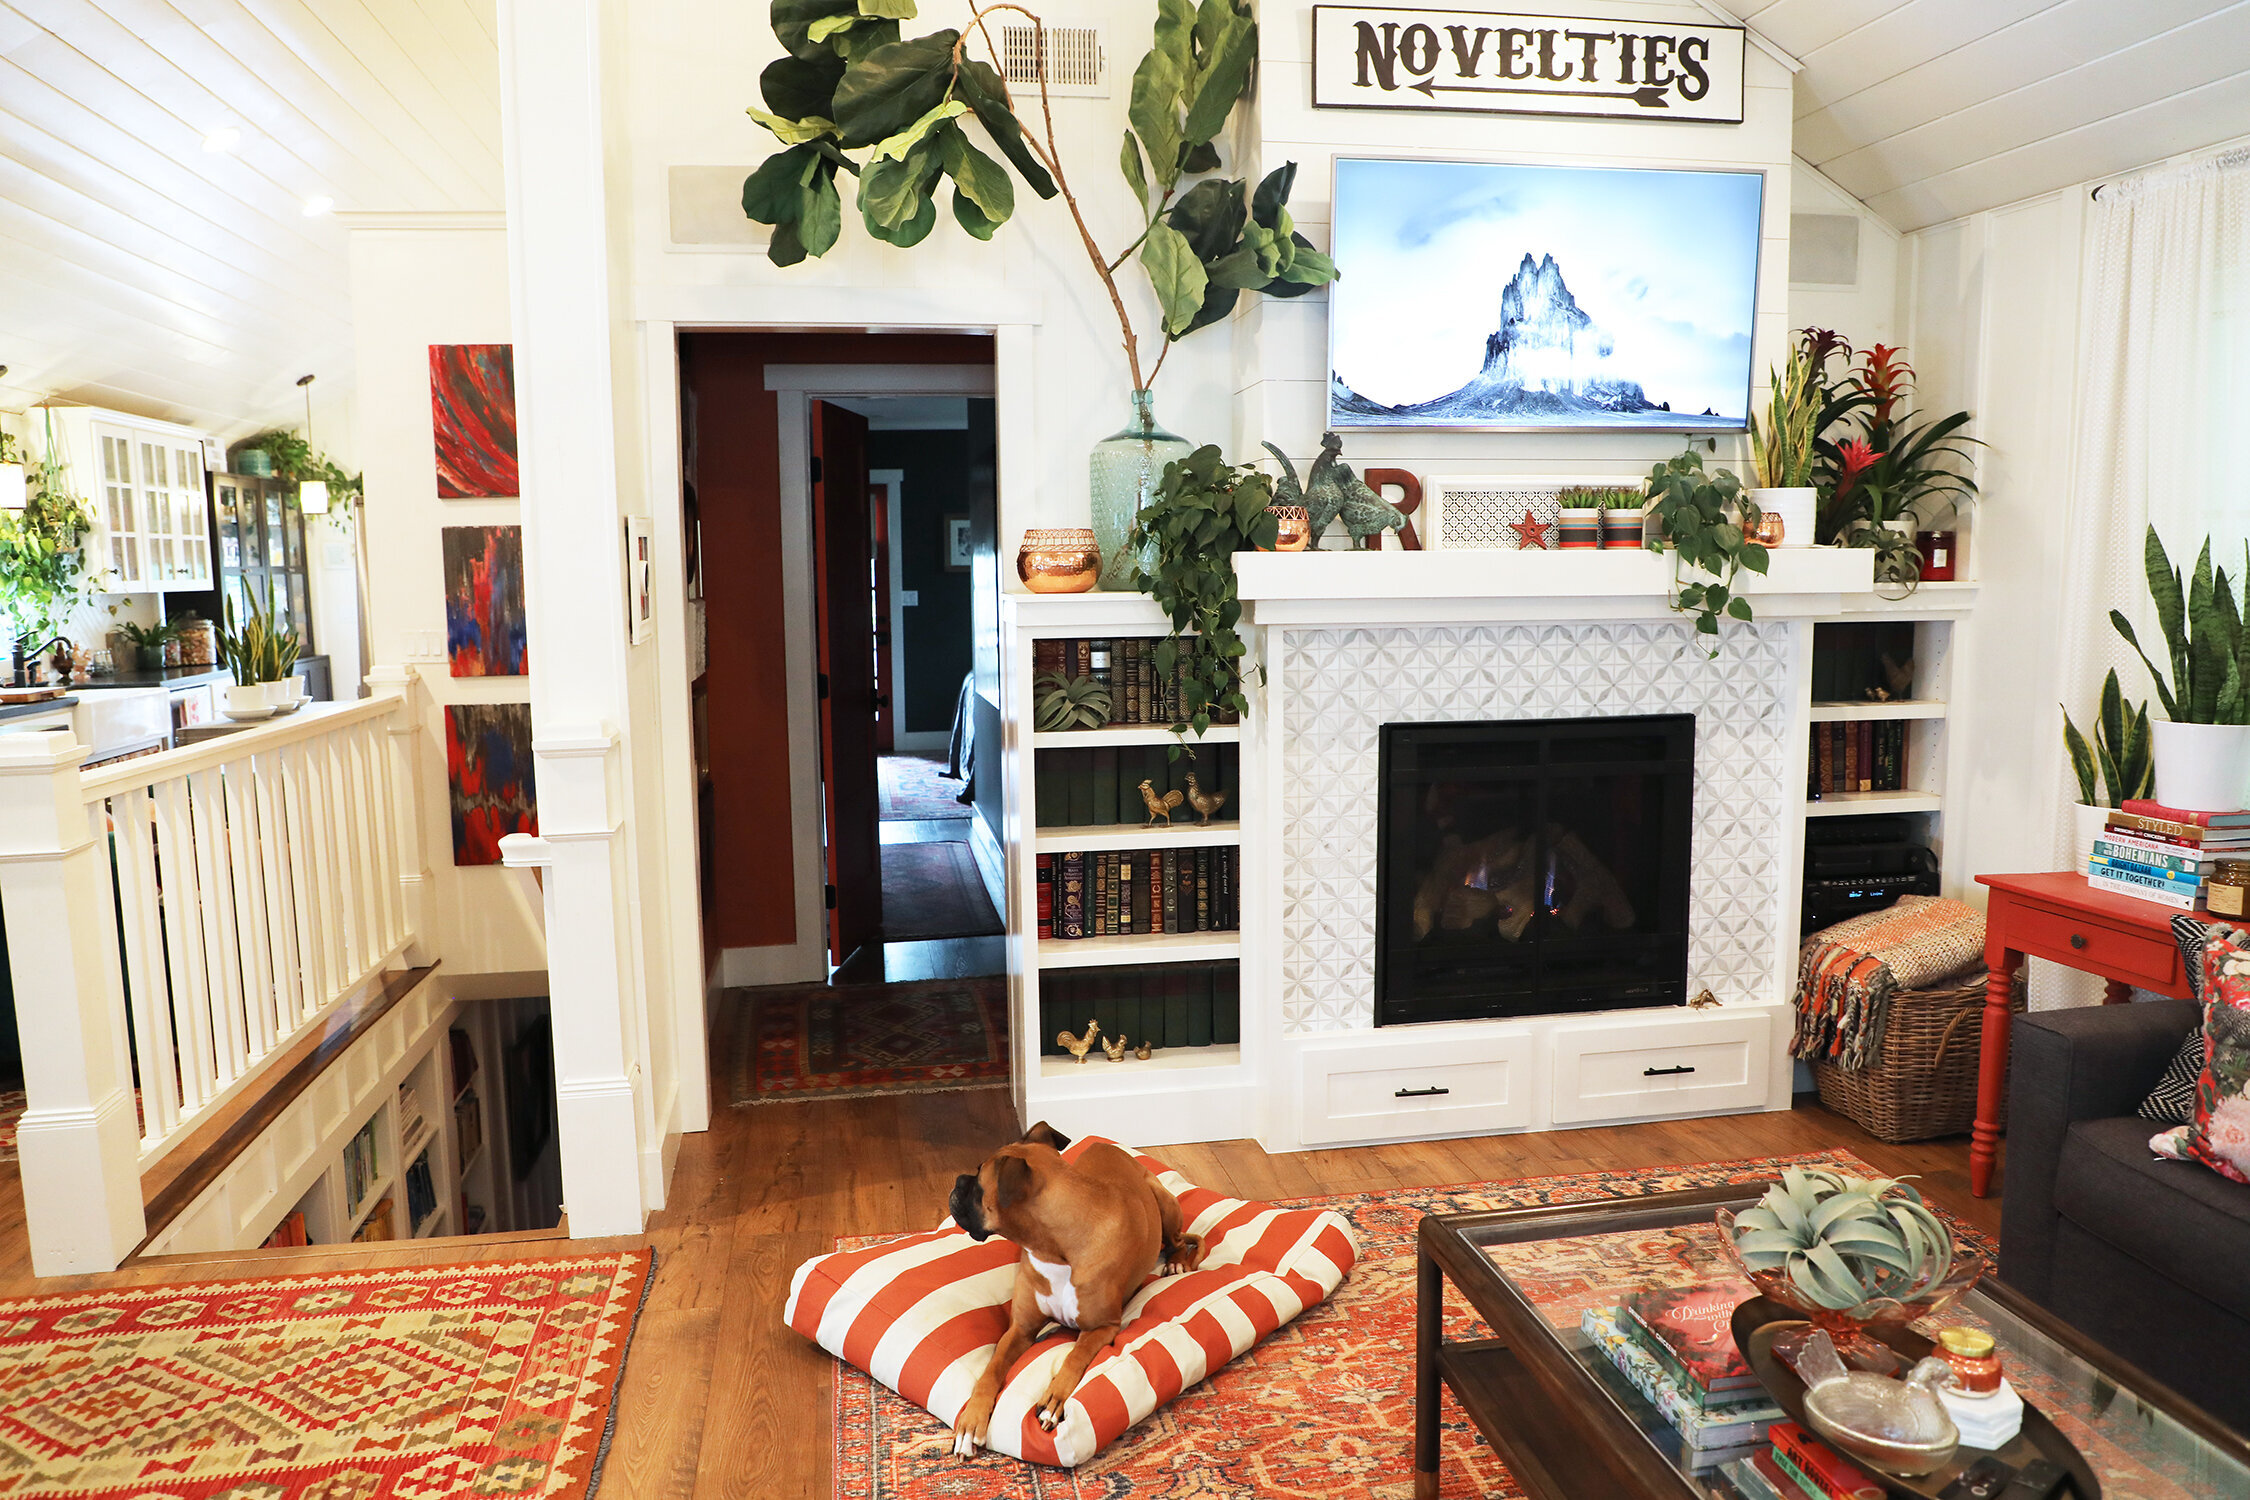
Allrighty…now we’re looking back across the room to the wall that separated what was the original primary bedroom and bathroom from the living room. The house did not have a fireplace. And this bothered my soul because the last house we had (a 1930’s Spanish style) also didn’t have one. I swore: NEVER AGAIN would I have a fireplace-less house. And then we went and bought another one.

After.
So we put a fireplace in. Along with some built-ins. This all required widening the wall a bit, pushing towards the stairwell that you can partially see in the left of the above photo. We had to do this in order to still accommodate an entrance to what is now the reconfigured primary suite (stay tuned for a separate post on this), guest powder room, and small hallway. Also…it made this very tight room feel a smidge bigger.
After. Usually there’s a green loveseat and console table kind of hovering in the middle of the room, but in order to accurately show what changed here, we moved them outta the way for a few shots, as seen here and in the previous shot.
After. See? Loveseat’s back.

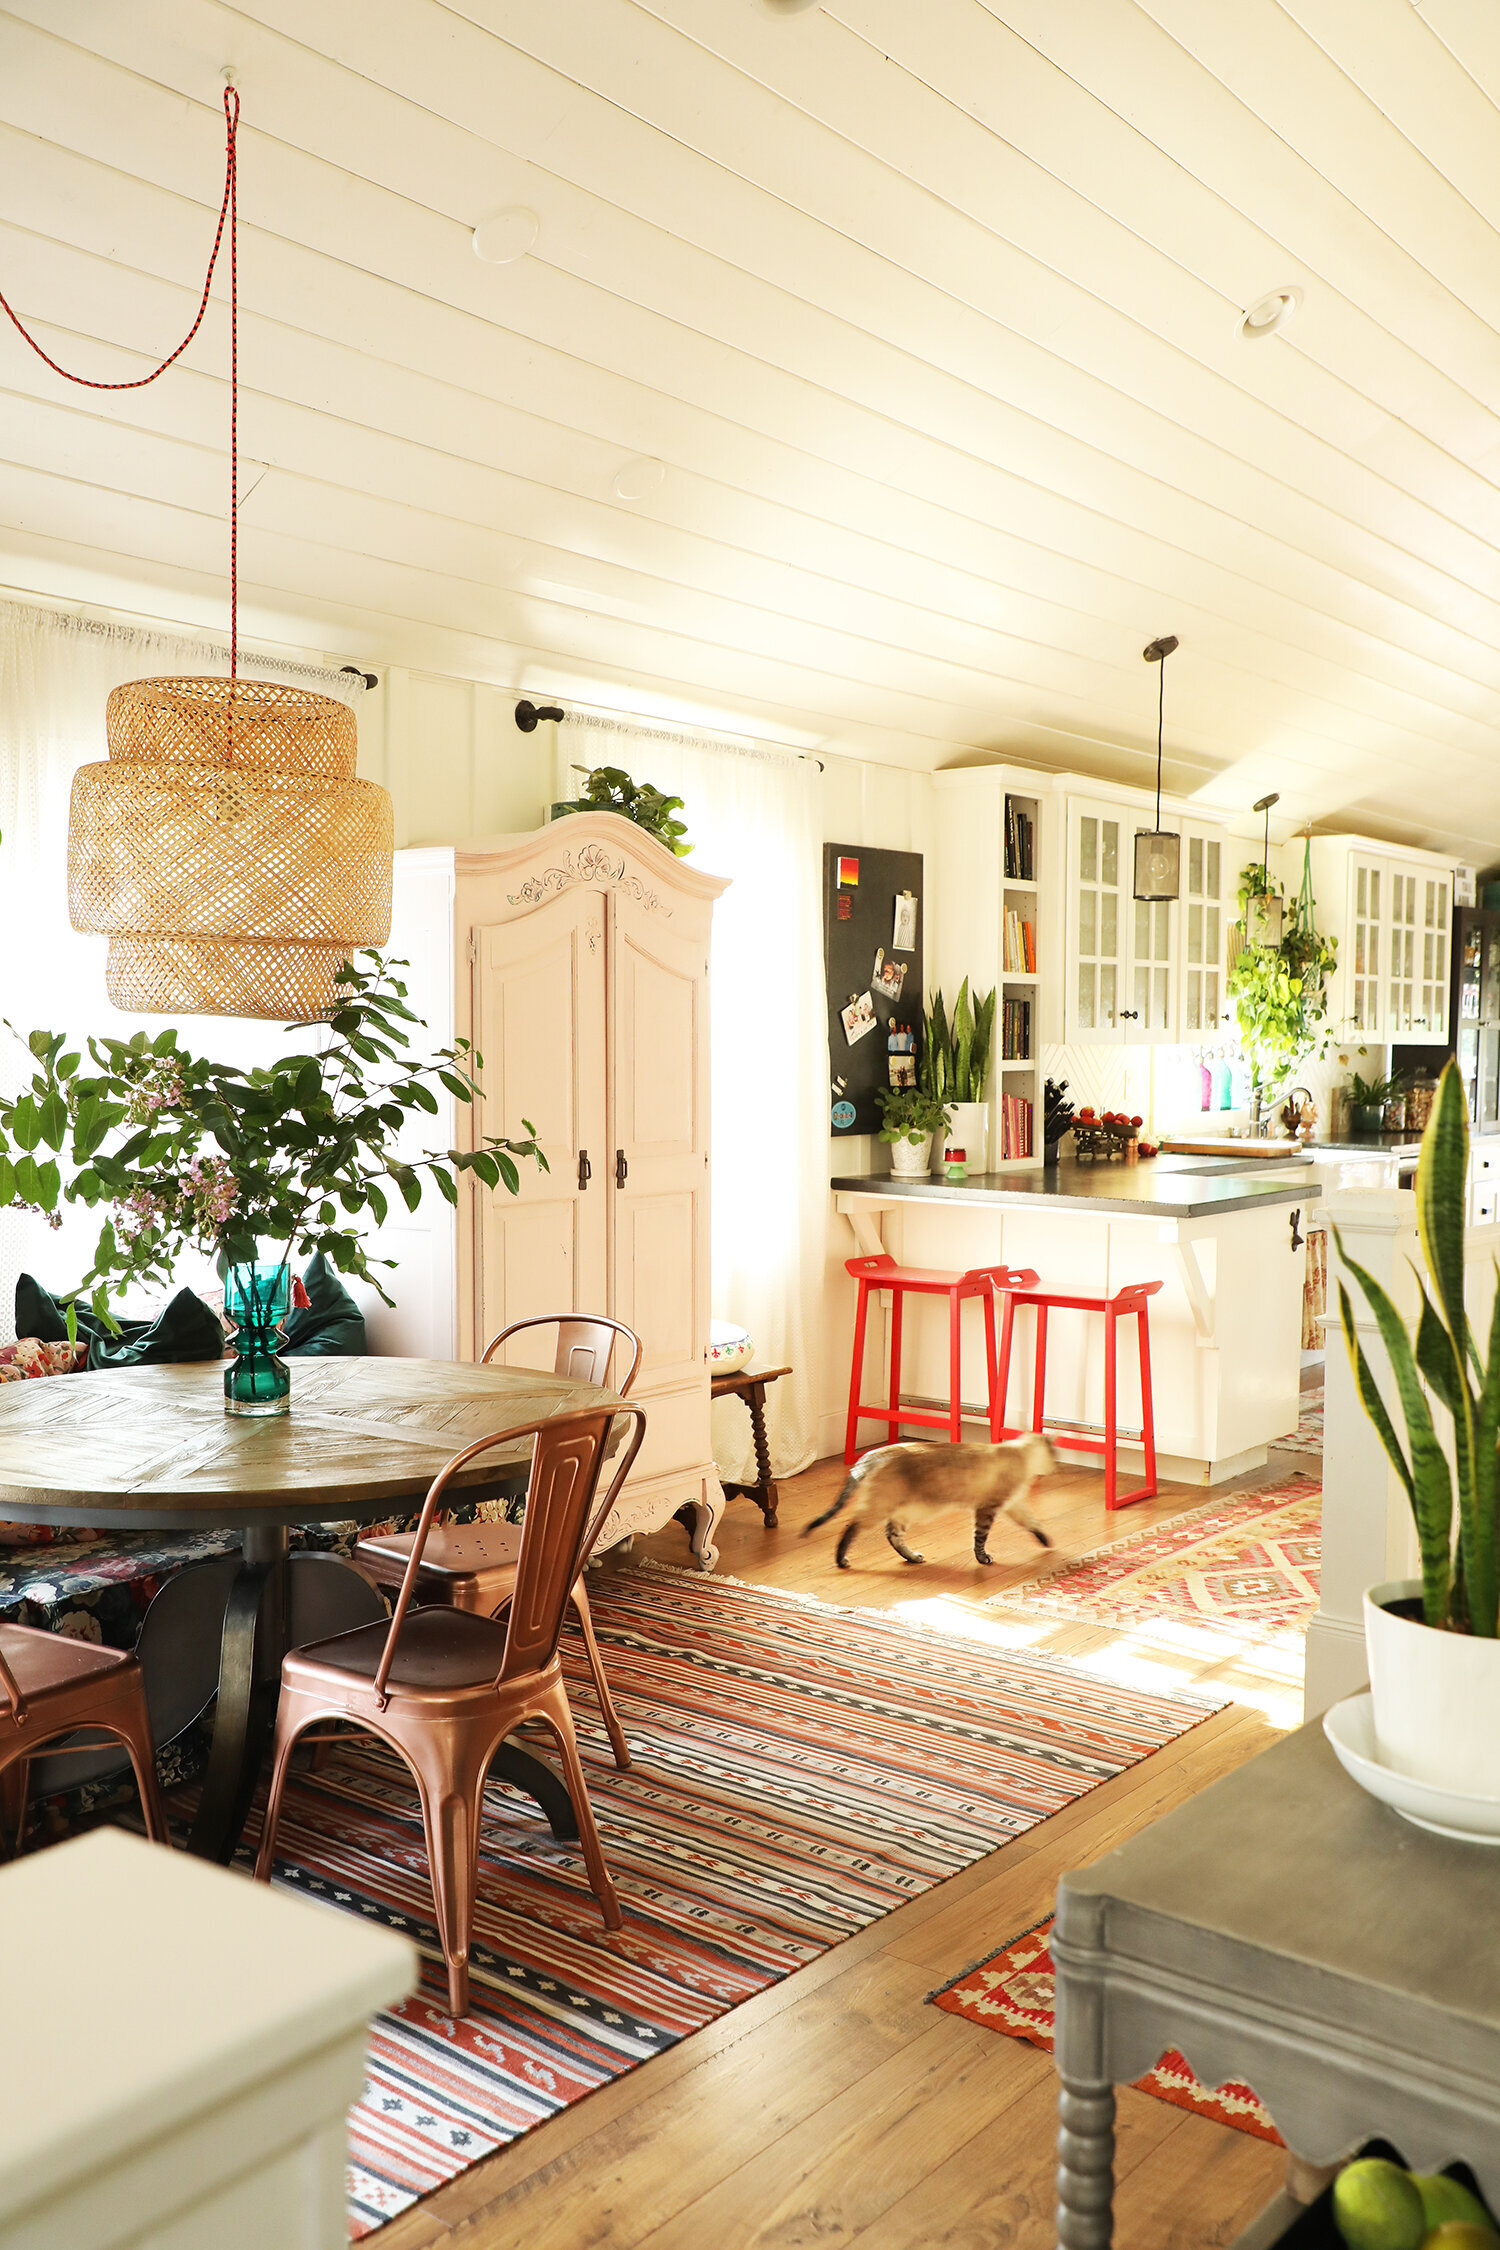
After. You can see how we use the loveseat and console table, plus The Cat Wall, to sort of visually divide the “living room” from what is our “dining room”. I like to compartmentalize despite having a “great room”.
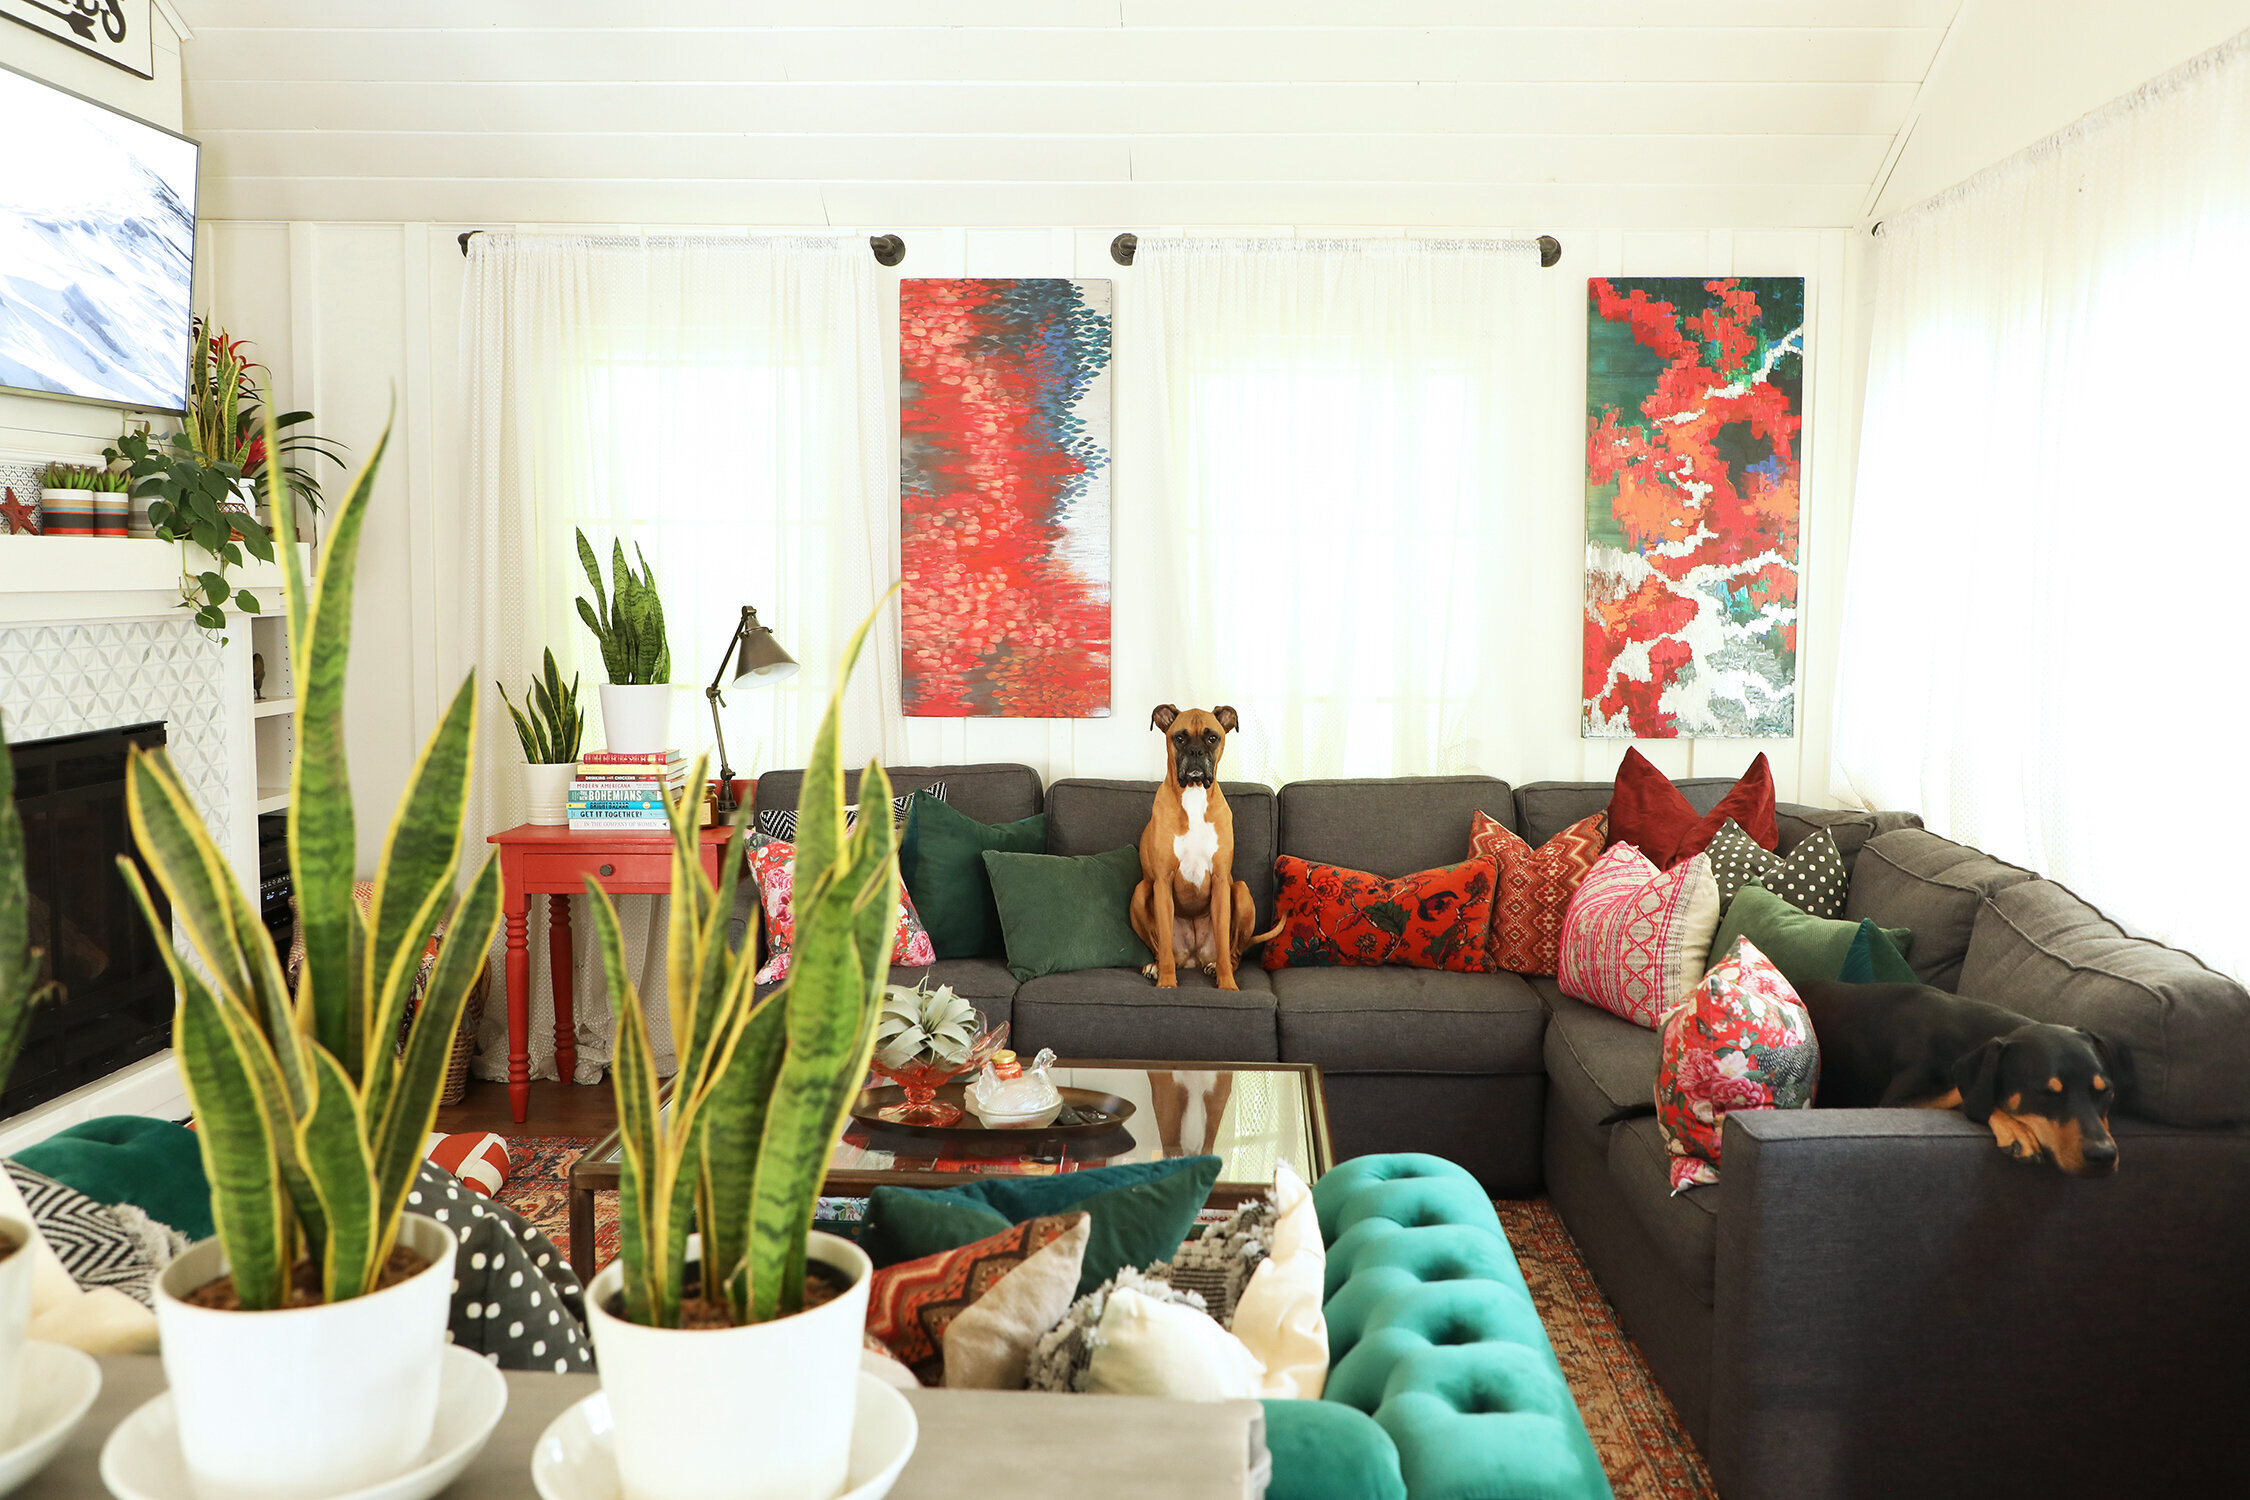
After.
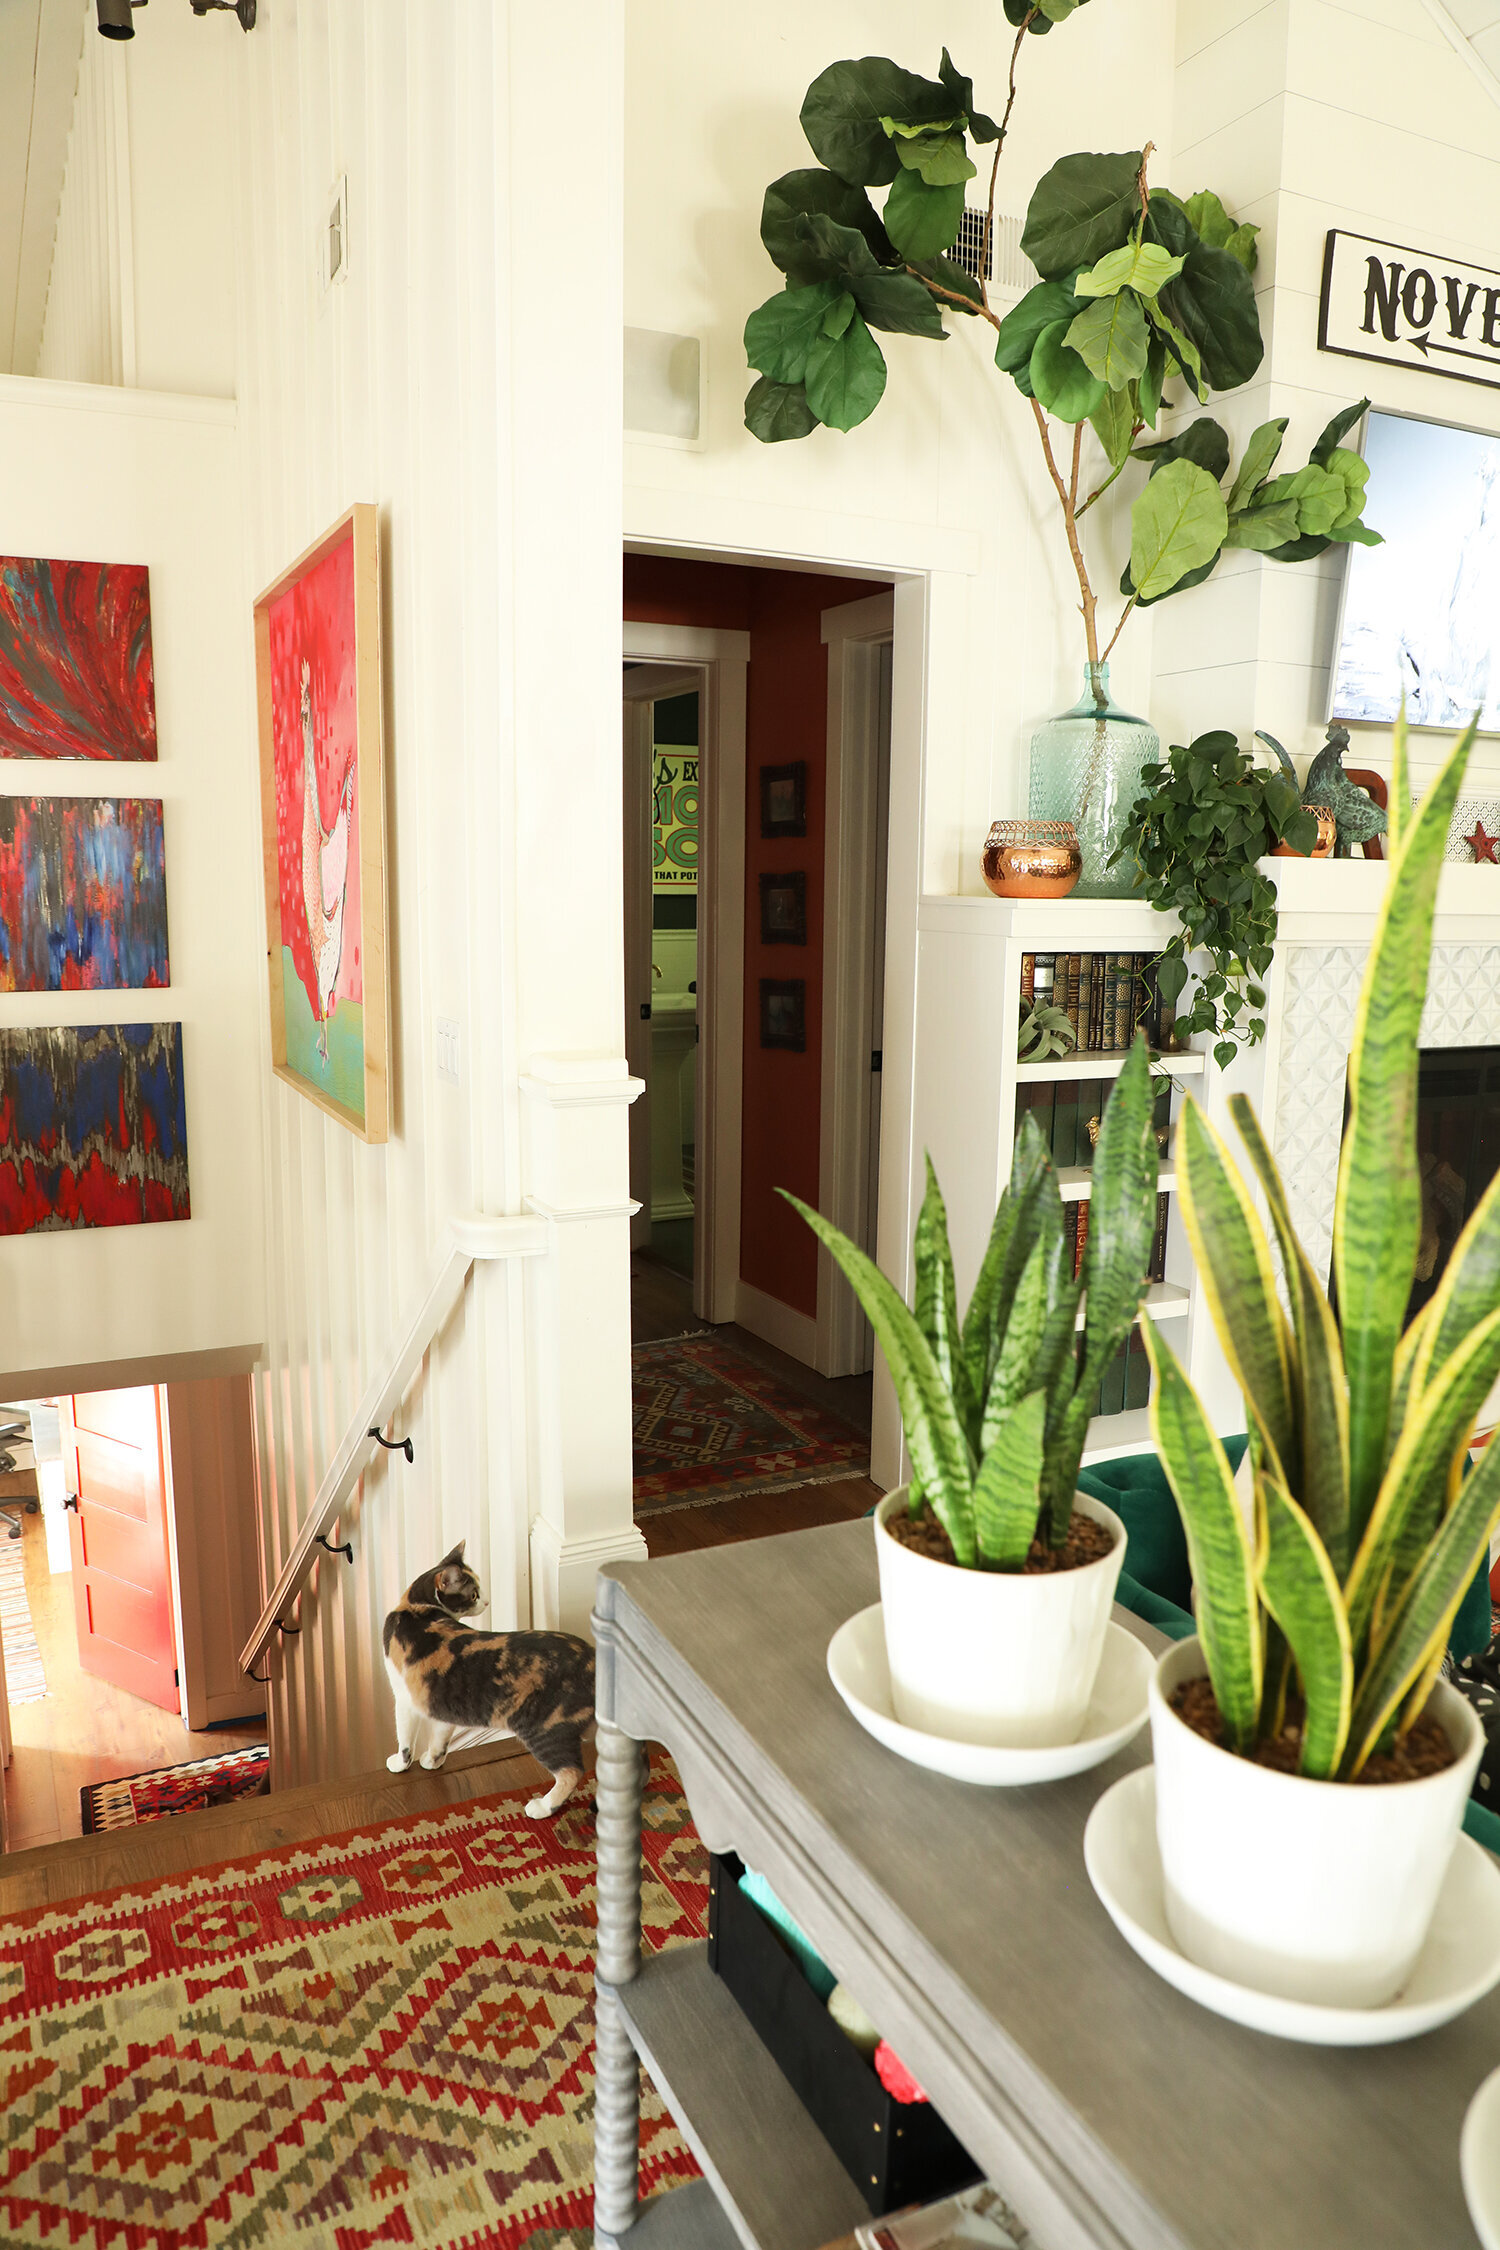
Now let’s swing around and look at the stairwell and in towards the kitchen (read more about the stairwell reno here, and the kitchen reno here.)
After.
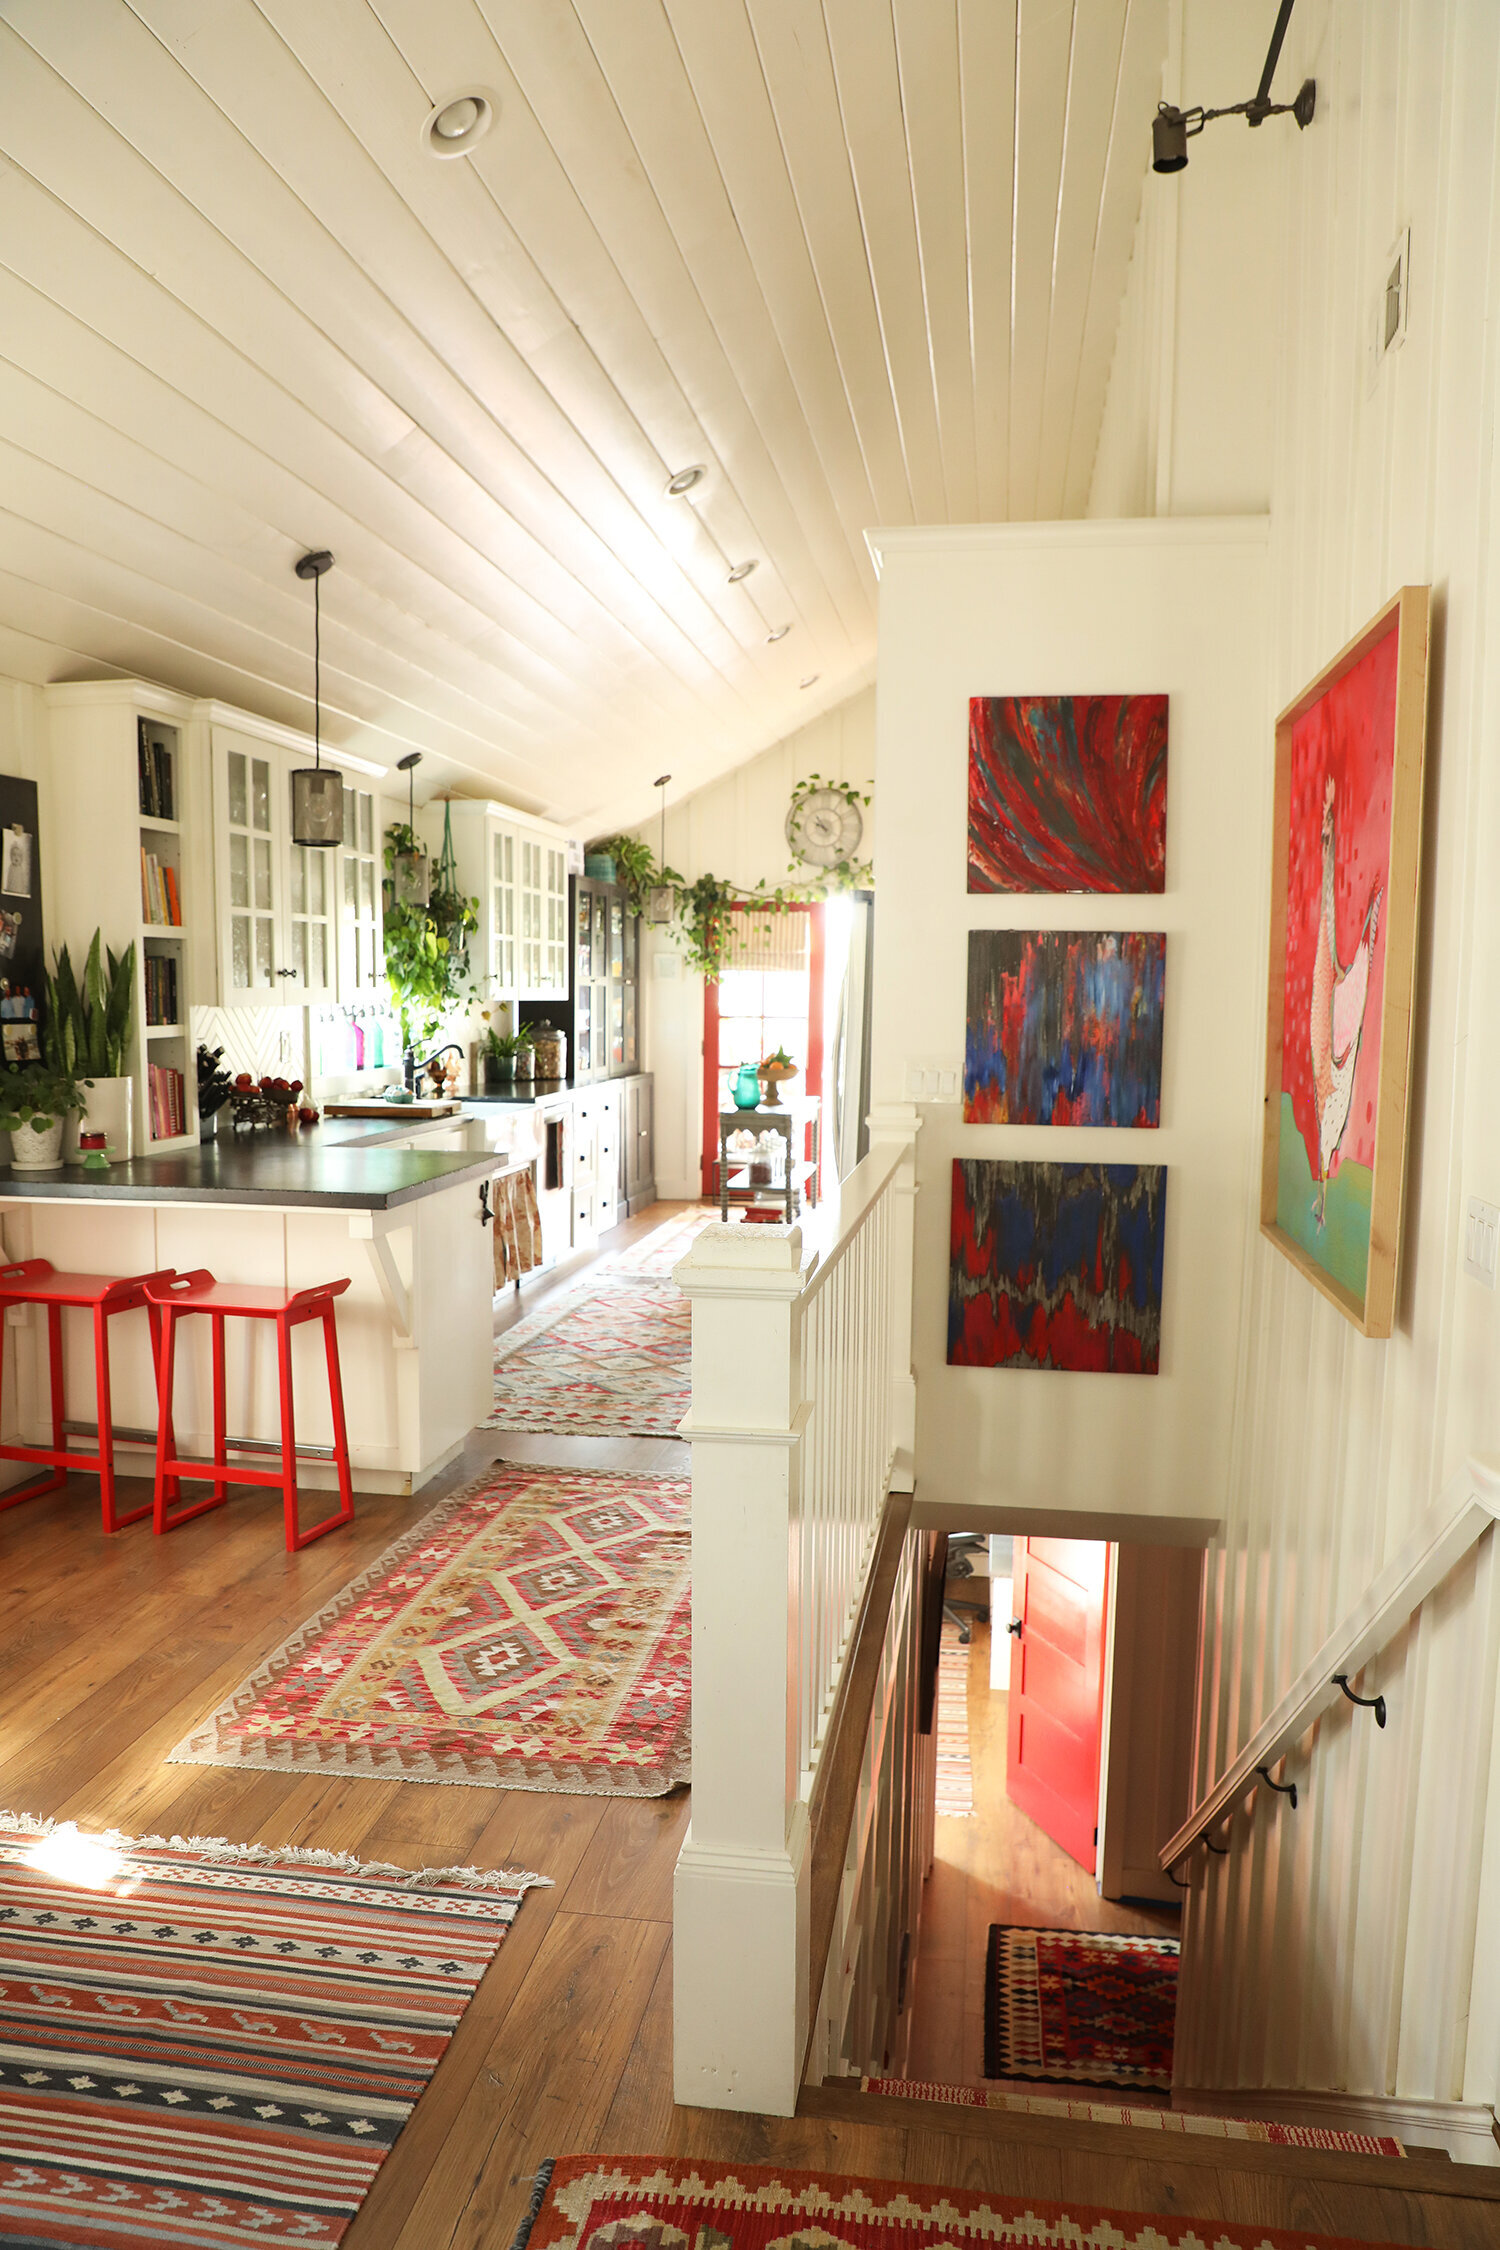
After. That stairwell was a whole beast—so I’m going to give it it’s own post.
After.
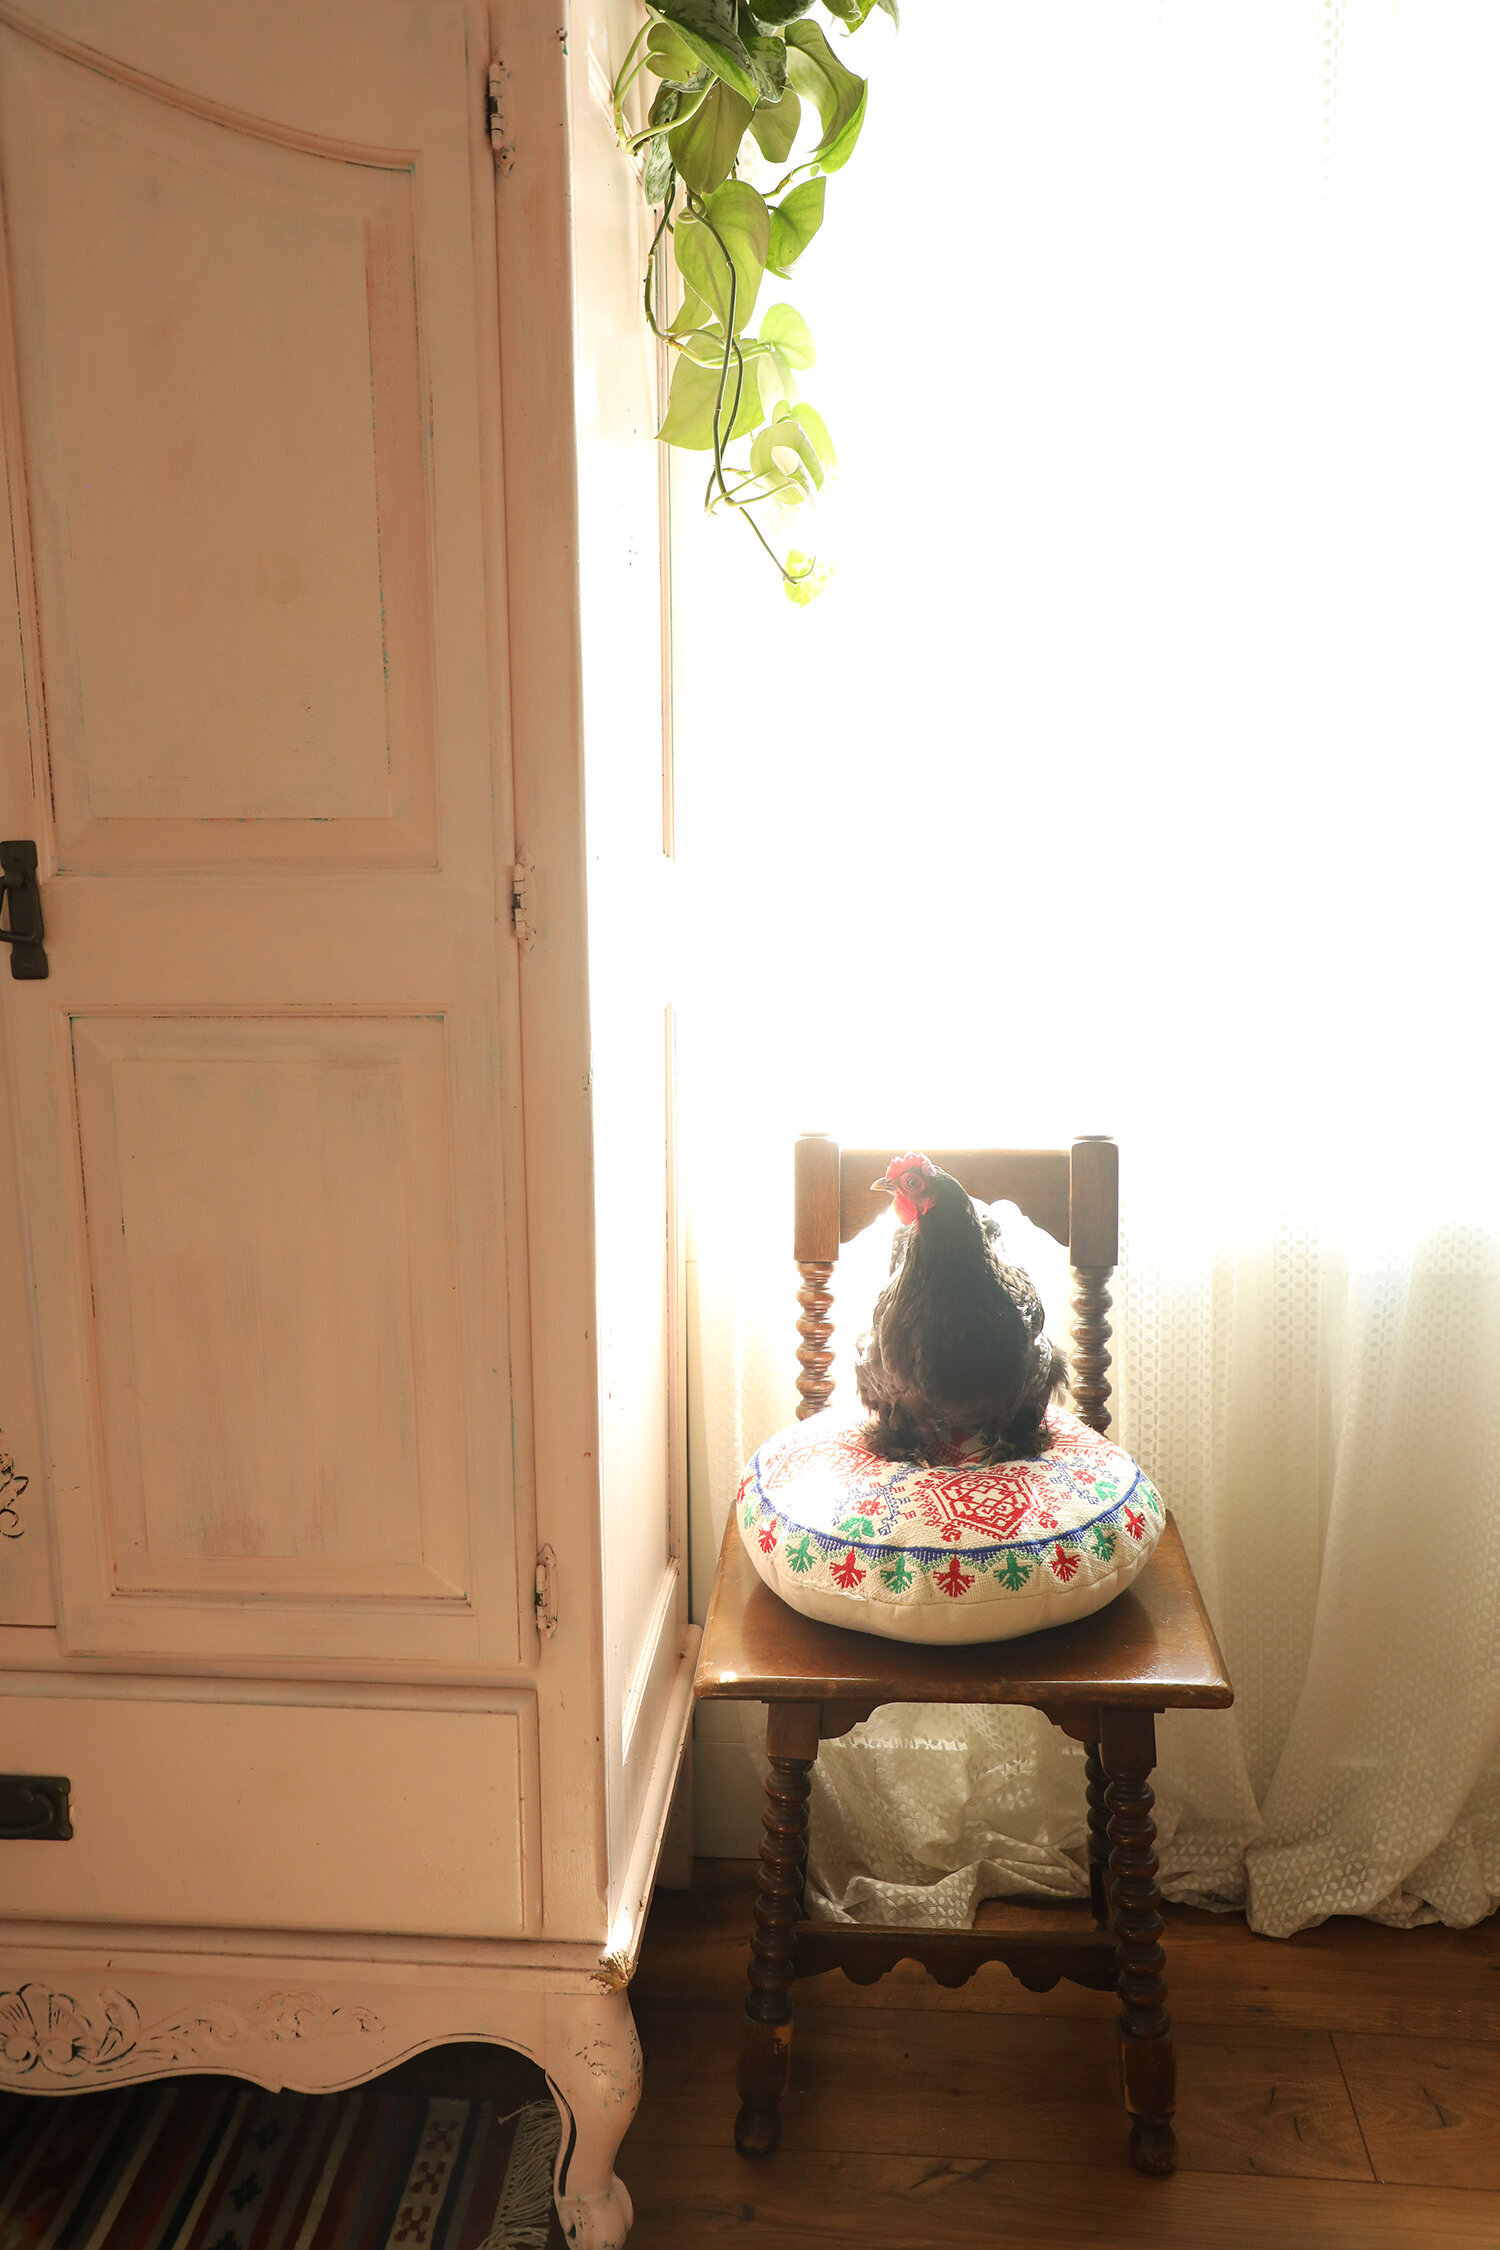
Special shout-out to The Barmoire, which you can read more about here (it’s my clunky childhood tv cabinet that we converted into a bar. The legs and corners of it have been gnawed on by every dog I’ve owned). Also, hi to Pollywog. Just a lil chonk of a chicken chillin on a cushion.
And thus concludes our tour of the living room—but I’m also going to squeak in a glimpse of the upstairs hallway and powder room because neither of these existed in the before times. When we re-did the primary bedroom and bath, we reconfigured the entire space to allow for a small hallway and guest powder room on the main floor because otherwise the primary bathroom—OUR bathroom—would not be private and would be the bathroom that served our main living areas when we had guests over (there IS a guest bathroom downstairs, but we knew that most visitors would use whatever bathroom was available on the main floor). This bothered us. We needed a powder room, so we tucked one in.
If you’ll recall, the old primary bedroom opened directly onto the living room:

Before. Through that door is the original primary bedroom.

After.
So now, the primary bedroom suite has been pushed to the back of the house (stay tuned for a post about that) to make room for a small hallway (I call it the vestibule) off the living room, with a powder room just off of that. This keeps the primary bedroom and bathroom private from guests, which was one of the best decisions we made in this whole house.
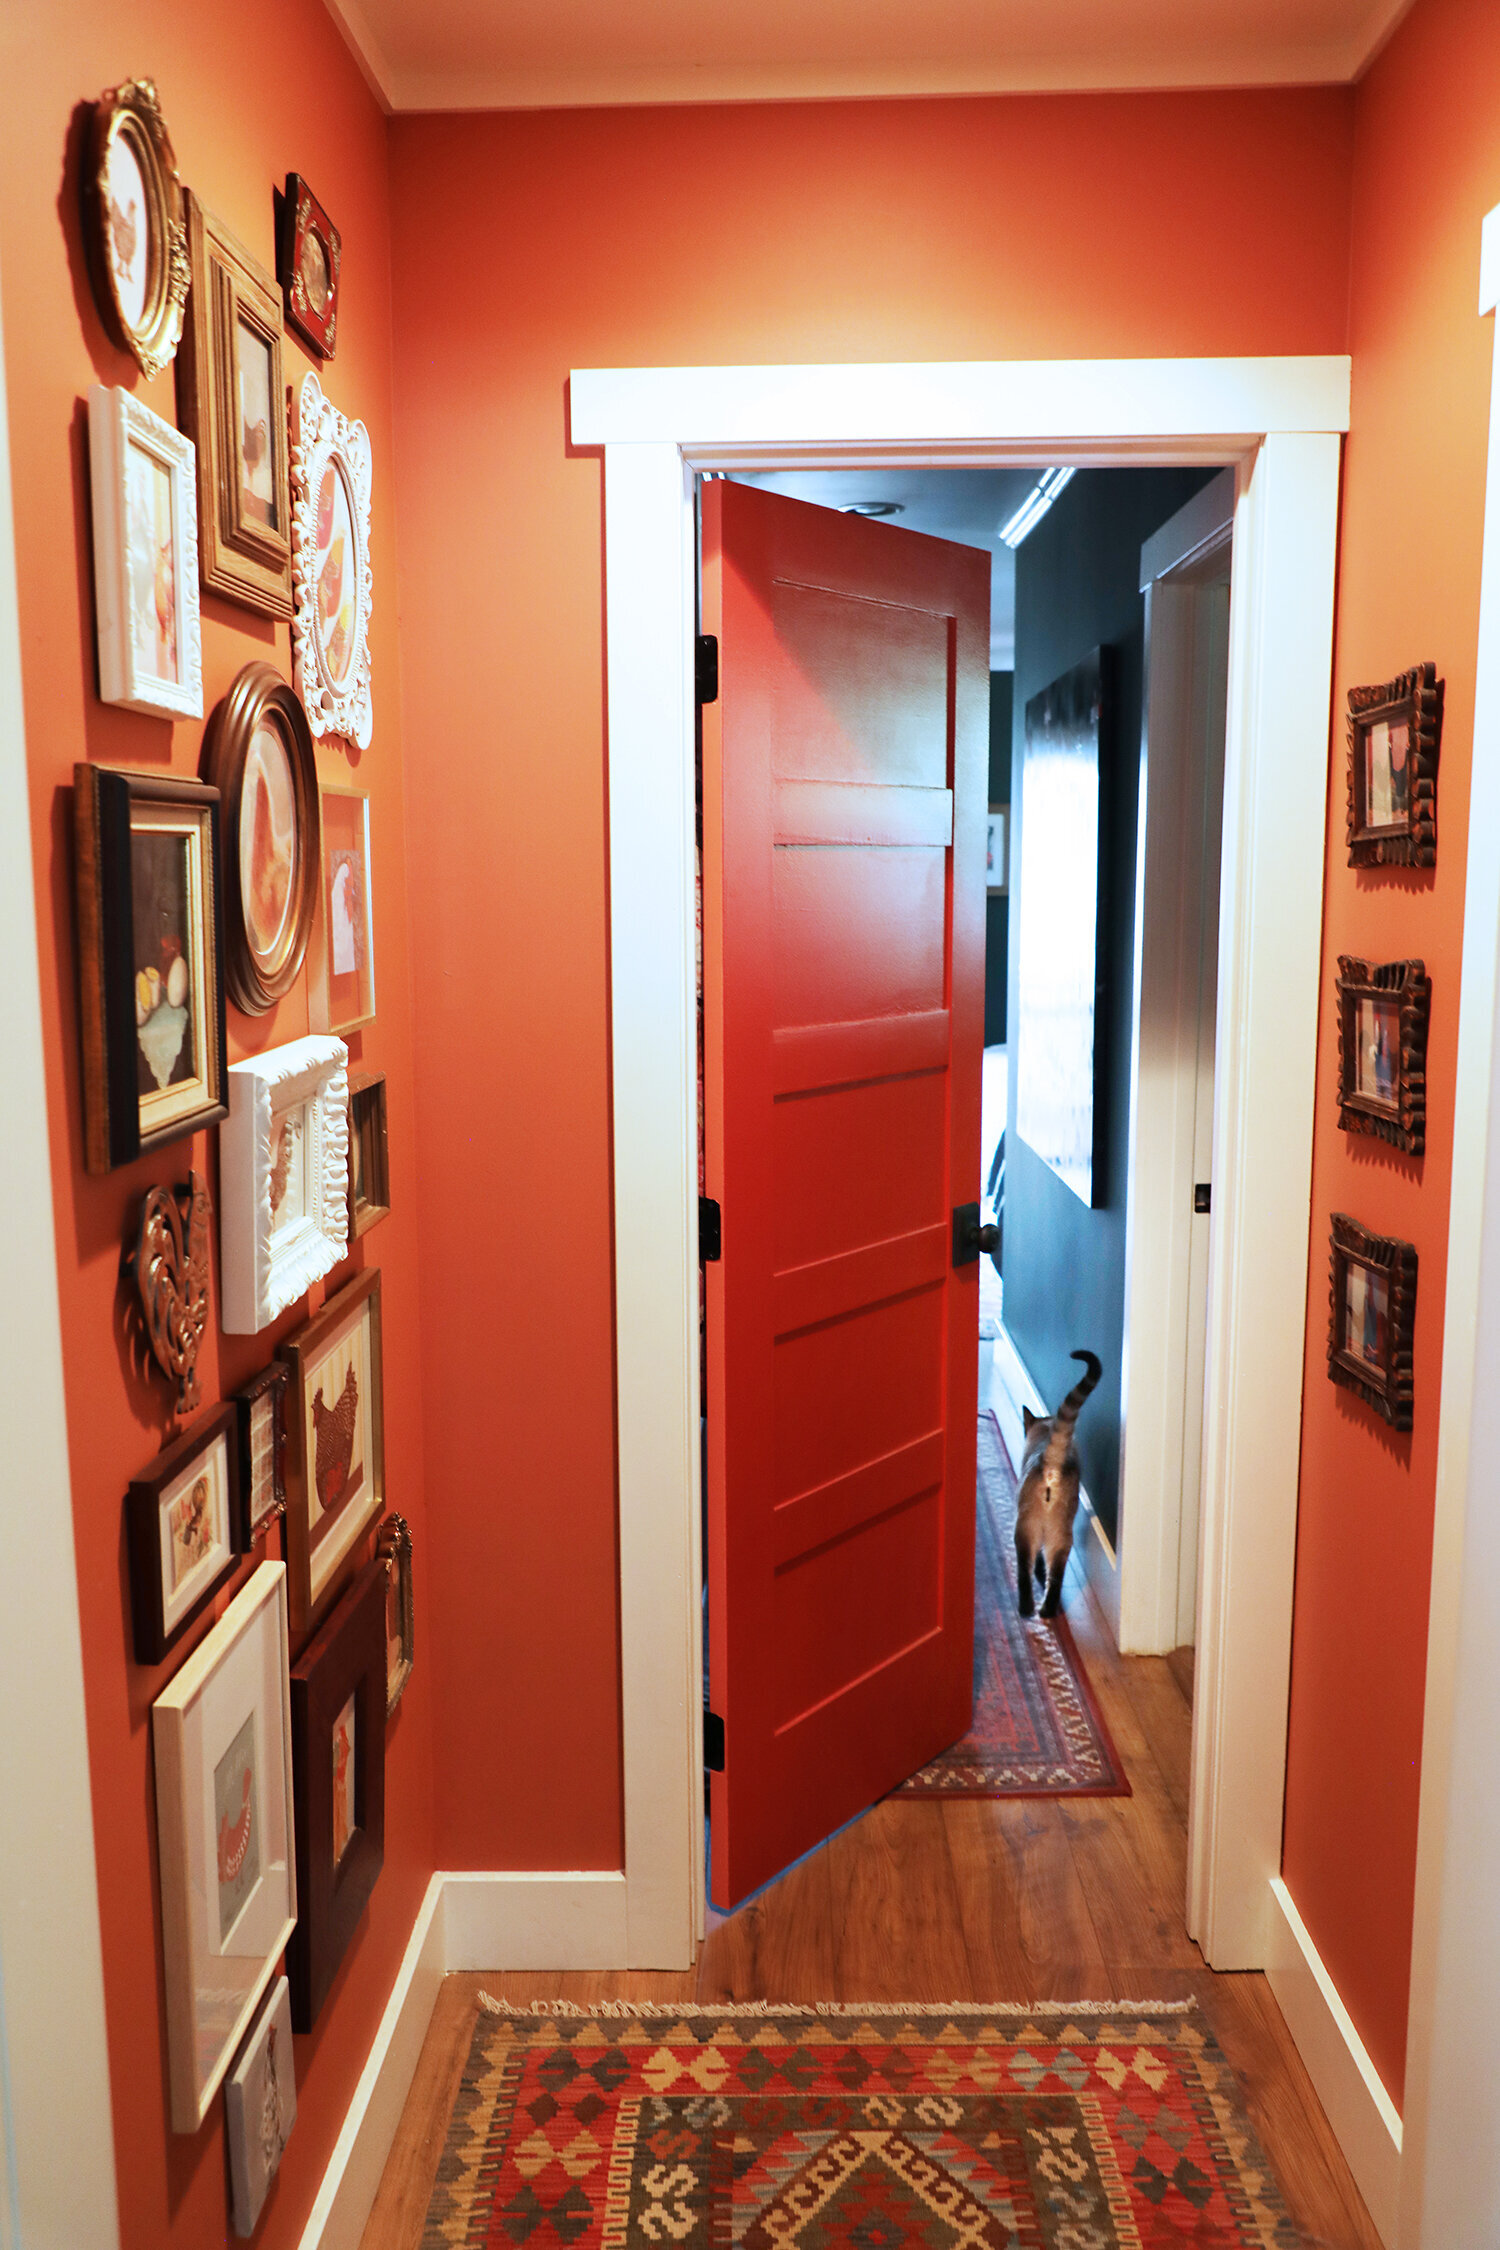
After. The vestibule.

After. The chicken gallery wall of the vestibule.
Once you’re in the vestibule, immediately to your right is the powder room…or as we refer to it: The Terlit.
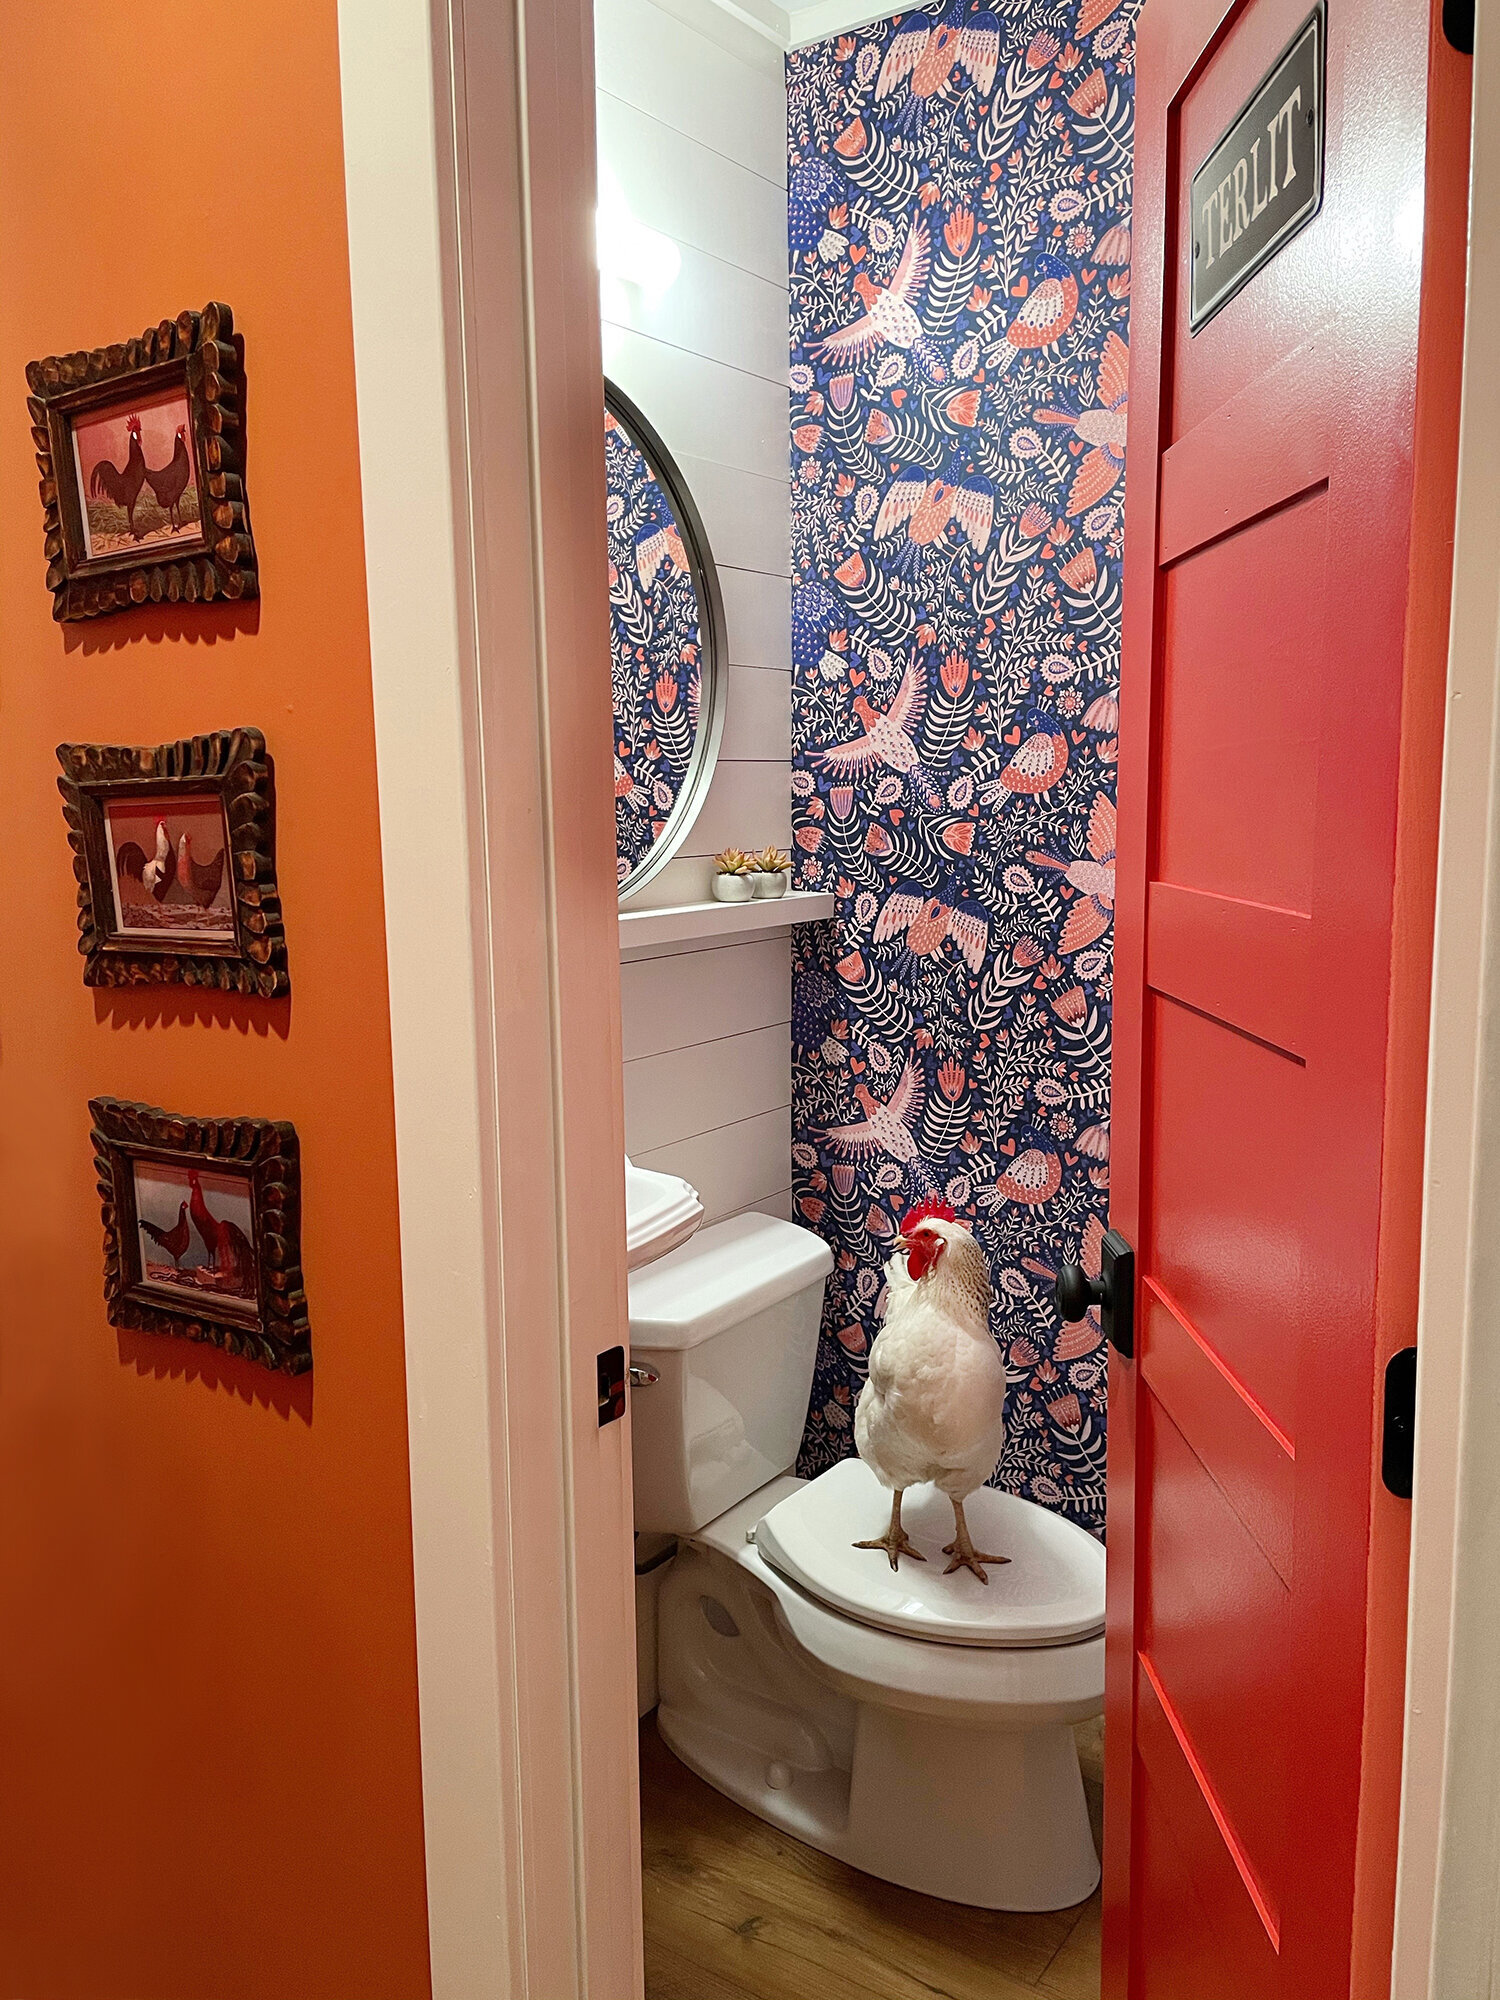
Pay no mind to the visiting terlit bird.
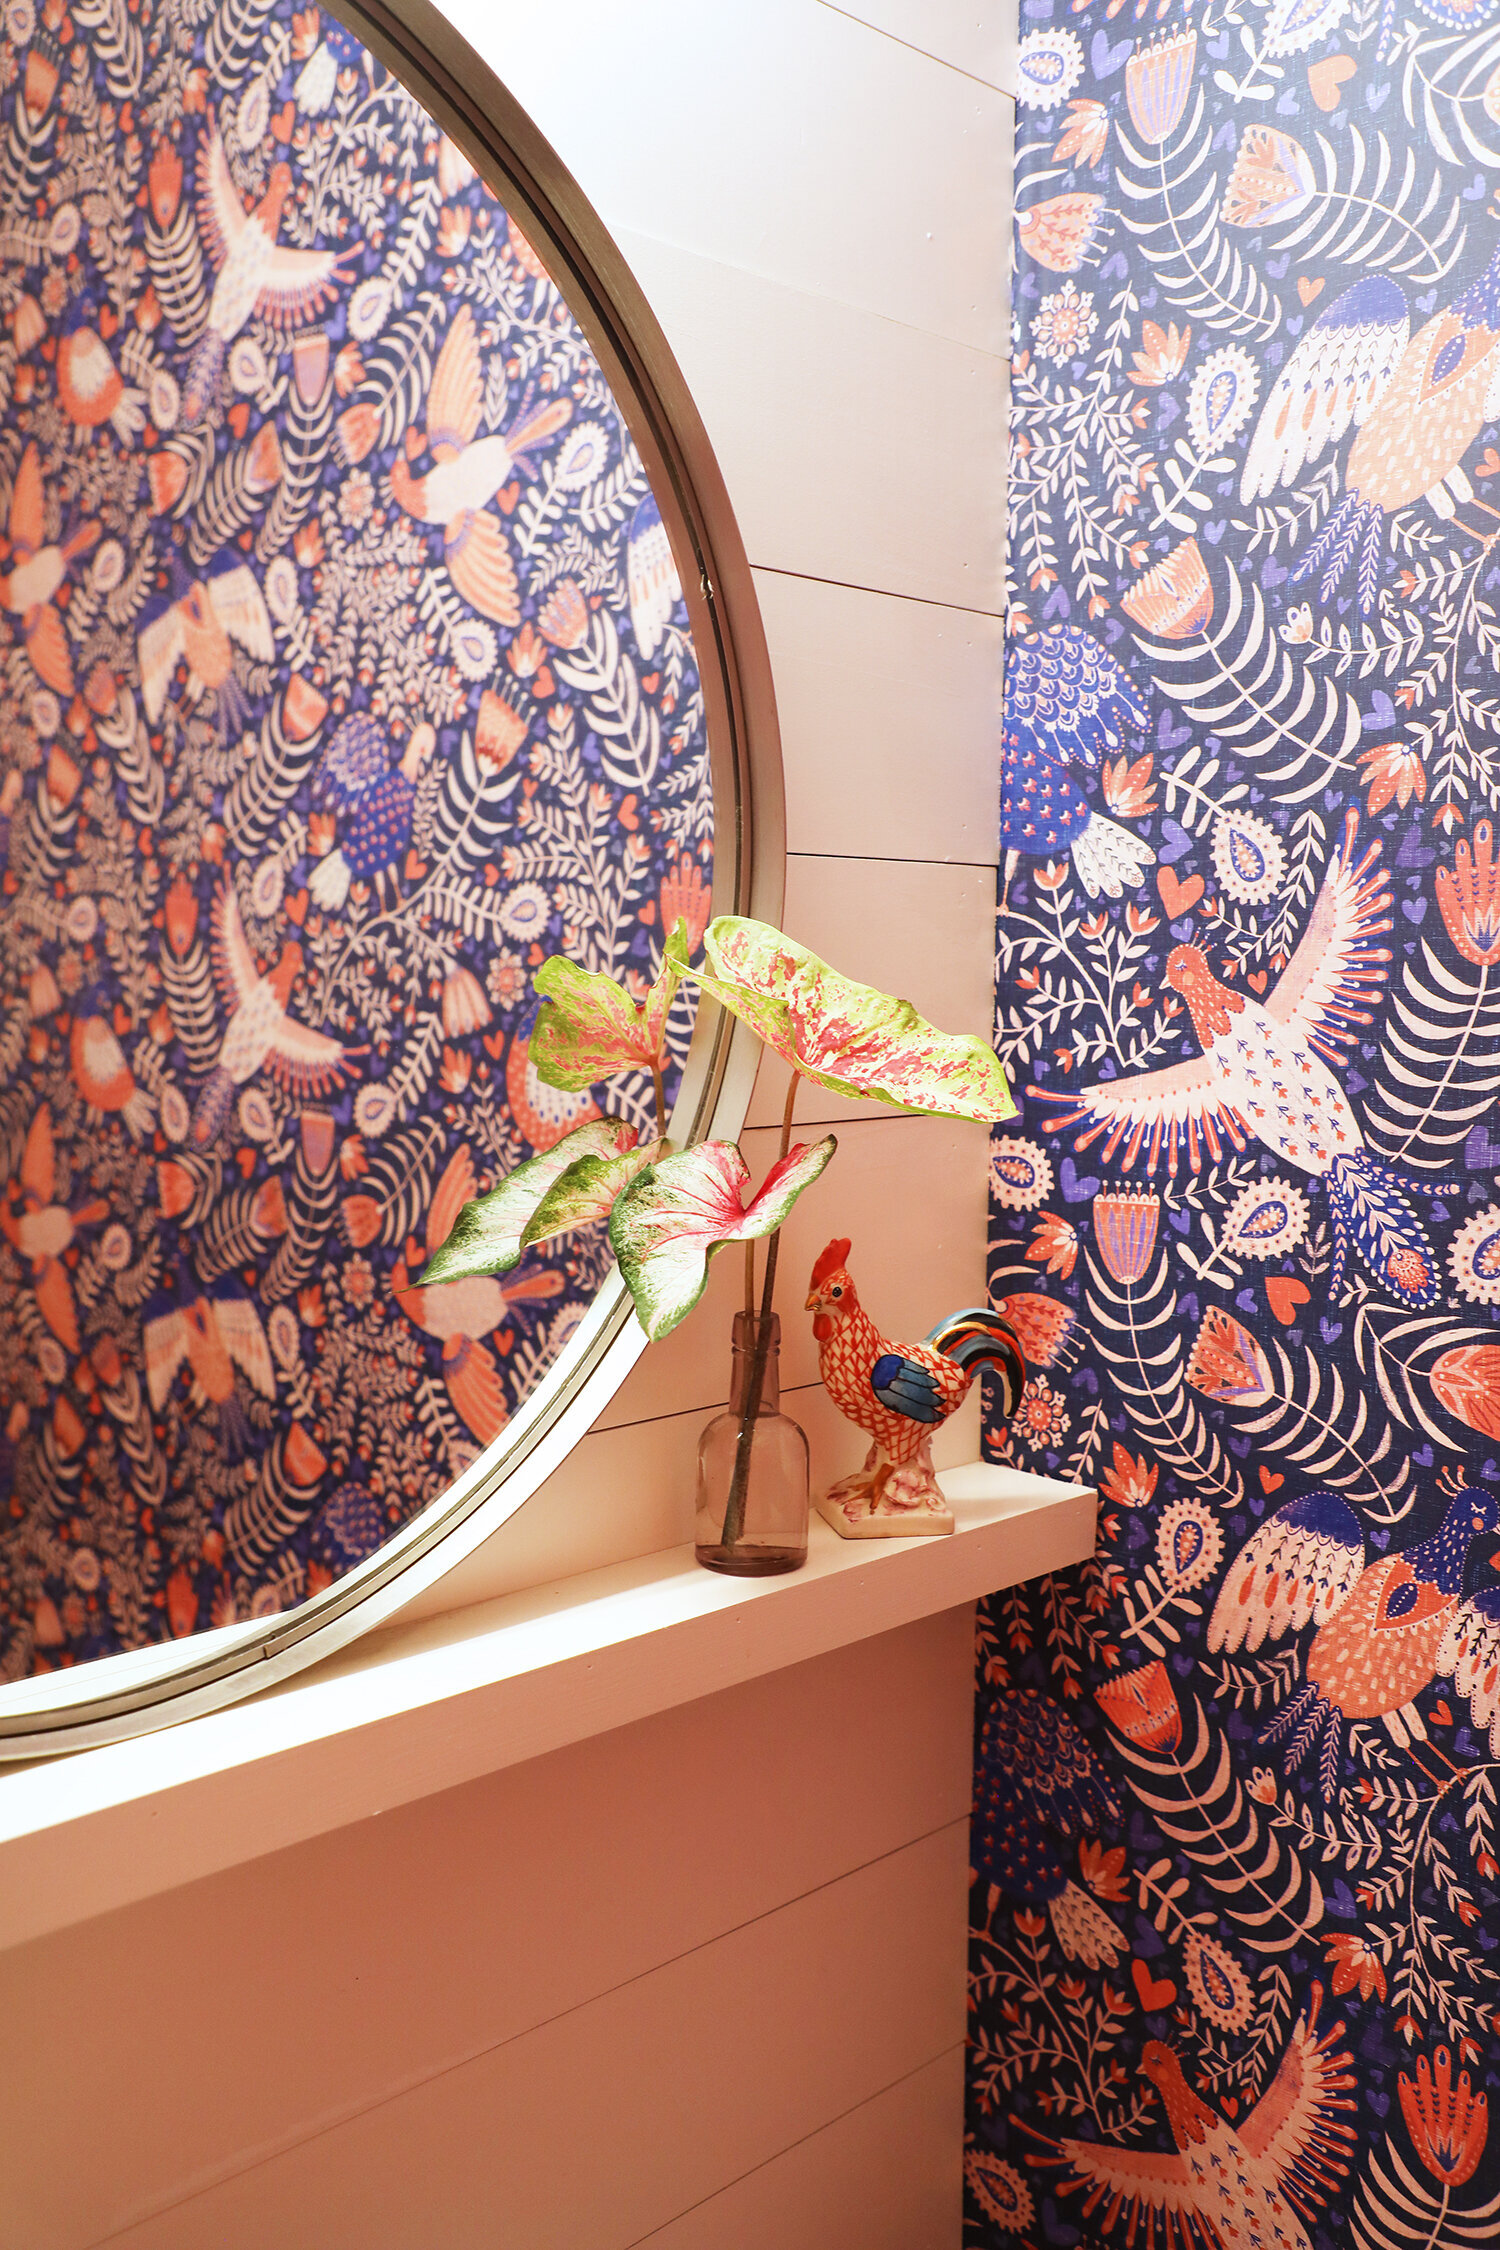
The Terlit ain’t big, but it gets the job done. And that wacky bird lady wallpaper keeps your eyeballs entertained while you’re in there.
That’s about it for this space!
Sources:
Gonna do my best to list everything out here…
Paint
All house paint colors by Behr
Walls, trim, ceiling: Swiss Coffee
Front, interior, and french doors: Farmhouse Red
Vestibule walls: Before Winter
Floors
Rugs (I will do a full blog post on all my pet-friendly rug sources coming up very soon)
Living room rug and side door entry runner: Mark & Day
Stair runner from Dash & Albert ( check out this blog post for a full install tutorial)
Dining area rug: IKEA, Kattrup Woven in red (seems to be discontinued)
Couches
Dark grey sectional: Living Spaces Alder Sectional in…I believe….Zander Charcoal.
Sofa console table: Wayfair.com
Fireplace tile:
Home Depot….can’t seem to find it online, but we bought it in-store right off the shelf.
Dining table:
World Market, but sadly discontinued.
Dining chairs:
thrifted then spray-painted copper
Dining area pendant light:
Dog bed:
Giant red decorative compass rose:
This was a gift and did not come from Wayfair, but they sell an identical one.
Artwork:
Giant original chicken painting over the stairs by artist Emily Reid. You can buy prints of it here.
Mixed media metal patinated art over the couches and stairs done by me in another life.
Powder Room Wallpaper (peel and stick):
Swedish Folk Art Birds by Rebecca Reck Art for Spoonflower
Powder Room Terlit Sign:
Handpainted by yours truly.
Also—there are quite a bit of thrifted and antique items in our house that I omitted from the source list since they are likely one-of-a-kind. If I’ve missed anything that you’ve got questions about, please feel free to drop a question in the comments and I will do my best to answer!